This is another one of our “how to” blogs, and we’re gonna talk about saddlebag installation. I’ve included plenty of photos here to make it easy to follow. It’s a bit tough to describe, and I’ll tell you up front it sounds complicated. But it’s not.
All right, let’s get to it!
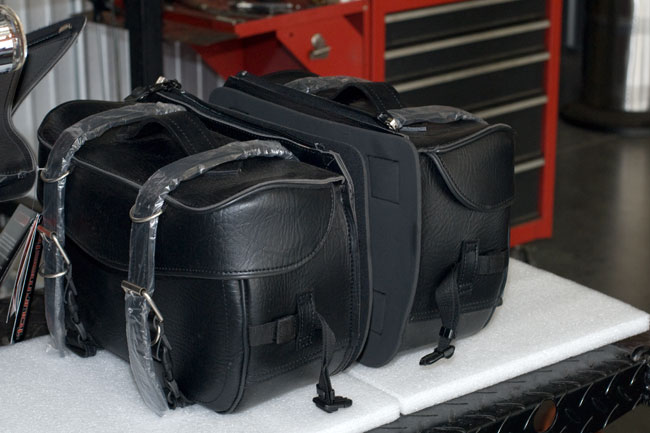
Here’s a photo of the saddlebags…
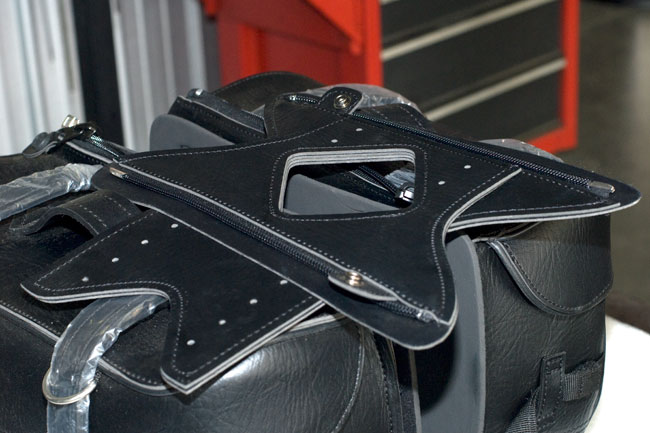
Here’s the crossover piece, shown on top of the saddlebags…
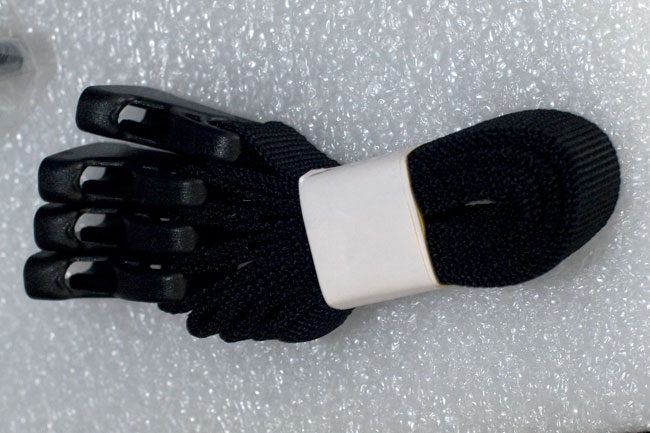
And the straps. These guys are all wrapped up in the photo below, which is how they are packaged when new…
You should have four straps, as shown above.
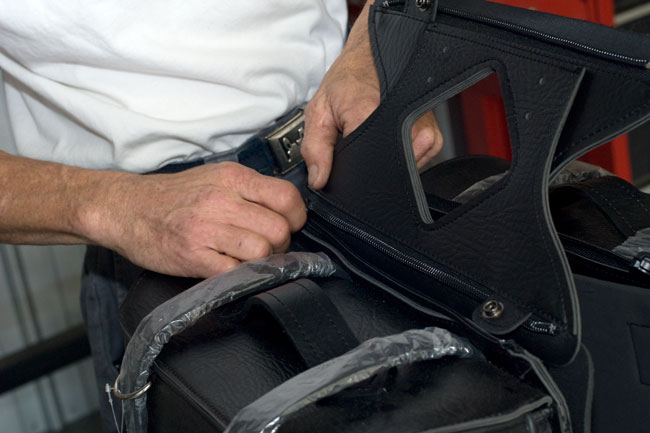
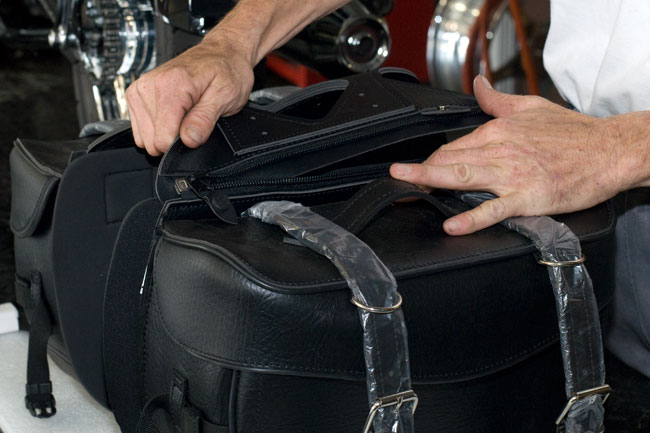
The first step is to attach the saddlebags to the crossover piece. In the photo below, Tony is standing to the rear of the saddlebags as they will be installed on the motorcycle. One side of the crossover piece has a big flap on it, and that side will go to the right saddlebag. You’ll want to insert that flap between the bag and its foam liner, as you see Tony doing in the photo below.
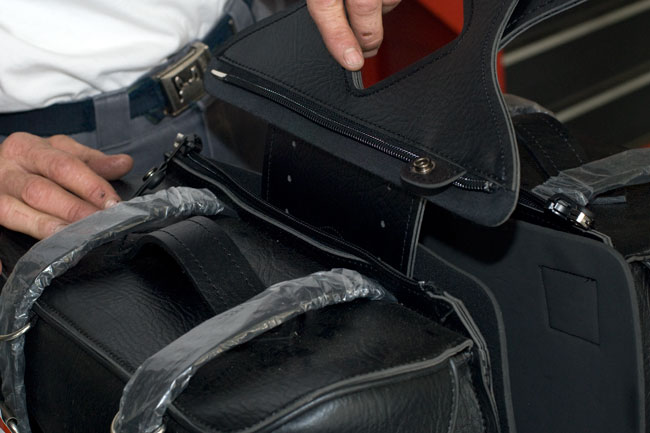
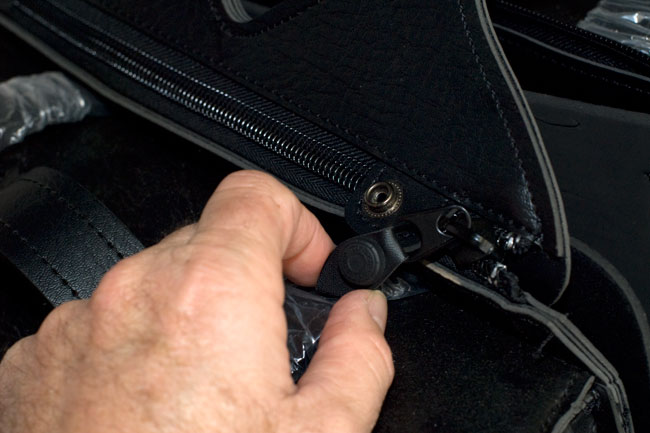
Then you should zip the crossover piece to the right saddlebag…
When the zipper reaches the end of its run on the right saddlebag, you’ll see a snap tab that secures its end. You should connect the snap.
You should then connect the crossover piece to the left saddlebag, as shown below, and make its snap connection just like you did for the right saddlebag. Note that on the right saddlebag, the zipper runs from rear to front, and on the left saddlebag, it runs from front to rear. Tony is standing at what would be the rear of the saddlebags as they are going to be installed on the motorcycle.
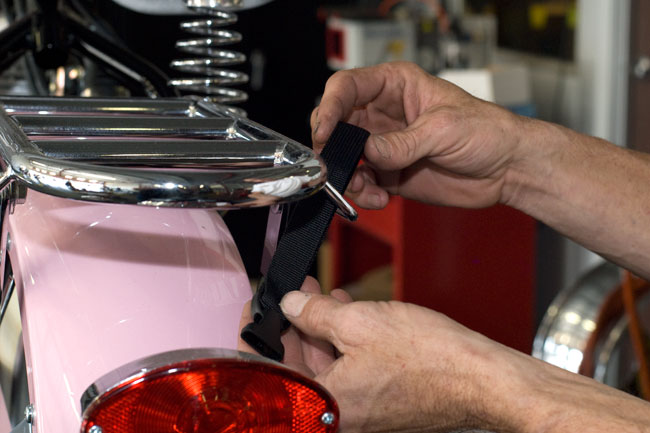
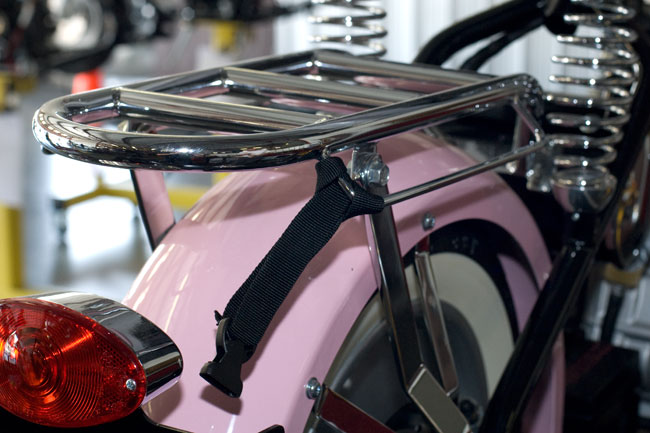
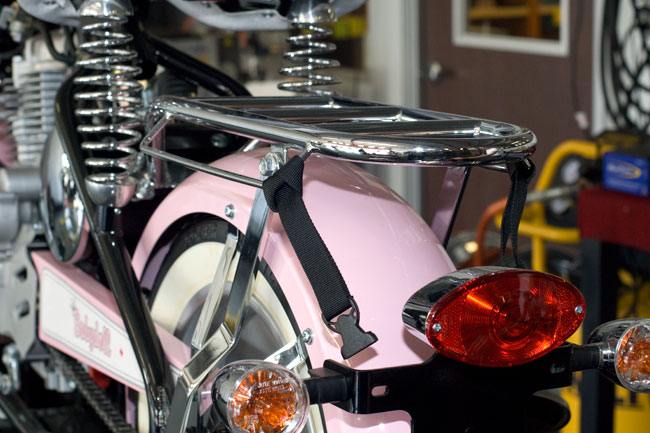
Okay, now we’re ready to start connecting the straps to the bike. Take one of the straps and route it through the luggage rack like you see in the photo below.
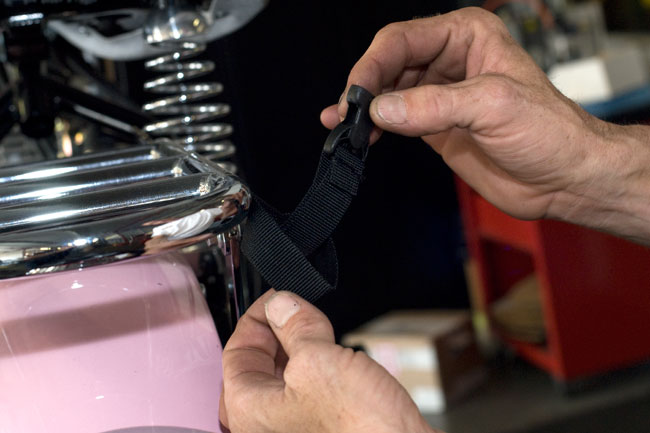
We’re going to loop the strap through itself to make a secure attachment to the luggage rack. Here’s what it looks like…
You want it to look like this when you’re done…
Then we’re gonna do exactly the same thing on the other side of the luggage rack…
The above two straps will be used to attach the saddlebags at the rear of the motorcycle.
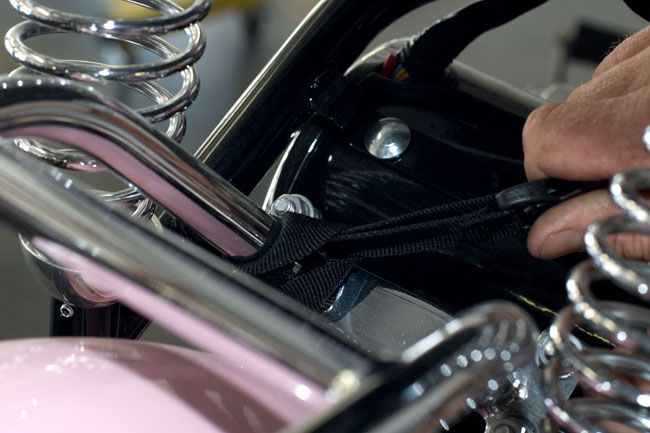
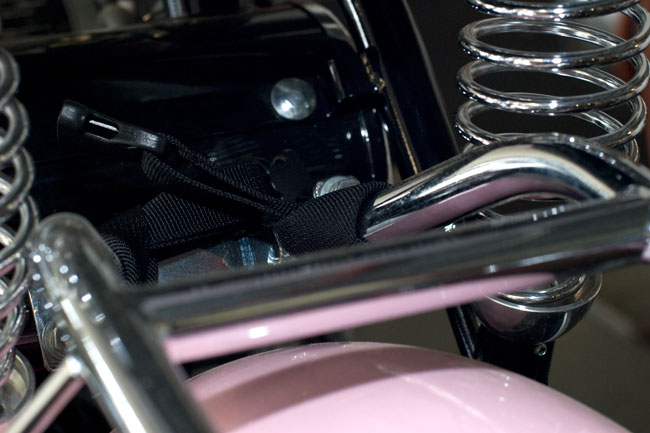
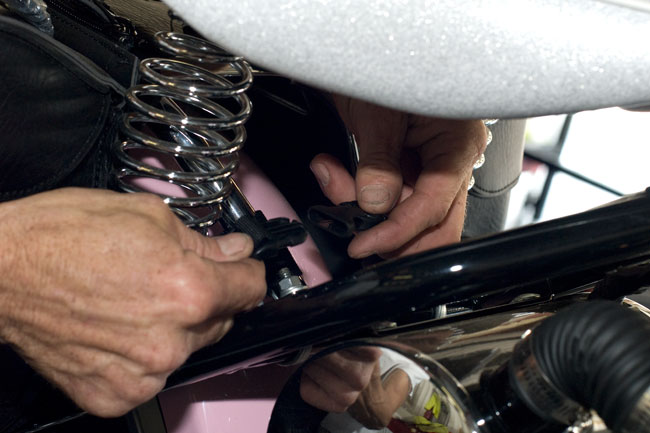
We also need to install the front straps. That’s what we’re gonna use the other two straps for, and here’s how we install them. These two straps go on the front of the luggage rack, right where it attaches to the frame under the seat. We’re going to loop the front straps through themselves (just like we did on the rear straps), except these go on the luggage rack’s main rails. Here’s what it looks like on the left luggage rack rail…
And here’s what it looks like on the right luggage rack rail…
Okay, we’re doing pretty good here, and we’ve got all of the straps attached to the bike. At this point, we’ll want to drape the saddlebags over the luggage rack, like you see below…
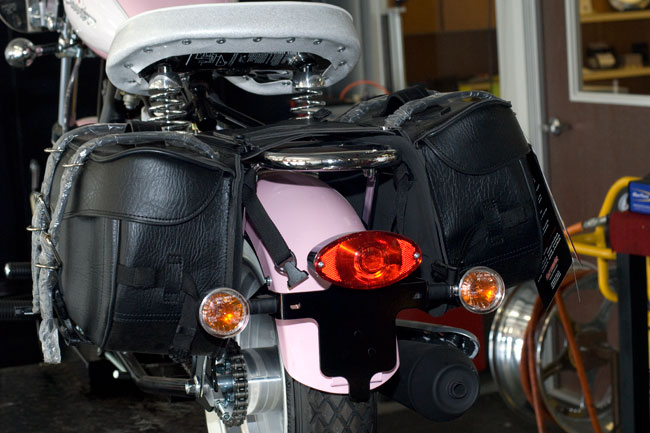
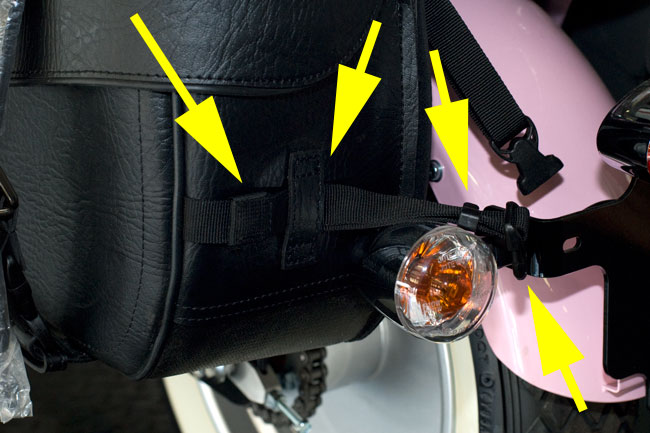
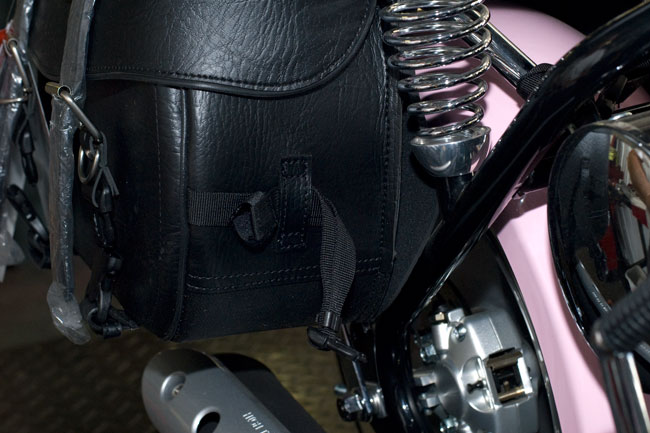
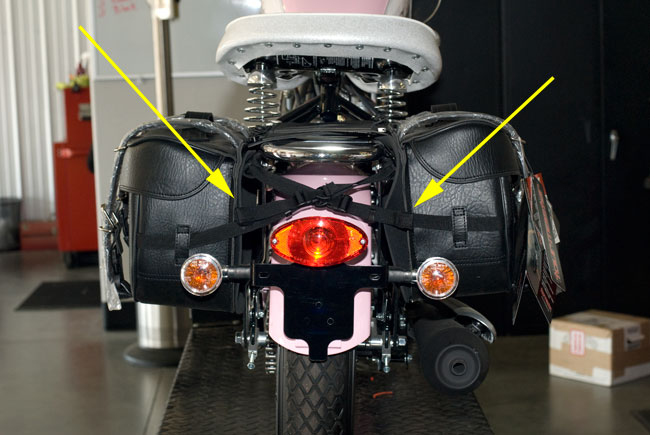
The saddlebags also have straps attached to them. At the rear of the saddlebags, the straps will look like you see in the photo below. The leftmost arrow in the photo below shows a wrap-around velcro fastener. Go ahead and undo it, and push that end of the strap (with the velcro fastener) out through the loop attached to the bag (that’s what the second yellow arrow from the left is pointing to). The third arrow from the left points to a little keeper on the strap, and the yellow arrow on the right points to the mating end of an adjustable attach point.
Bear with me, folks. It sounds more complicated than it really is. You’ll see how this all goes together in a minute…
Here’s Tony pushing the velcro end through the saddlebag loop, like I described above…
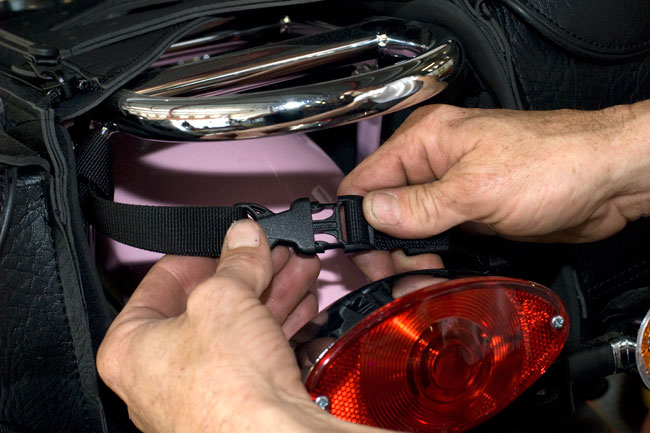
We’re gonna take the strap we previously installed on the right rear side of the luggage rack and connect it to the left saddlebag strap with the plastic snap fastener. It’s shown in the photo below…
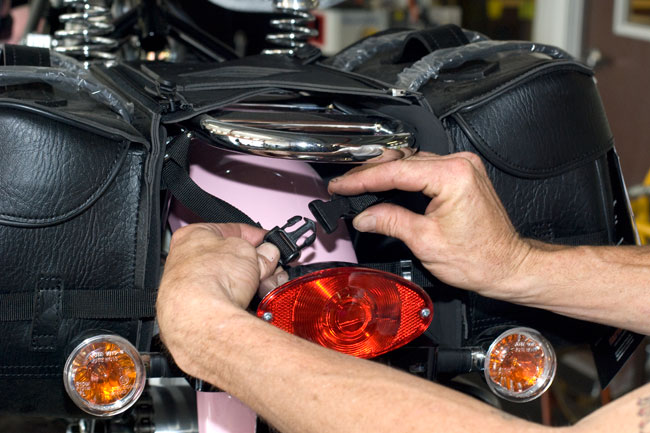
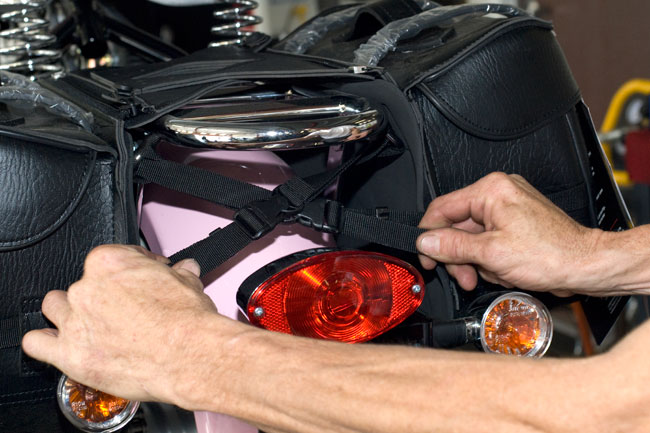
Then we’re gonna do exactly the same thing on the other side, going from the left rear luggage rack strap to the right rear saddlebag strap. Again, it sounds more complicated than it is…you can see what I mean in the photo below…
Then all we need to do is use pull the straps so that they are snug, like you see Tony doing below…see how they criss cross?
Okay, let’s move to the front of the bags now. The photo below shows the front of the right saddlebag, just under the seat…we’re gonna do the same thing here. Undo the velcro faster and push that end of the saddlebag strap through the saddlebag loop…
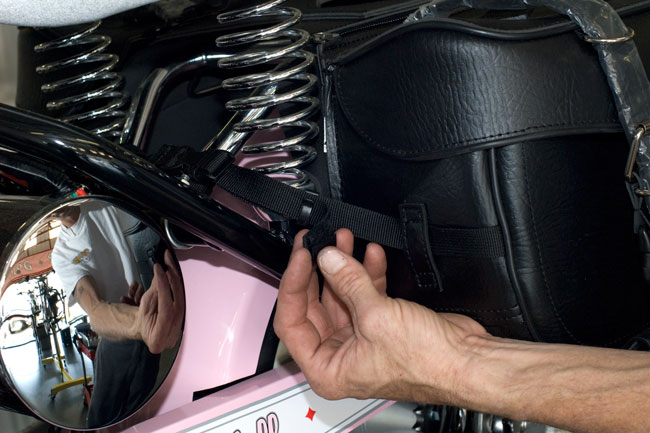
And we’ll criss cross the straps we previously connected to the front of the luggage rack and attach them to the saddlebag straps like you see below…
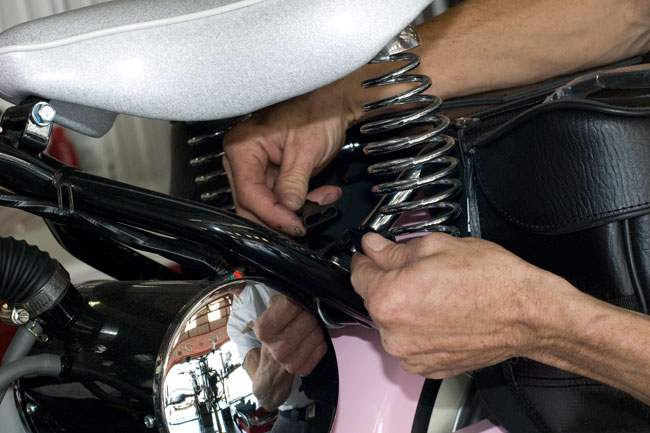
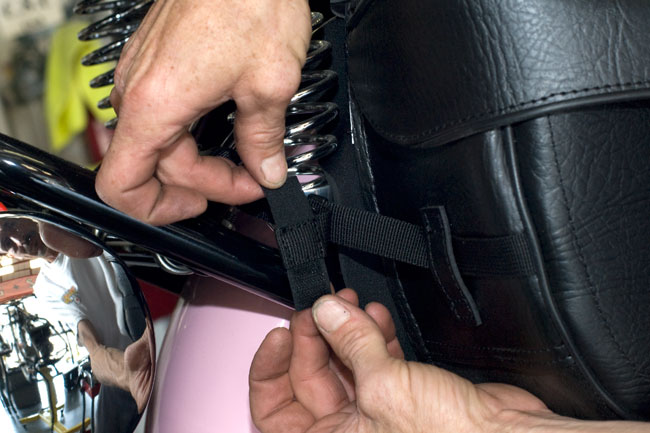
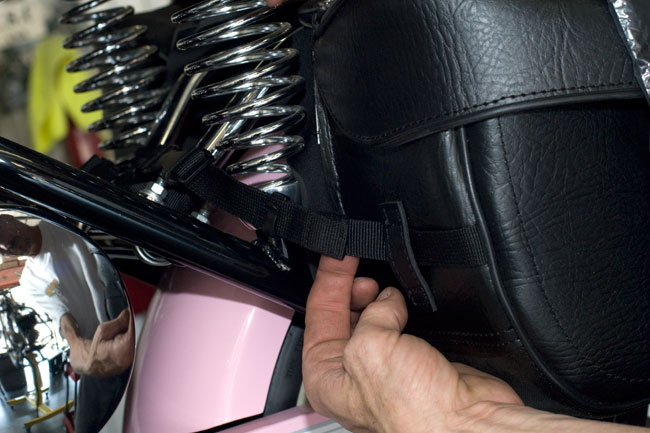
Once we’ve made those connections, pull the straps so that they are snug, and then use the keeper and the velcro faster to secure the end of each saddelbag strap, like you see below…
Here’s Tony using the velcro fastener on the front of the left saddlebag to secure the strap end…we’ll need to do that on both sides…
See how neat it looks when it’s all done?
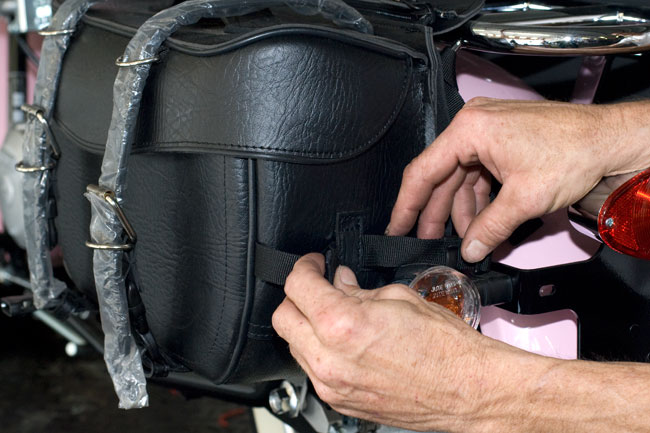
And finally, we’ll go back and do the same thing with the velcro fasteners on the rear saddlebag straps. In the photo below, Tony has secured the right saddlebag’s rear strap, and he’s going to do the one on the left to complete the installation.
And that’s all there is to it, folks. Like I said, it sounds way more complicated than it really is, and once you’ve done it a time or two, it’s pretty easy to do it again.
And when you’re done, hey, let’s ride!





 TT250 Enduro
 SG250 San Gabriel Cafe Racer
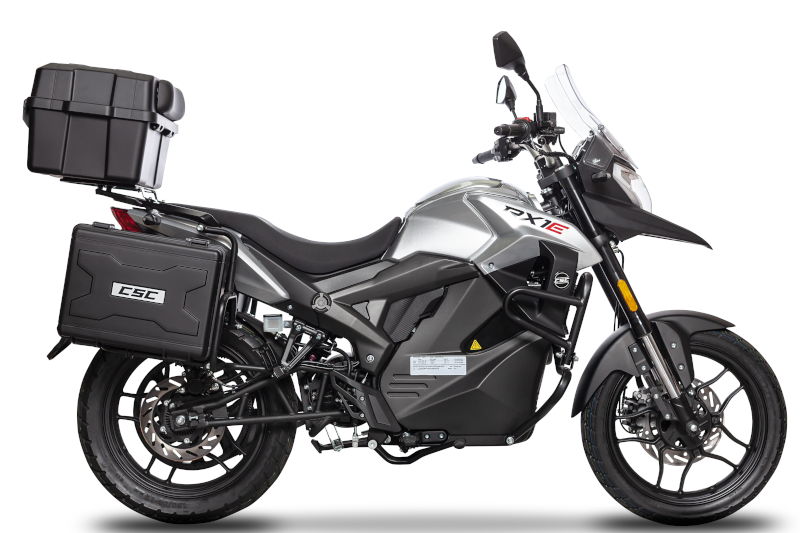 RX1E Electric Motorcycle
One Response to Saddlebag Installation