


The maintenance tutorial addresses TT250 front wheel removal and installation.
You will need 15mm, 17mm, and 10mm wrenches for this operation.
Start by securing the motorcycle on a lift such that the front wheel is off the ground.
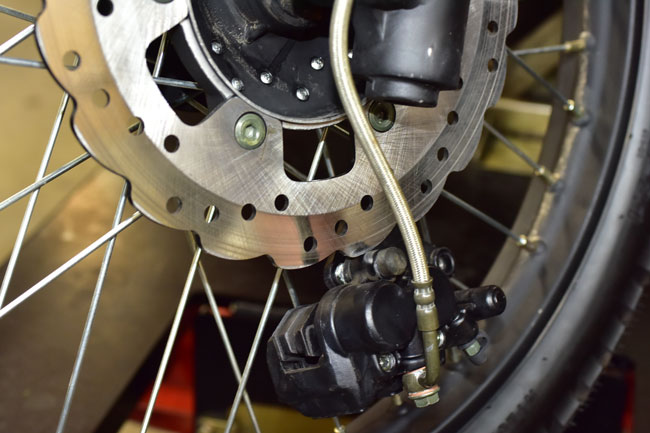
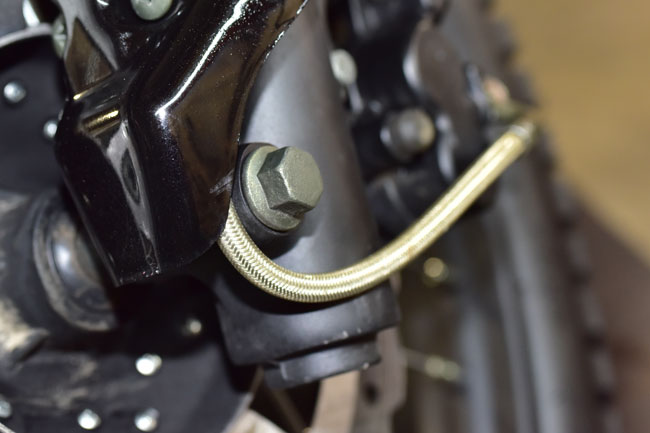
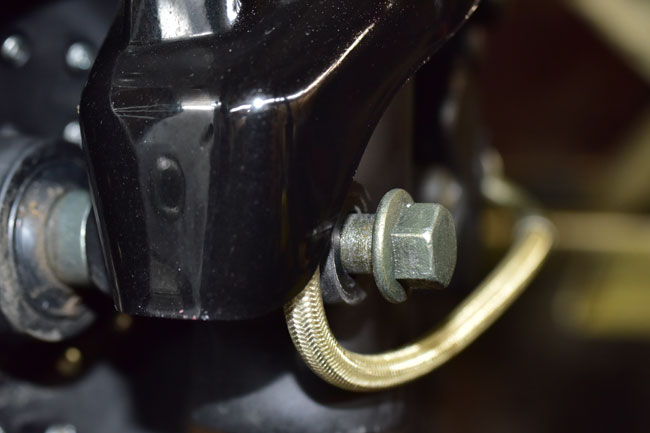
Unbolt the front brake caliper by removing the two 10mm bolts that secure it to the front fork. Allow the caliper to hang by the hydraulic brake line. Do not loosen or remove the hydraulic brake line.
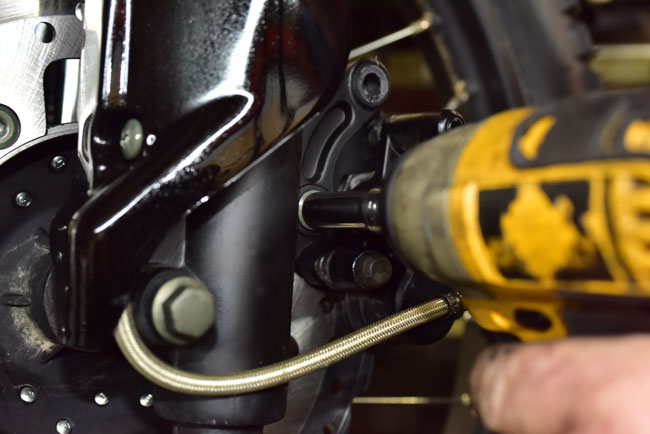
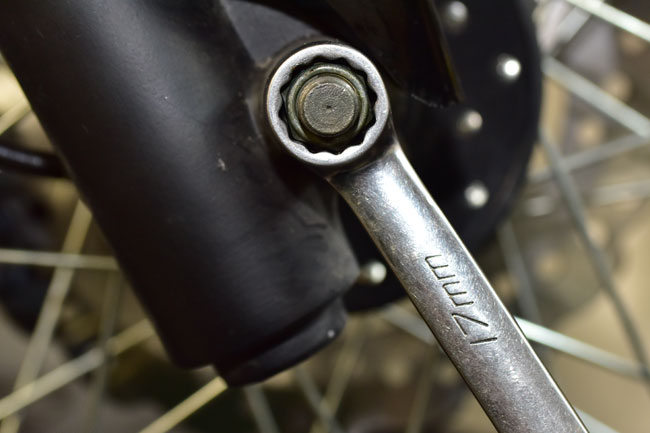
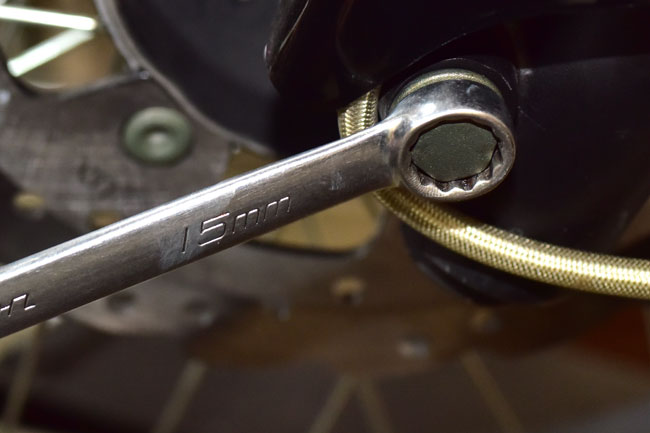
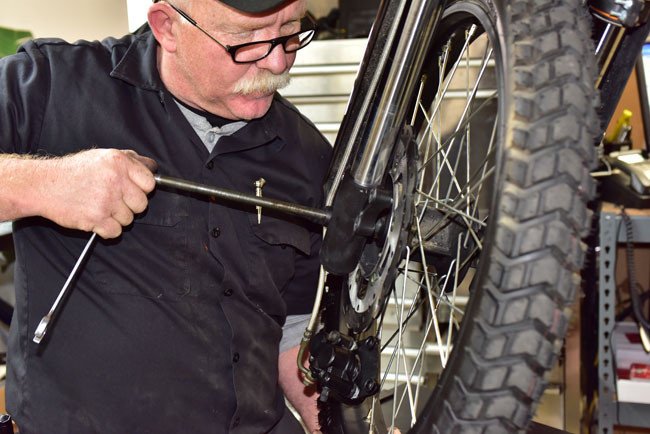
Loosen the front axle by using a 17mm wrench on the axle nut and a 15mm wrench on the axle’s bolt head.
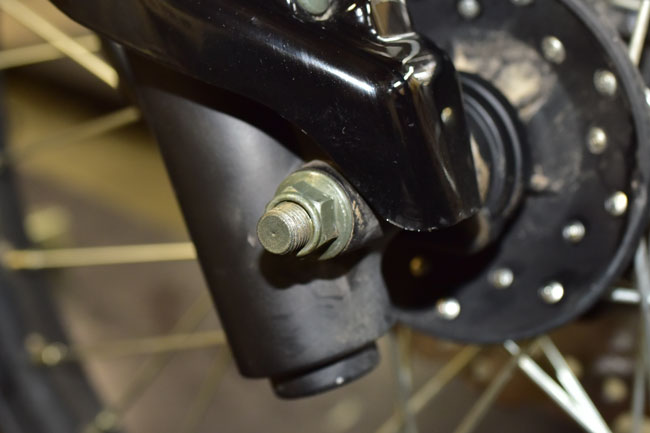
This is the right side of the motorcycle showing the 17mm axle nut.
This is the left side of the motorcycle showing the 15mm axle bolt head.
Remove the axle nut.
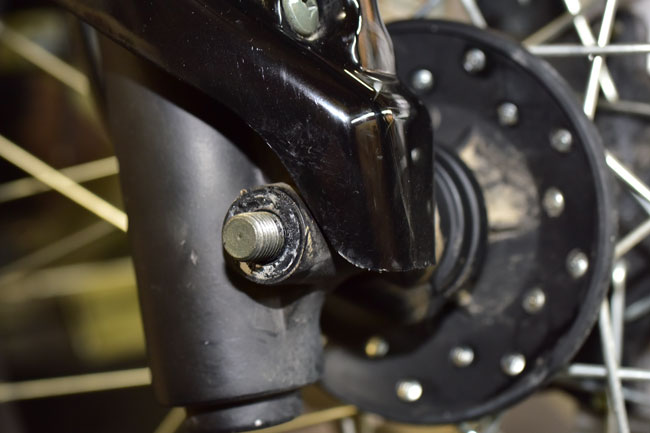
Pull the axle out of the forks.
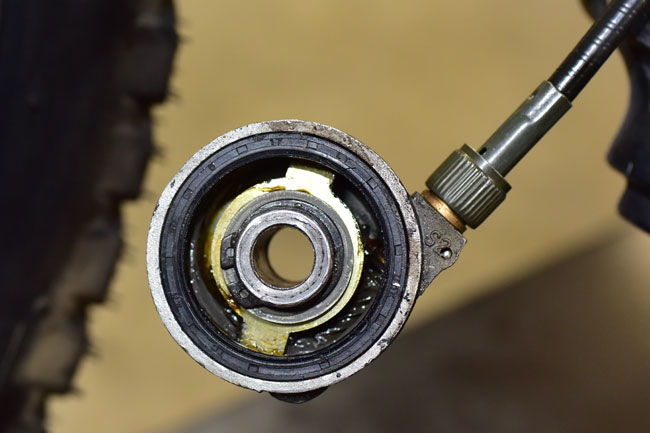
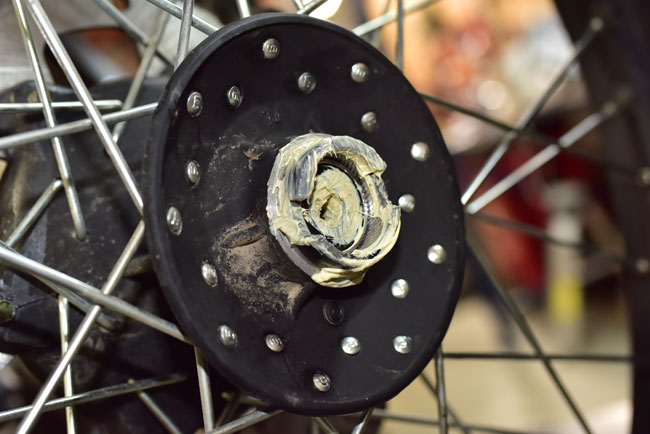
There is a bushing between the left side of the front hub and the left fork. There is no bushing on the right side of the motorcycle. The speedometer drive mechanism is on the right side of the motorcycle. It is located between the right fork and the right side of the hub.
Front wheel installation is the reverse of front wheel removal.
Prior to installing the speedometer drive mechanism, it is best to disconnect the speedometer cable. You should apply grease to the inside of the speedometer drive mechanism and the right side of the wheel hub. Note that the speedometer drive mechanism has two tabs. Take care to align these with the front hub slots when installing the front wheel.
Reinstall the front axle, the front axle nut, the front brake caliper, and the speedometer drive cable. The front axle should be torqued to 35 ft-lbs. The caliper bolts should be torqued to 22 ft-lbs.
Check the front brake prior to riding to assure proper operation, and you are ready to ride.
 SG250 San Gabriel Cafe Racer
 TT250 Enduro