


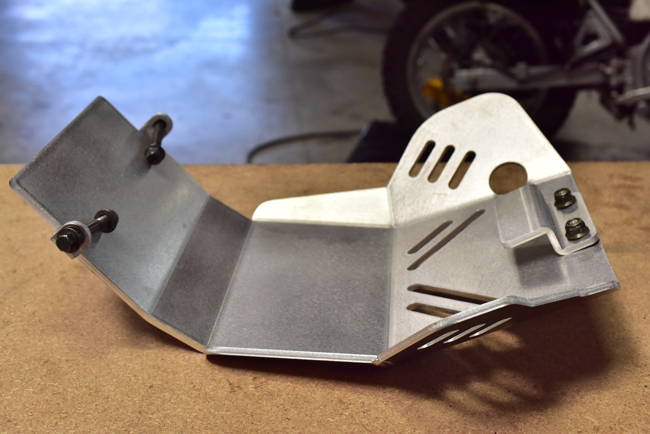
This is our new aluminum skid plate. You can have one of these for $129.95, and they are in stock now. The look is awesome, and so is this latest CSC accessory’s strength!
The new skid plate is fabricated from 0.200 inch thick billet aluminum and it’s one very tough customer. The complete kit includes the skid plate, the upper skid plate mounting bracket, two 12mm nuts for securing the upper skid plate mounting bracket, and two 10mm bolts and nuts that are longer than the stock lower engine guard bolts.
 This is our maintenance tutorial on how to install the skid plate on your RX3.
Start by removing the stock skid plate. It’s secured by three 8-mm bolts.


We’ll be grinding off the attach points for the stock skid plate, so make sure there are no flammable items in the area. You’ll want to drain the crankcase overflow drain line away from the area in which you’ll be working, and then replace the overflow drain line’s plug.
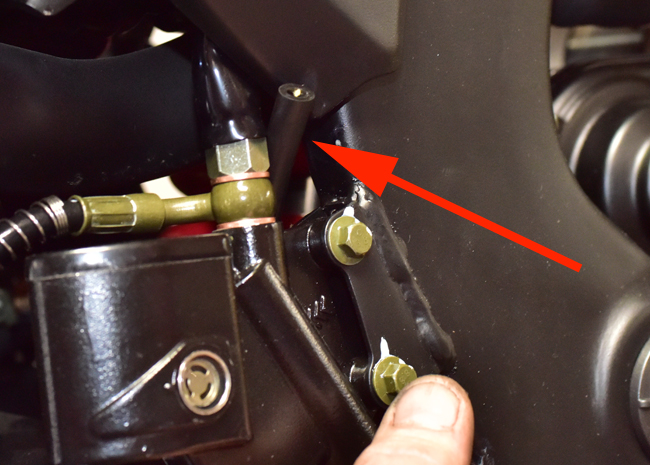
 Another line that could contain flammable fumes is the gas tank overflow line. It normally hangs down on the left side of the motorcycle beneath the side stand, as the photo below shows.
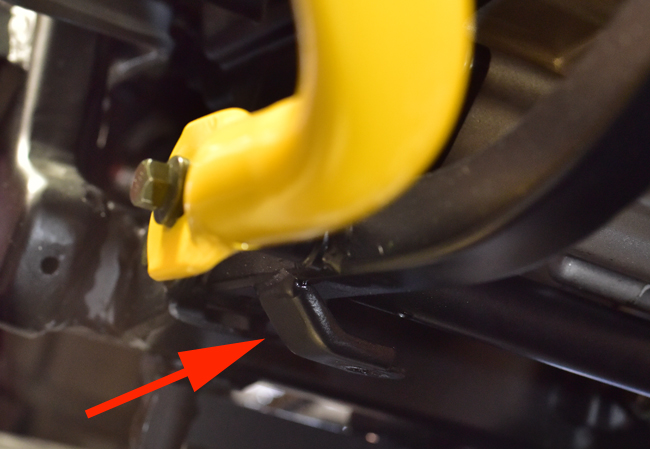
 A good way to get the fuel overflow line out of the way is to route it back up through the motorcycle chassis such that it exits above the rear brake master cylinder (as you see below).
 After you have removed the stock skid plate, you’ll see its mounting points.

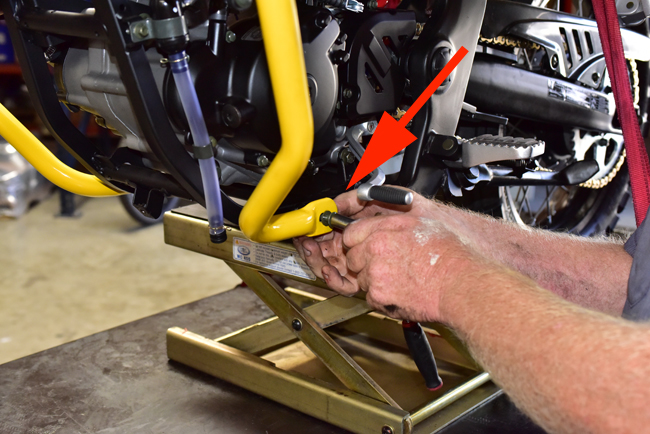
 Remove the 10mm bolts that secure the lower front engine guard on both sides of the motorcycle.
 Loosen (but do not remove) the four 10mm U-bolt nuts that secure the lower engine guard to the frame.
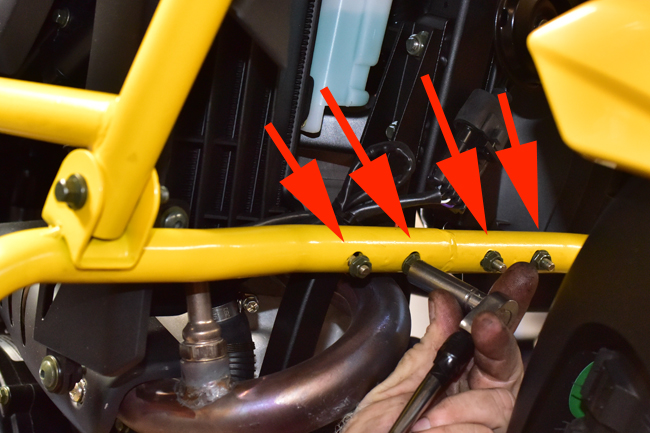 Loosen (but do not remove) the two 12mm bolts that secure the exhaust header to the cylinder head.
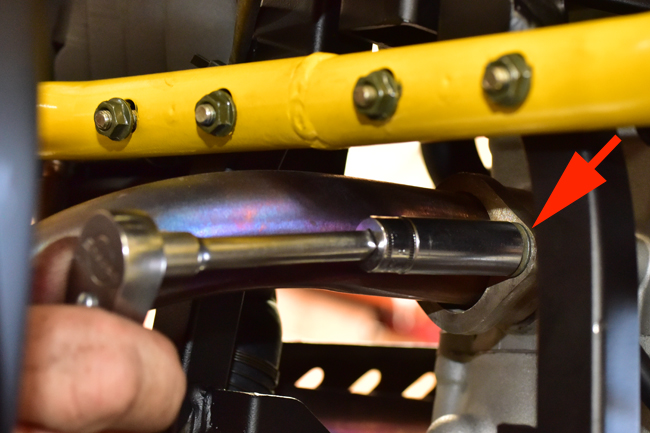 Loosen (but do remove) the 10mm bolt that secures the rear of the exhaust header.
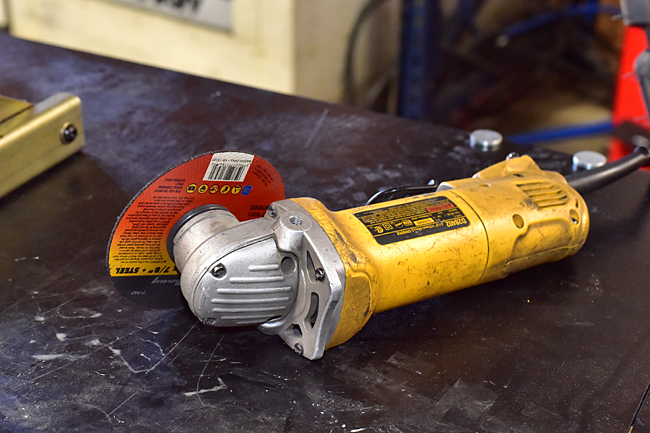
 You’ll need a grinder for the next steps. Make sure you wear suitable eye protection, and again, make sure there are no flammable materials in your work area.
 Grind off the upper skid plate attach bracket.
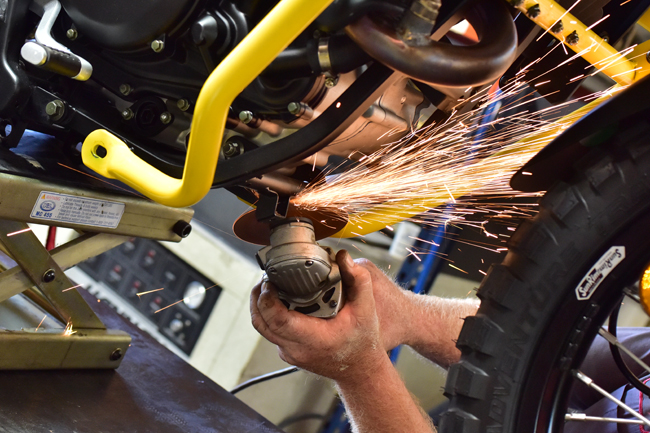 Grind off the two lower skid plate attach brackets.
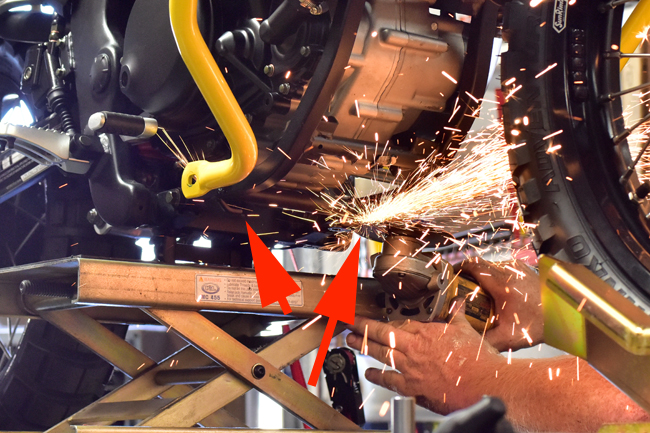 When you are finished, you should have removed the one upper and two lower skid plate attach brackets. Take care during the grinding operation not to grind into the frame; just remove the upper and lower skid plate attach brackets.
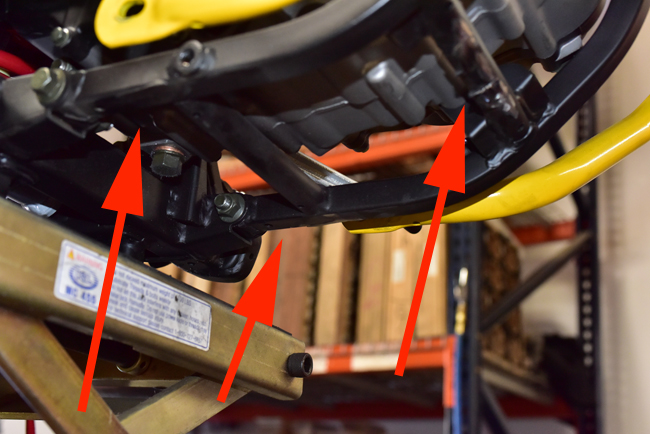 Paint the bare metal on the frame that was exposed by the grinding operation.
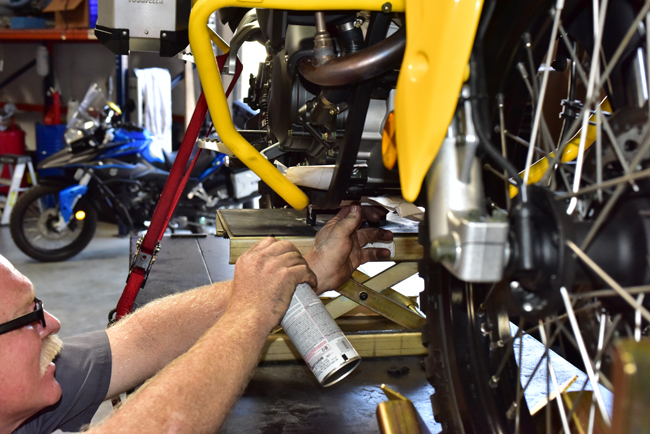 Position the new aluminum skid plate on the motorcycle, aligning the lower attach points with the lower engine guard mounting points.
 Reinstall the bushing that fits behind the lower engine guard. Do not reuse the 10mm bolts that secured the stock skid plate; instead, use the longer 10mm bolts supplied with the new aluminum skid plate. Do this on both sides of the motorcycle.
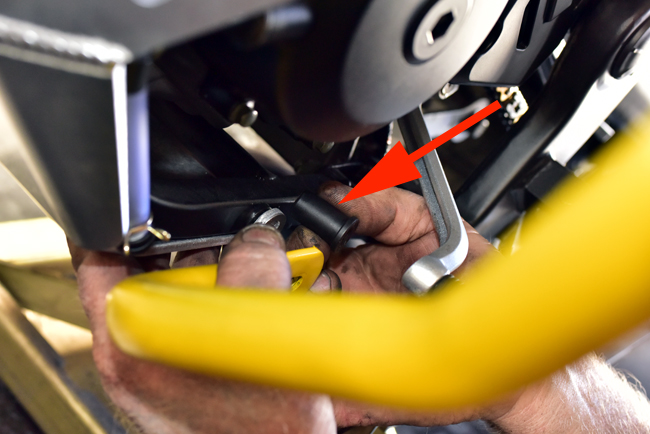
 Install the skid plate mounting bracket over the two studs protruding from the upper portion of the skid plate. Install the two 12mm nuts provided with the skid plate on the studs and tighten.
 Position the exhaust header such that it clears the aluminum skid plate, tighten the two 12mm header nuts on the cylinder head, and tighten the 10mm bolt at the rear of the exhaust header. Tighten the four 10mm nuts that secure the upper engine guard. Tighten the two 10mm lower engine guard bolts.
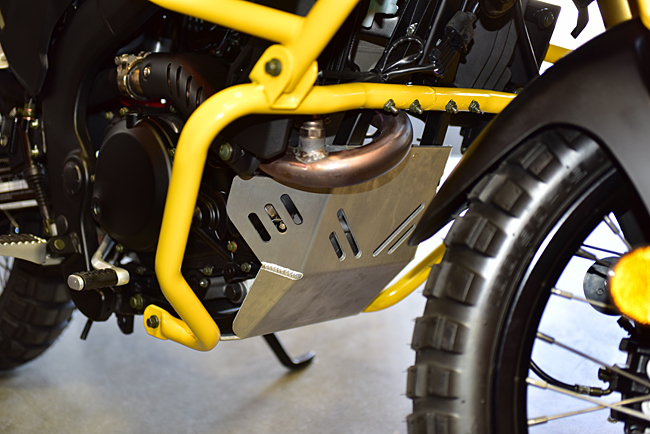
That’s it, folks. When you’re finished, your new skid plate will look like this:
 These new skid plates are in stock, and again, the price is 129.95.
 TT250 Enduro
 SG250 San Gabriel Cafe Racer