Whoa, silly me! I missed putting something up about installing the Tourfella bags on an RX3, and then when the guys in the plant assembled a bike with the aluminum luggage last week, I missed the assembly. My apologies…I don’t have a step-by-step set of instructions for you on this one, but I do have photos showing how it all goes together. The bracketry for the Tourfella bags is actually simpler than it is for the stock RX3 luggage. Let’s take a look.
The first thing you’ll need to do is remove the all of the RX3’s standard luggage mounting bracketry and rear guards, and with that, you’ll also need to remove the structure and grab rails that support the standard RX3 trunk.
What you will install instead are the Tourfella trunk mount, two side mounts for the two bags (left and right), a strut that attaches the saddlebag mounts to the rear foot peg mounts, and a rear cross strut. Like I said, it’s simpler than the standard RX3 luggage mounting system.
Let’s take a look.
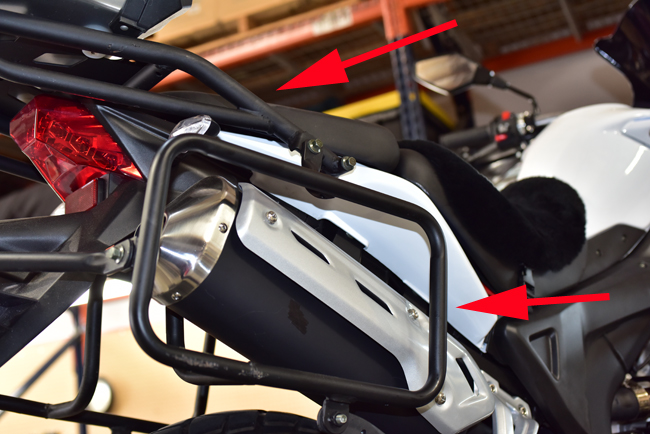
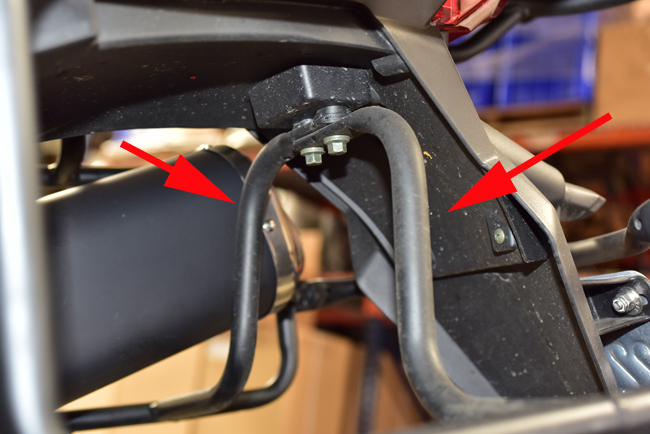
The upper arrow in this photo shows the trunk mount, and the lower arrow shows the right saddlebag mounting bracket. There’s a mounting bracket for the right saddlebag and a mounting bracket for the left saddlebag. The mounting bracket for the right saddlebag is deeper because it has to clear the muffler.
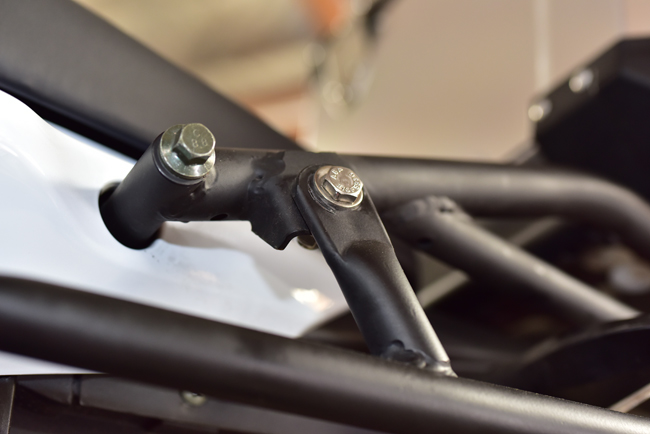
Here’s a photo that shows a close-up of how the trunk mounting bracket attaches to the bike underneath the seat, and how the saddlebag mounting brackets attach to the trunk mounting bracket.
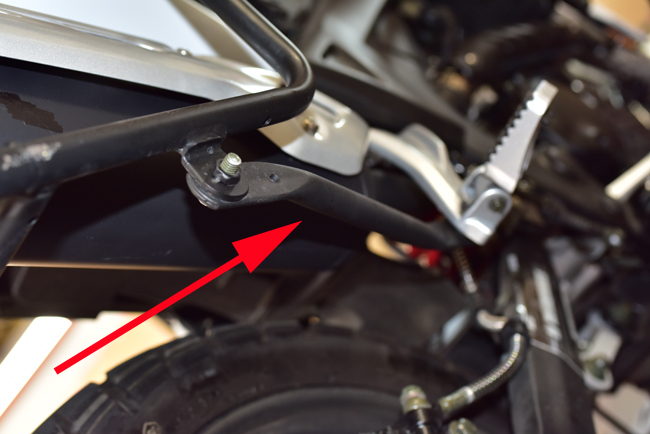
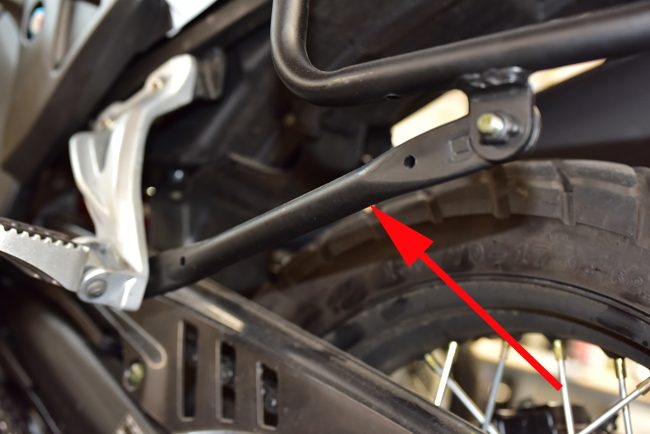
There’s a strut for each side of the motorcycle that attaches the saddlebag mounting brackets to the rear foot peg brackets. The first photo below shows this on the right side of the motorcycle; the second photo shows the left side of the motorcycle.
Each saddlebag mounting bracket contains an extension that reaches up under the fender. These bolt together under the fender as shown in the photo below.
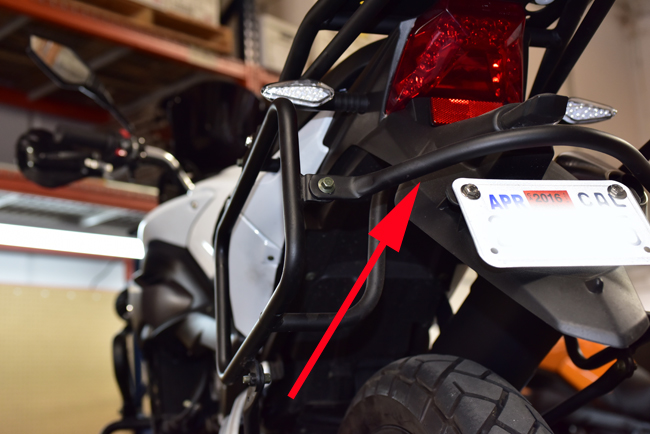
Finally, there’s a cross strut that reaches around underneath the tail light to connect the left and the right saddlebag mounting brackets, as you see in the photo below.
That’s it, folks. It’s a well-designed system, and the photos above show you how it all fits together.



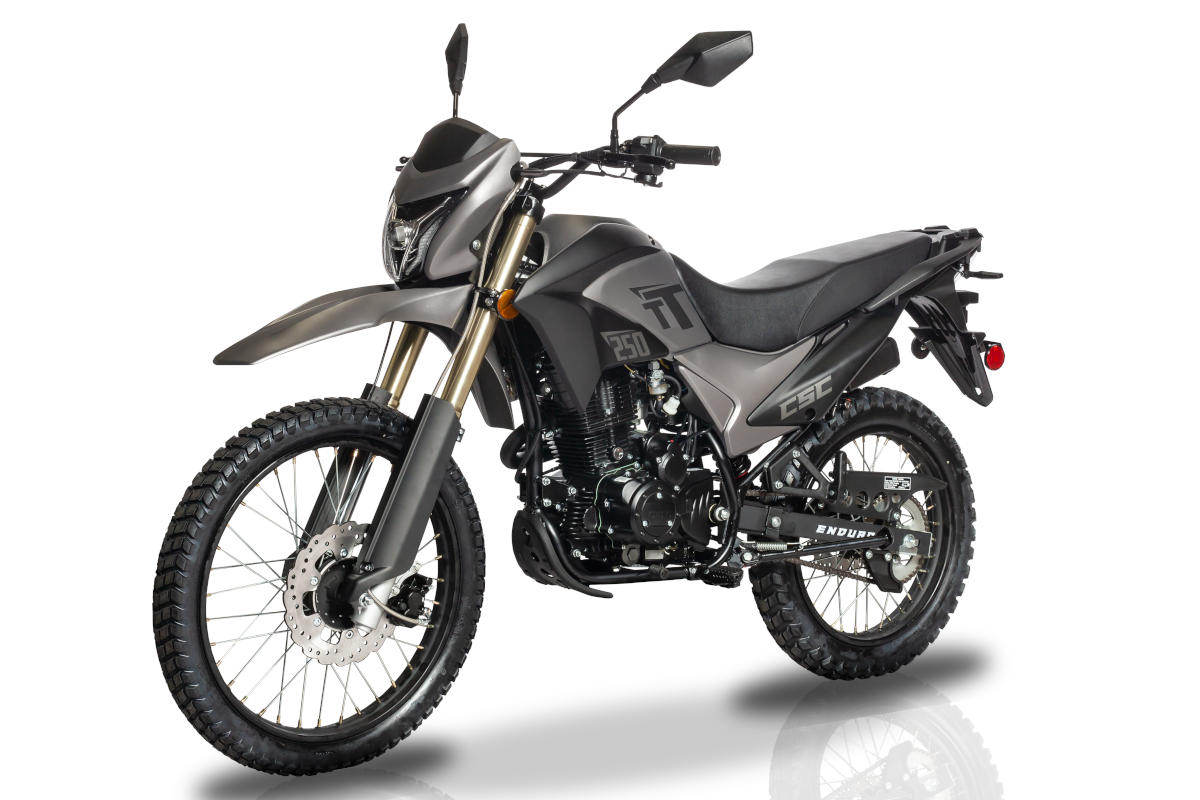 TT250 Enduro
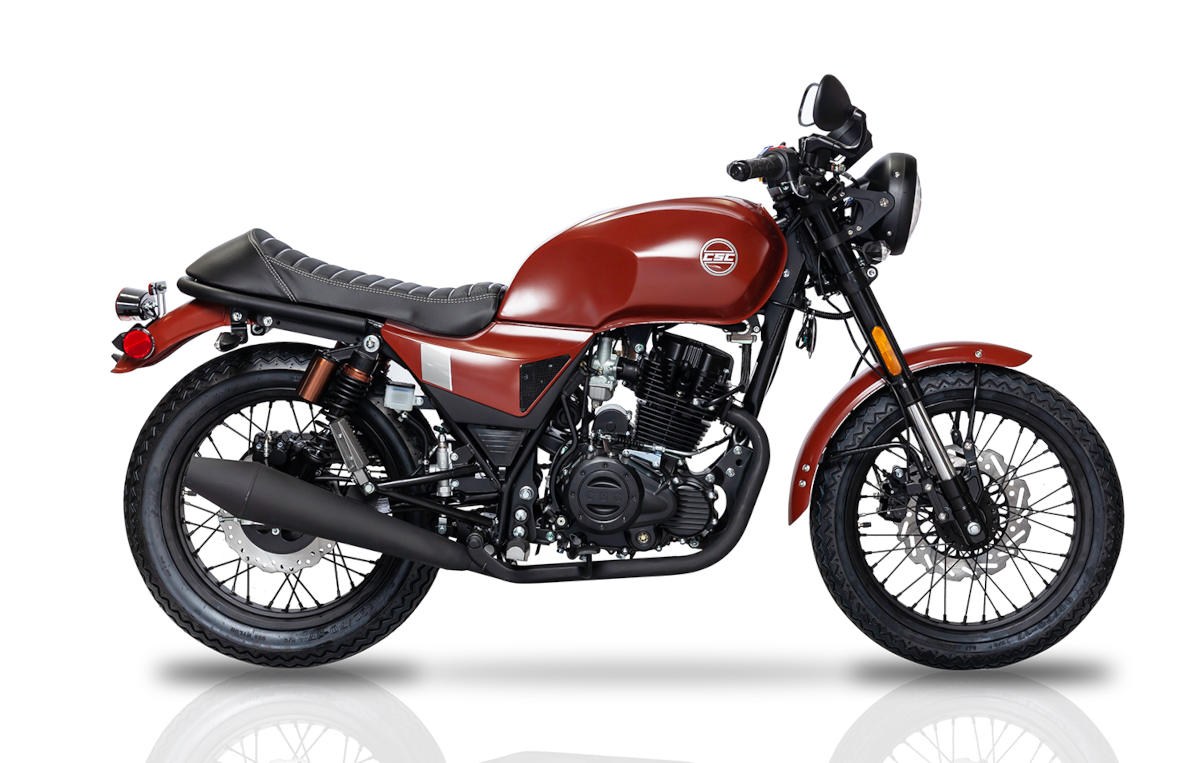 SG250 San Gabriel Cafe Racer
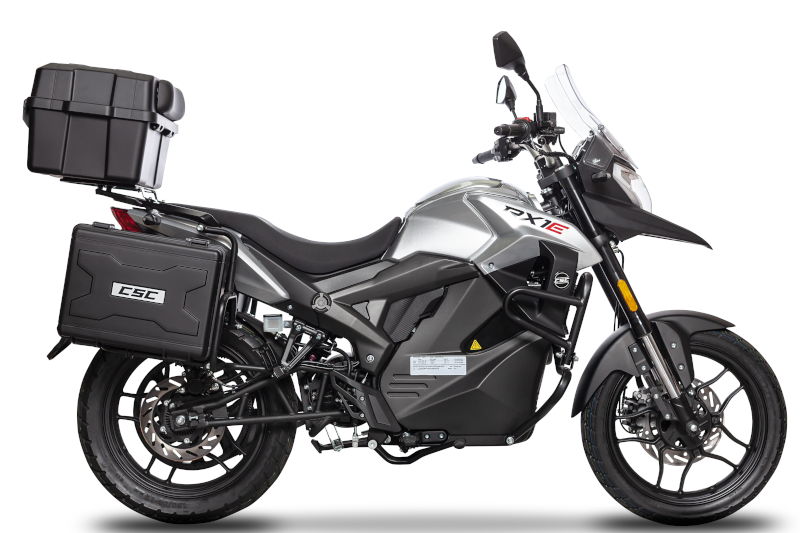 RX1E Electric Motorcycle