Yeah, I know, it’s great. There’s nothing like getting your knees in the breeze. But you know that. That’s why you bought a California Scooter, and it’s why I did, too.
So, you’ve bought your own CSC motorcycle and it’s on its way to you. Ordinarily, we ship our bikes to dealers (and we want our customers to buy from their local dealer), but if there’s not a dealer in your area, we’ll ship direct to you. And for a little while longer, we’re not charging for freight (we gotta pay it, but we’re absorbing the costs only through the end of May). It’s a good deal.
Other kinds of motorcycles require relatively complex setup procedures (like installing the front wheel, repositioning the fork legs in the triple tees, etc.). There’s nothing that complex on a California Scooter. We’ve made it simple. Let’s walk through it and you’ll see what I mean.
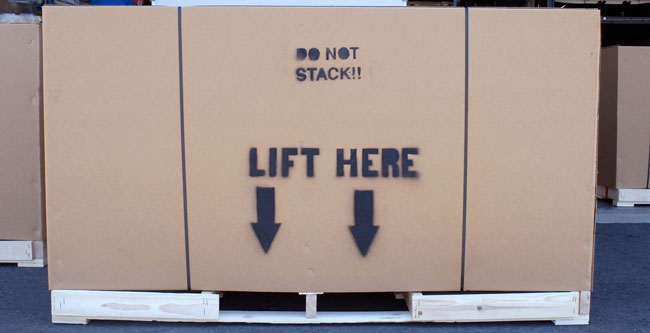
When your bike arrives, it’s going to look like this…
After you’ve removed the cardboard cover and the lumber used to hold the cardboard in place, you’ll see your bike strapped down to its pallet:
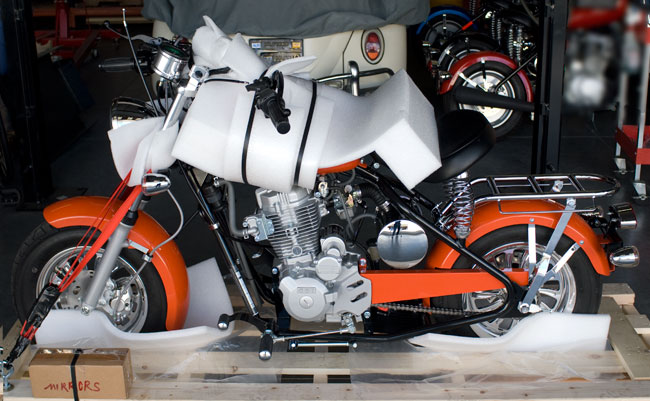
We put all the protective material in there to make sure your bike arrives like it left the factory, in perfect condition
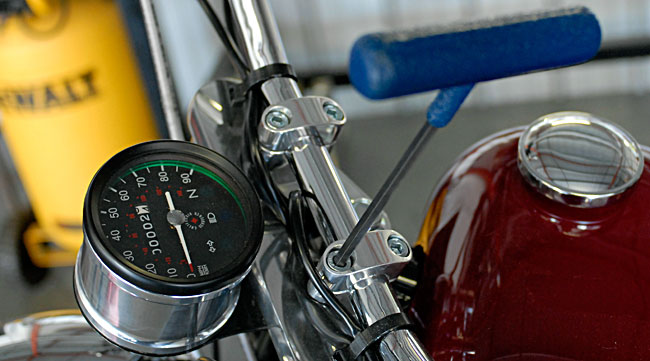
All you need to do at this point is unpack the handlebars and install them in the handlebar risers. To do that, just remove the four 6mm Allen-head bolts in the risers, position the bars in the risers, and then reinstall the risers and the four Allen-head bolts.
Once the handlebars are installed, all you have to do is hook up the clutch cable (we unhook that so that we can dismount and turn the bars sideways for shipping). You need to install the handlebar end of the clutch cable end first, and the photos below show how to do this.
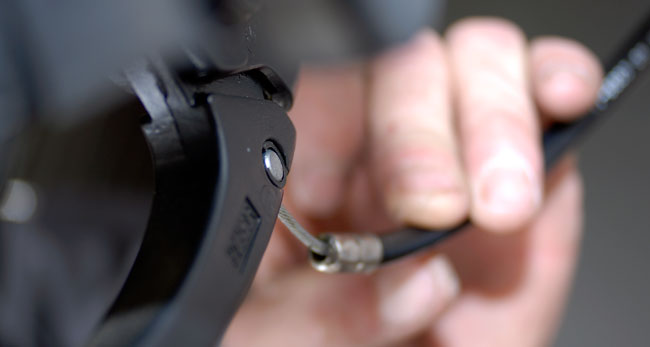
Insert the ball end of the clutch cable into the clutch lever...this shows it from underneath the clutch lever

Align the clutch lever knurled lock nut and adjuster nut so that you can slip the cable in place, as shown here
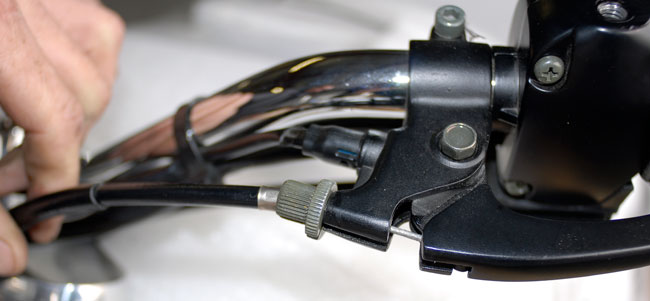
Seat the clutch cable into the adjuster nut...you can adjust the cable after connecting it to the engine
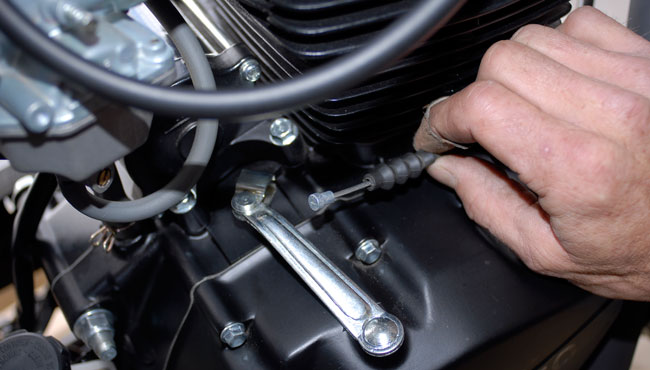
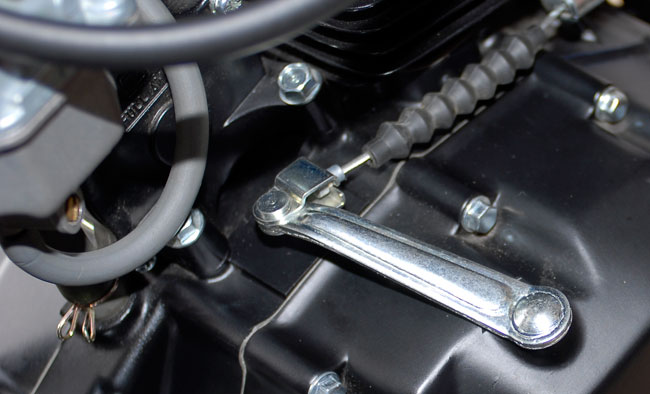
Once you’ve got the clutch cable hooked up at the clutch lever like we’ve shown above, you need to hook it up at the other end on the right side of the engine. Here’s what that looks like…
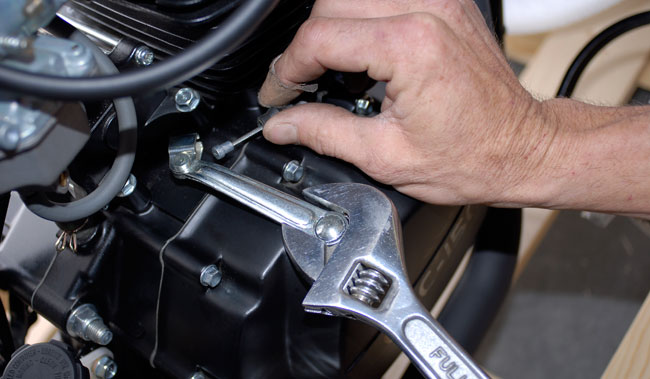
Hook the ball end of the clutch cable into the engine's clutch actuation lever after you've rotated the clutch lever forward (if you use a wrench, as you see here, take care not to scratch the engine case)
All you need to do now is adjust the clutch cable at the lever end. You want just a little bit of free play in it before you feel resistance in the clutch lever. We look for about 1/16 to maybe 1/10 of an inch at the point shown in the photo below. This adjustment isn’t super critical…you just don’t want zero end play in the clutch lever (there needs to be a little bit so the clutch is fully engaged when you release the lever).
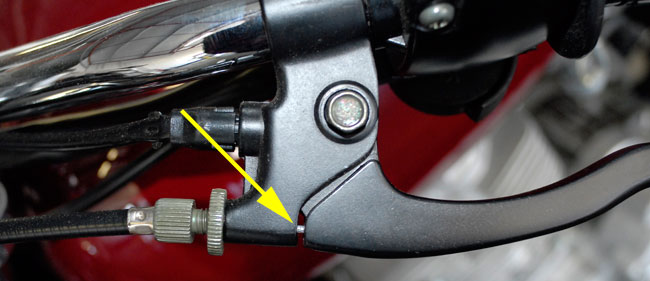
Use the clutch lever adjuster and lock nut to adjust the lever to about 1/16th to 1/10 of an inch free play
That’s about it, folks. There’s already a little bit of gas in the tank, the battery’s charged, and the engine has oil in it when it leaves the factory. Put a little more gas in, and let’s ride!




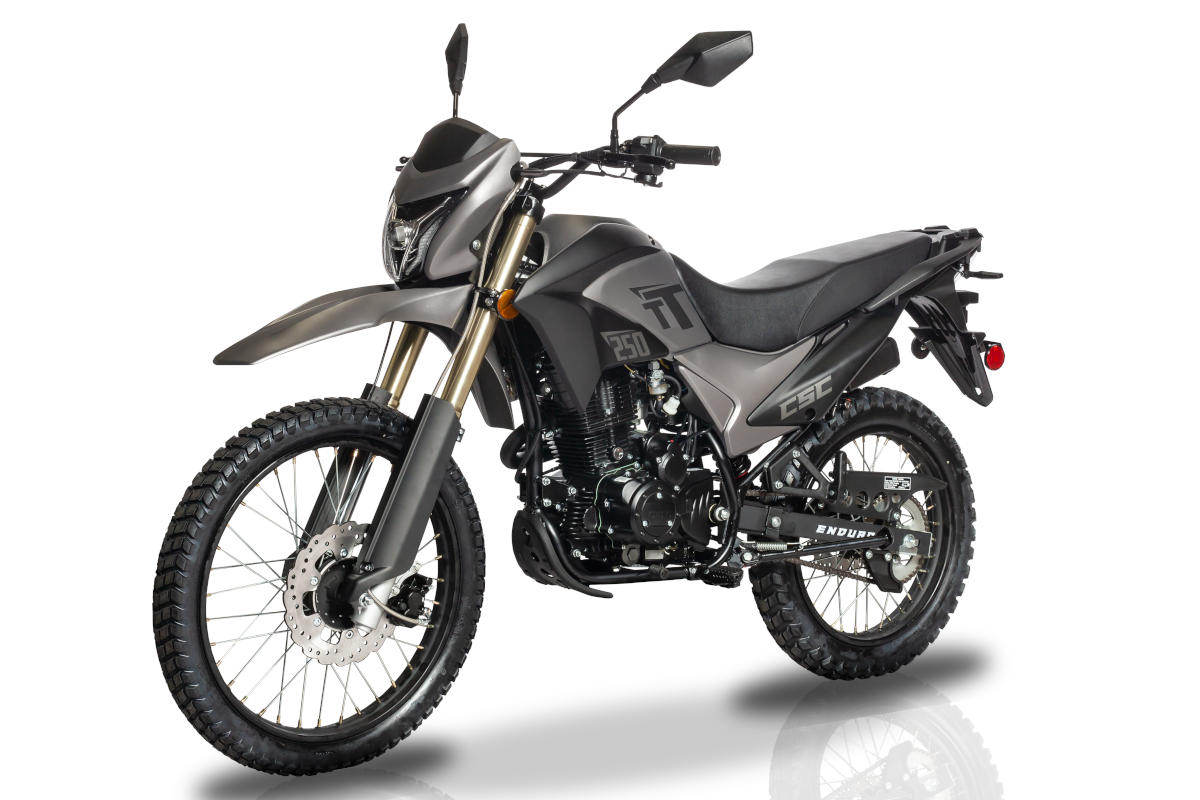 TT250 Enduro
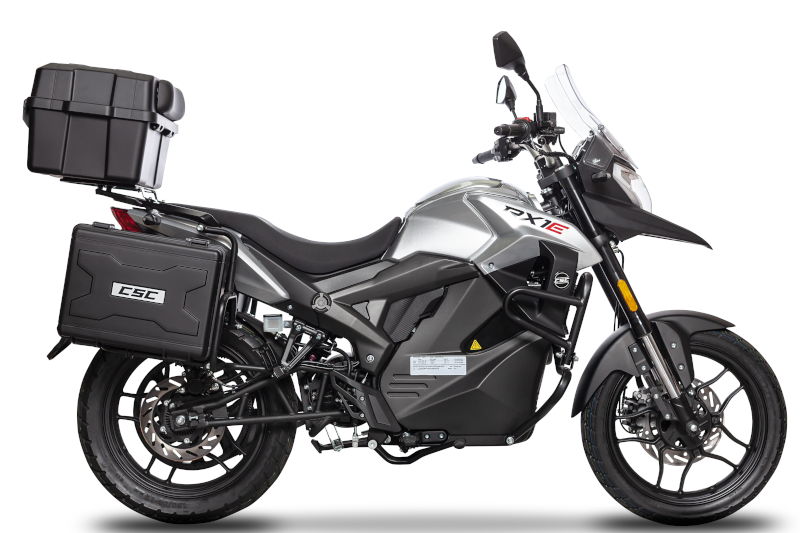 RX1E Electric Motorcycle
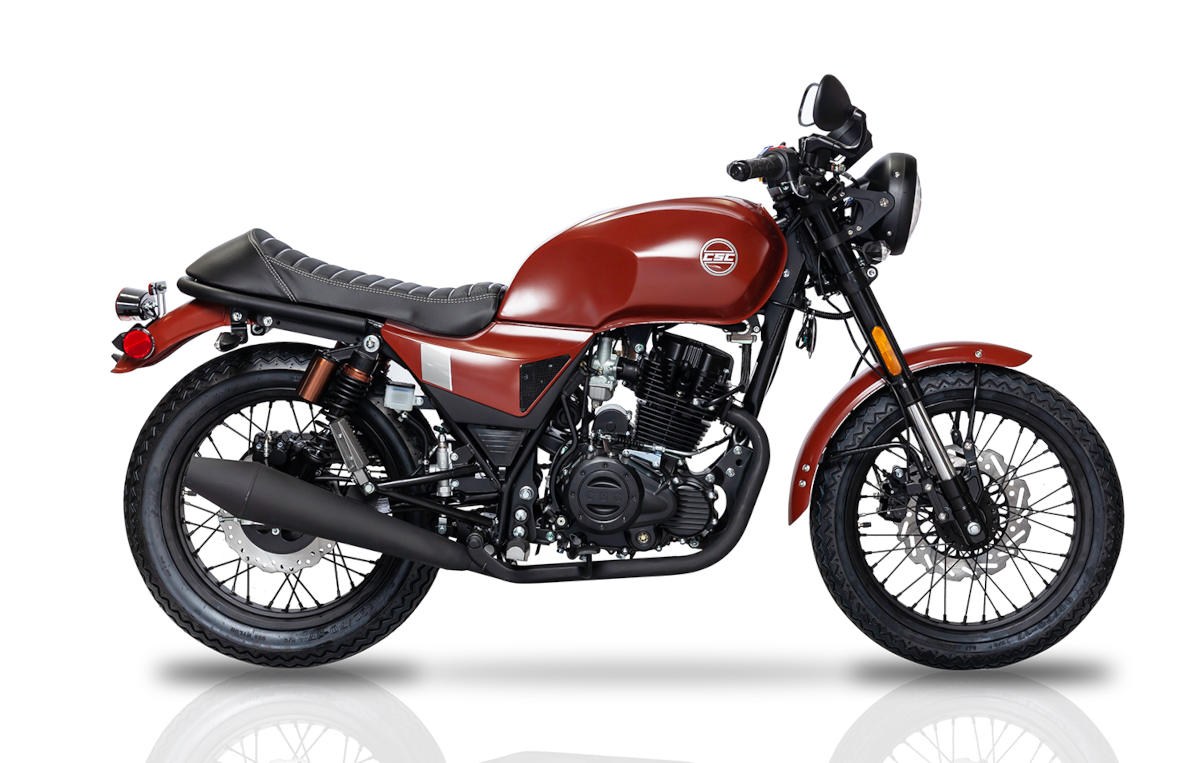 SG250 San Gabriel Cafe Racer
One Response to Let’s ride!