We get phone calls from time to time with this question: What oil should I use in my California Scooter?
In our California Scooter Owner’s Manual, we recommended using oil with a service classification of SG, which is what several other motorcycle manufacturers have done. SG oil doesn’t contain any friction inhibitors, and that’s what you want in a motorcycle engine with a wet clutch (like ours). If you use automotive oil with these friction inhibitors, they’ll cause the clutch to slip.
The problem with the SG rating (as we and every other manufacturer found out) is that it is obsolete, and there is no direct replacement grade for it that everyone agrees to. It’s caused a lot of confusion. The American Petroleum Institute said SJ is the same, but BMW and several others disagreed with that. They and others jumped through hoops just like we have been doing with this same issue. I’m the culprit here at CSC, as I’m the guy that put it in our Owner’s Manual, and I subjected us to the same confusion as the other guys suffer. Mea culpa.
So, here’s the gospel:
Stay away from automotive oils with “energy conserving” or “friction inhibitors” (that’s just about all of them). Just don’t use car oil in your California Scooter.
Use a good non-synthetic motorcycle oil with either a 10W-40 or a 10W-30 rating for at least the first thousand miles. We use Drag Specialties, like you see in the picture below. You want to use a non-synthetic oil because it will allow the engine to wear in properly. You can use it after the first 1000 miles, too, if you want. It’s what we put in our new bikes. We can sell it to you, too (it’s $9.95 a quart).
After the first 1000 miles, you can switch to a good motorcycle synthetic oil. The one I like a lot is Mobil 1 4T Racing Oil. Don’t use regular Mobil 1 (the stuff cars use); you want Mobil 1 4T. When I made the switch to this oil in my California Scooter, my bike ran a bit more smoothly and it shifted a little easier. I think it’s good stuff. You can buy this oil from us for $11.49 per quart. We keep it in stock (it’s a bit tough to find).
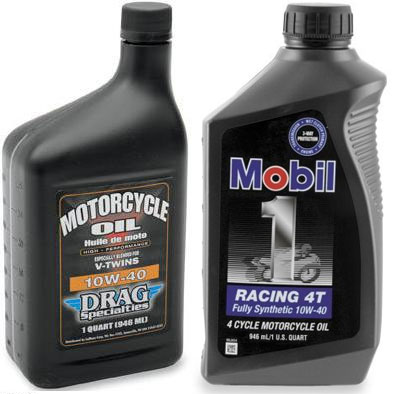
CSC Preferred Oils. Use Drag Specialties 10W-40 for the first 1000 miles (or more). After the first 1000 miles, you can switch to Mobil 1 4T synthetic oil (or you can continue to use the Drag Specialties oil at each oil change).
If you need either of the above oils, give us a call, and we’ll ship it right out.
Changing Your Oil
Changing your oil is a pretty simple affair on a California Scooter. I always ride my bike around a bit to warm it up, and then I let it cool just a bit. You want to get the oil warmed up and circulating so that any sludge is swept away when you change the oil.
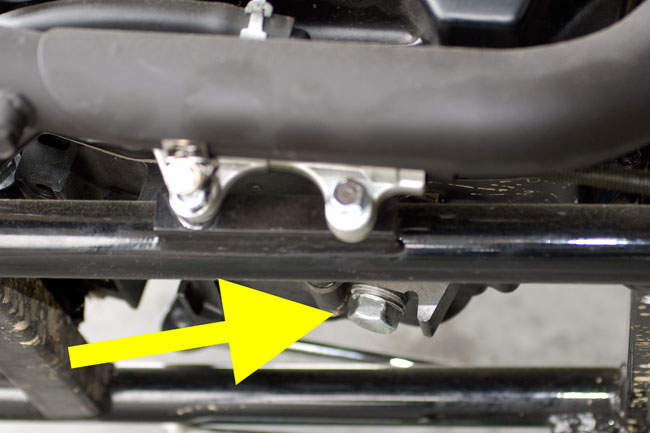
After that, I’ll put a pan under the bike and unscrew the filler cap/dipstick (on the right side of the engine) and the drain plug underneath the engine. You can see the drain plug in the photo below.
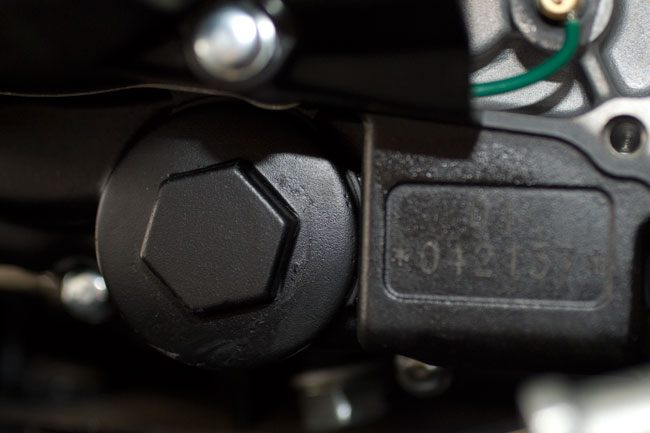
The next thing I do is unscrew the oil filter screen cover. It’s located down on the lower left side of the engine…you can see it in the photo below.
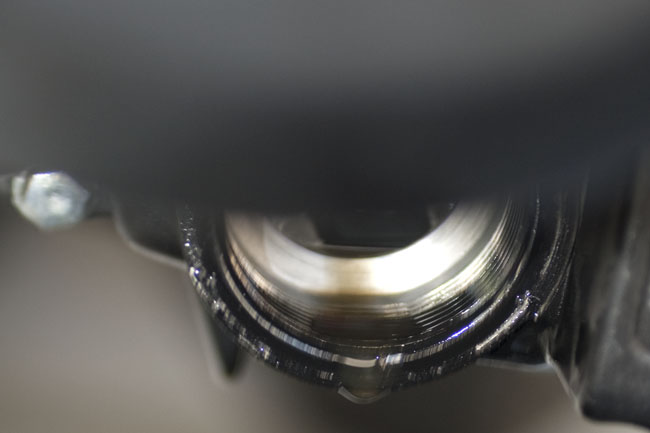
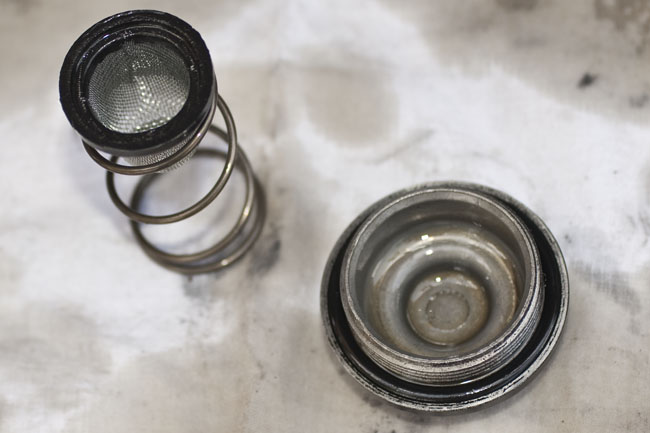
With the oil filter screen cover removed, you can remove the filter screen and the spring that secures it. It’s gonna look like what the photos below show.
Here’s what that filter screen looks like.
If you see any metal filings or other debris in the screen, just wash them out. It’s normal for an engine (especially during the break in period) to have a few metal filings show up on the screen, so if you see these, don’t worry about it. It’s what engines do, and it’s why the screen is there.
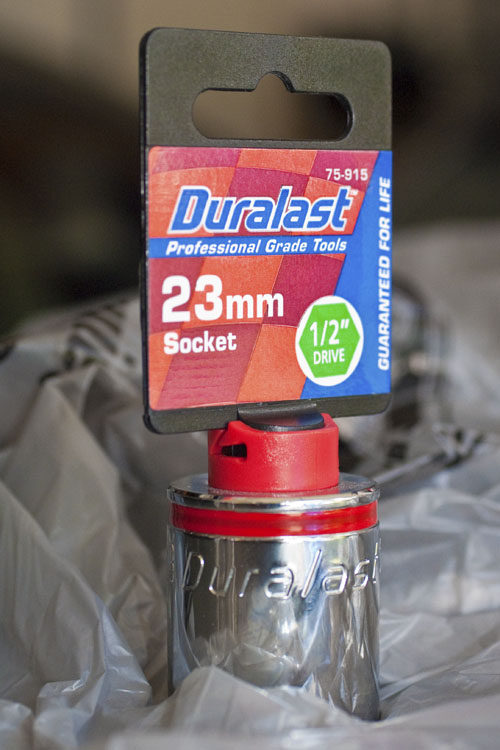
Now, about that cover that holds the filter screen in…that’s one for which you probably won’t have a socket in your tool kit. The cover is aluminum, so don’t try to get by without the right socket because you might round the flats. It’s a 23mm, and that’s an unusual size. I thought I had every socket I’d ever need, but the first time I changed the oil in my CSC, I had to make a run to the local AutoZone to pick up a 23mm.
Once you’ve drained the oil, you should pick the bike up off of its sidestand to make sure all of the oil drains, and then replace the filter, the screen, the filter screen cover, and the drain plug. The bike takes just one quart of oil, so all you need to do is put one quart of your preferred flavor (as outlined at the beginning of this blog) into the dipstick hole. After you’ve done that, screw the dipstick back in, start the bike, and let it warm up for a few minutes. You’ll want to check to make sure nothing’s leaking, and then shut the bike off and check the oil.
Checking the oil is a tiny bit tricky, too. You need to check the oil level after the bike is has warmed up, and you need to have the bike level. Don’t screw in the dipstick when you’re checking the oil level, as doing so will give you an erroneous reading. Just push it in to where the threads start, and then pull it out. Here’s what it should it look like…
That’s it. When you’re done, screw the dipstick back in, and then get out and ride!





 TT250 Enduro
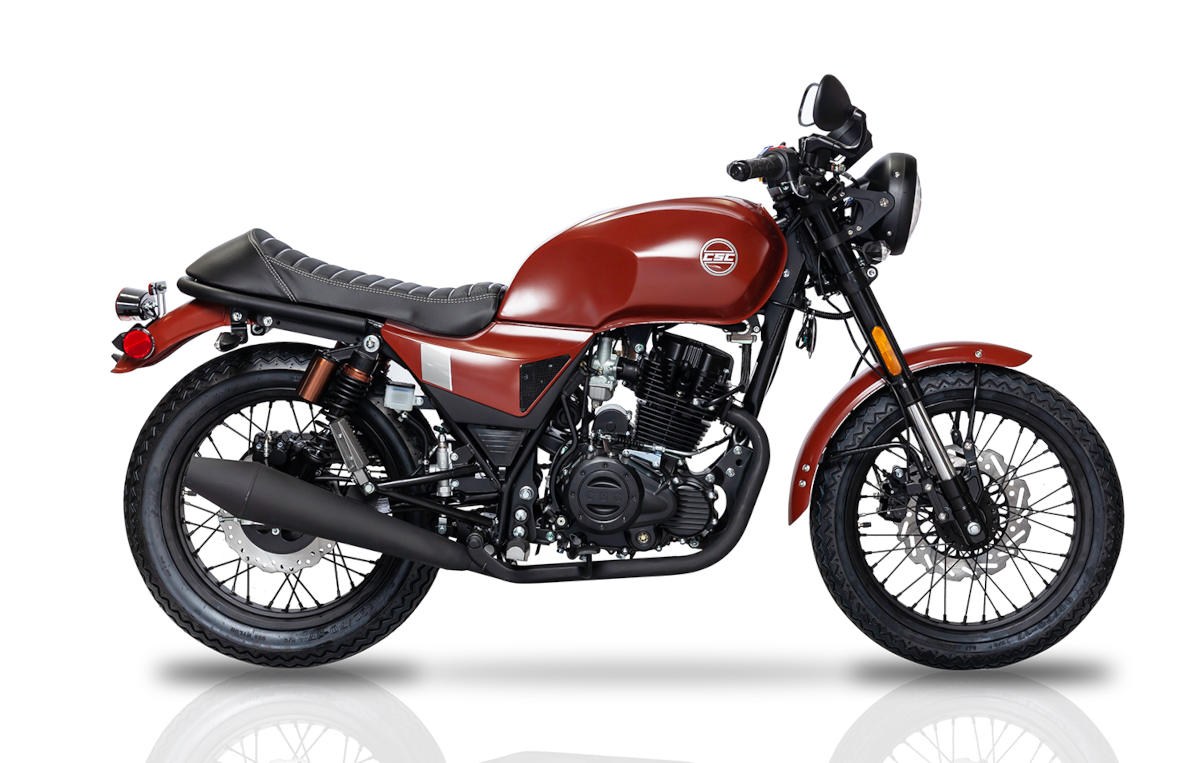 SG250 San Gabriel Cafe Racer
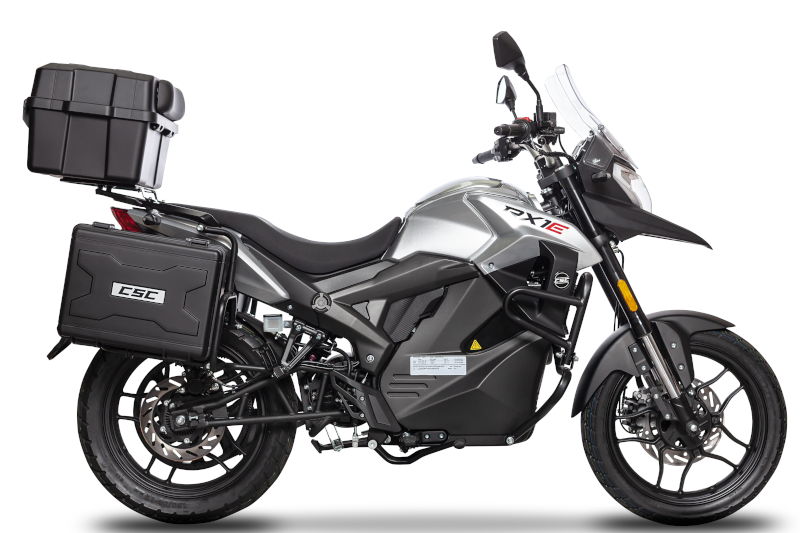 RX1E Electric Motorcycle