ADV Riding 101: What tools to take on a dual-sport ride
by Randy Reek
If you are a dual-sport rider you WILL be beyond the reach of motorcycle repair shops and even cell service. Otherwise, what’s the point of riding a dual-sport?
The most scenic (and challenging) destinations are beyond the pavement. That’s the attraction of dual-sport motorcycles. You can go where even stock 4×4’s can’t. You can start your ride from your garage, head for trails or unpaved roads, and carry gear for several days of unsupported “overland” travel. Then, after your adventure riding, you can turn back onto the highway and ride home.
I have ridden many thousands of miles off-road including ADV routes like the Trans-American Trail (TAT), several Backcountry Discovery Routes (BDR’s), plus over 1,000-miles of unpaved back roads in Alaska – after riding over 6,000 miles on the highway to and from Alaska. One thing that is a constant is being prepared to handle any mechanical issues that arise along the way.
Dual-sport riding is harder on equipment than highway riding. Many recreational street riders will never face a mechanical issue on the road – IF they do any preventative maintenance at home. But dual-sport riders travel over rougher terrain and with added weight of camping gear and supplies for days or weeks of travel. The reality is that you are most likely to suffer a breakdown of some kind in the WORST possible location, that is, when you and your bike are under the greatest strain.
One of the deciding factors in choosing the CSC RX3 Adventure is the standard package of racks and luggage. The RX3 includes racks and luggage that cost hundreds – even over $1,000 – to add to any other bare ADV bike. This standard luggage is sufficient for ADV rides from overnights to weeks. You have room for all of your gear if you plan ahead.
Your goal is to take everything you NEED and nothing you don’t. Believe me, you will enjoy the riding more and put less stress on both you and the bike if you strictly limit what you carry. I recommend making a list of everything you will pack. We will cover clothes, camping and cooking gear later. Today, we will be discussing what I take along for tools and emergency supplies.
First, let’s look at what I wear and carry to be prepared on every dual-sport ride:
I always wear protective riding pants and a jacket. These are either ventilated or waterproof, depending on the weather. In my jacket pockets I carry a small digital camera, notepad, pen, and a cooling nylon neck wet wrap that also serves as a dust mask. I also carry a carabiner-style lock for my helmet. My pants have a belt with a Leatherman multi-tool. I carry my wallet in one pocket and a bandanna in another pocket.
I mention the outer layer of riding clothing because the Leatherman is the most frequent tool I reach for. I use the knife, pliers, and screwdriver almost daily to cut rope, tighten loose screws, adjust cables, and tighten and trim Zip ties.
Note: get used to listening for rattles and vibrations. Tighten loose bolts and screws before they fall out and parts are damaged or gear is lost! Loose electrical connections will cause intermittent glitches.
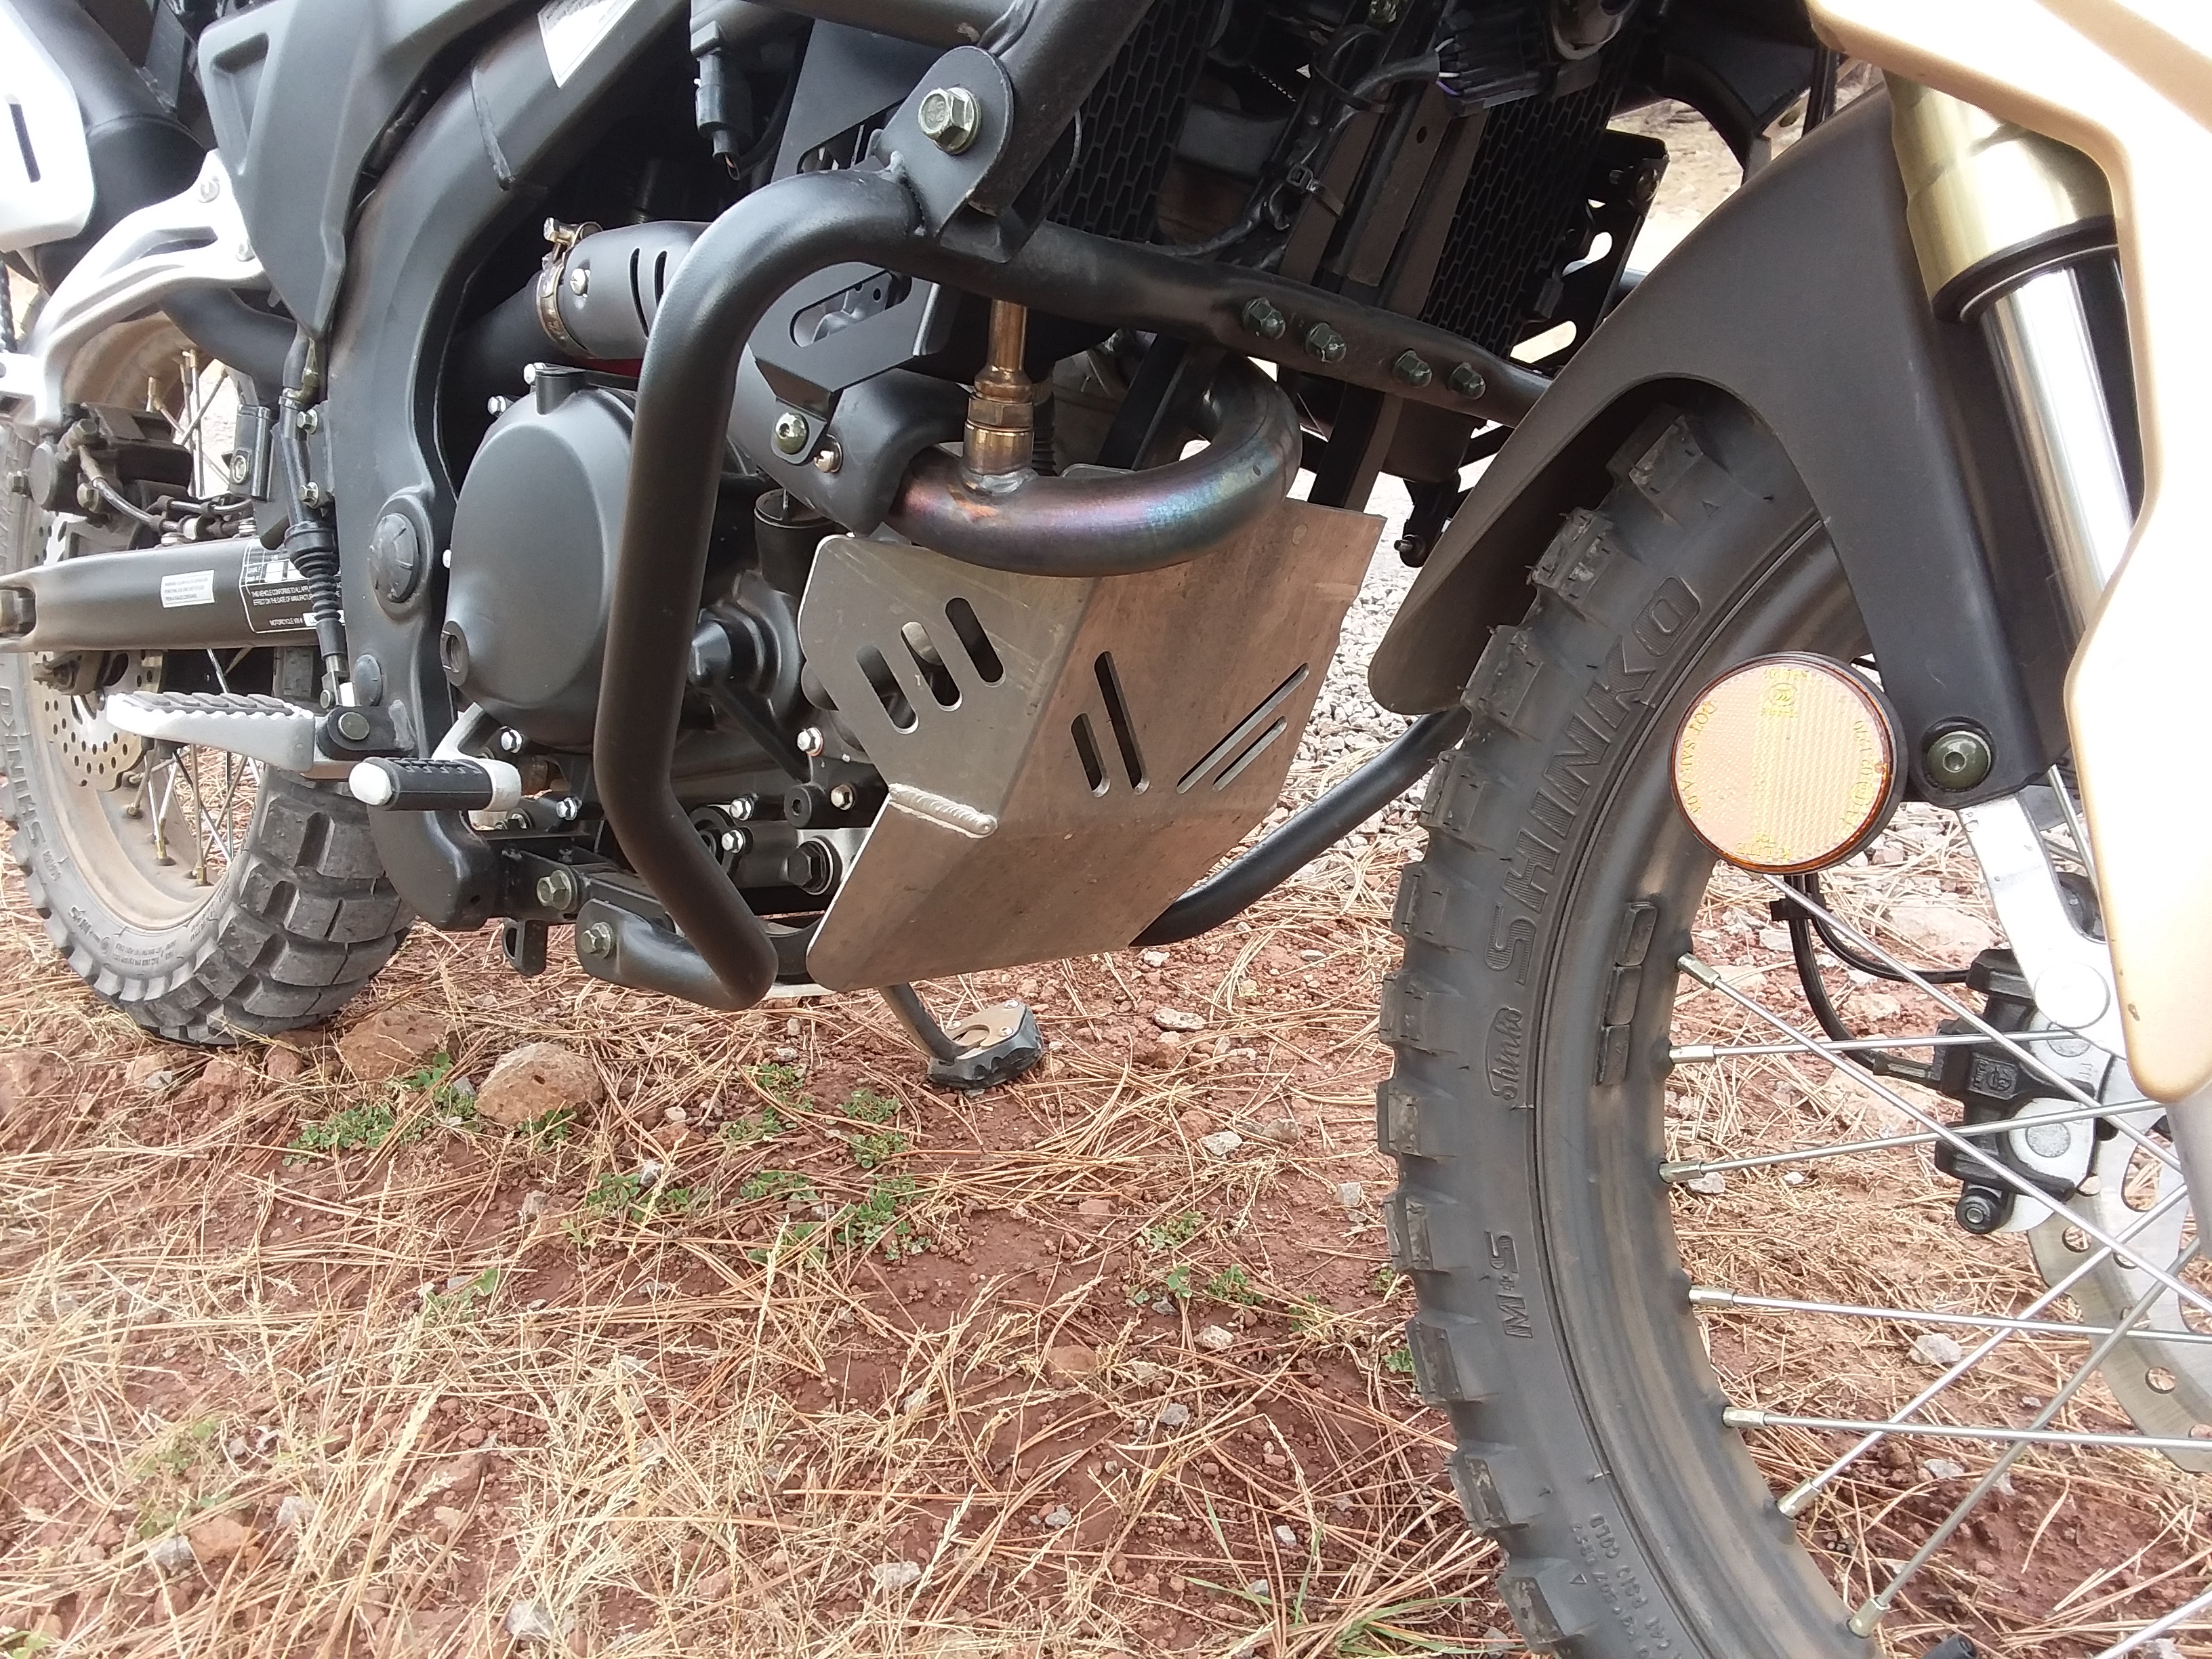
Secondly, prepare your motorcycle for the abuse of off-road riding with proper tires, guards, and options. Take test rides with your bike fully-loaded. Before a major ADV ride, go on a two or three day shake-down ride. Starting out with unfamiliar equipment and a practiced daily routine is asking for trouble. See also Top FIVE Modifications to Your CSC RX3 for Adventure Riding
Next, let’s look at the tools I carry to fix my RX3 on the trail or remote road. It should be obvious that you can’t carry everything – nor should you want to weigh your bike down. I don’t carry spare levers or an extra chain. I don’t carry spare brake or shift cables. If I crash or break one of these parts I will either fix it or limp along until I reach civilization. (You might need to get creative with duct tape, wire and Zip ties!)
Here is my dual-sport tool list:
Soft tool Bag: master chain links, chain breaker tool, tool roll with slip joint pliers, needle nose pliers, large crescent wrench, small crescent wrench, 3/8” ratchet, 3/8 to 1/4 adapter, 1/4-inch metric socket set, Zip ties, JB weld epoxy, Quick Steel, multi-screwdriver; Seal Mate for fork seals, Allen wrenches, Y-tool,
Tire irons, bead tool, small bead lube/hand sanitizer
Super glue, Loctite, duct tape, electrical tape, misc wire crimp-connectors, stranded electrical wire, emery cloth, scuff pad,
Fuses – micro and regular and puller, glass fuse for GPS power lead
Chain lube, WD-40, spare spark plug, spark plug wrench,
Front inner-tube, rear inner-tube, (the rear tube is optional since you can get by with a front tube in the rear tire in a pinch. I carry a spare tube even when riding a cycle with tubeless tires! Also carry tire plugs for tubeless tires), valve tool, valve cores, inner tube patches and glue,
Hose clamps, radiator stop leak, paper towels, shop towel,
Bike air pump, (A 12-volt compressor is an optional luxury.)
First aid kit with the basics like antibiotic ointment, Band-Aids, gauze pads, tape, etc.
That’s a pretty comprehensive list. I have yet to run into anything I couldn’t fix on my bike (usually a friend’s bike) and get to the next town. I have patched together broken fenders and missing brackets that lasted for another 1,000-miles. But it also goes without saying that it doesn’t make any sense to carry a single part or tool that you don’t know how to use!
Over the years I have also eliminated things like a gas siphon hose and tow strap. My RX3 has a huge gas tank and I am never more than 100 miles between stations. There is no way I could tow or be towed by another bike where I ride. If in doubt, leave it out!
Read a manual, watch tutorials (See CSCMotorcycles.com for most maintenance and repair topics), and search YouTube to learn how to perform routine maintenance and repair functions. Proper maintenance will prevent 99% of breakdowns! Hang around a local shop or experienced rider to learn how to change a tire and patch an inner tube. Think through possible repairs. Pack the right size wrench to remove your wheels before you bother to carry spare tubes or a compressor!
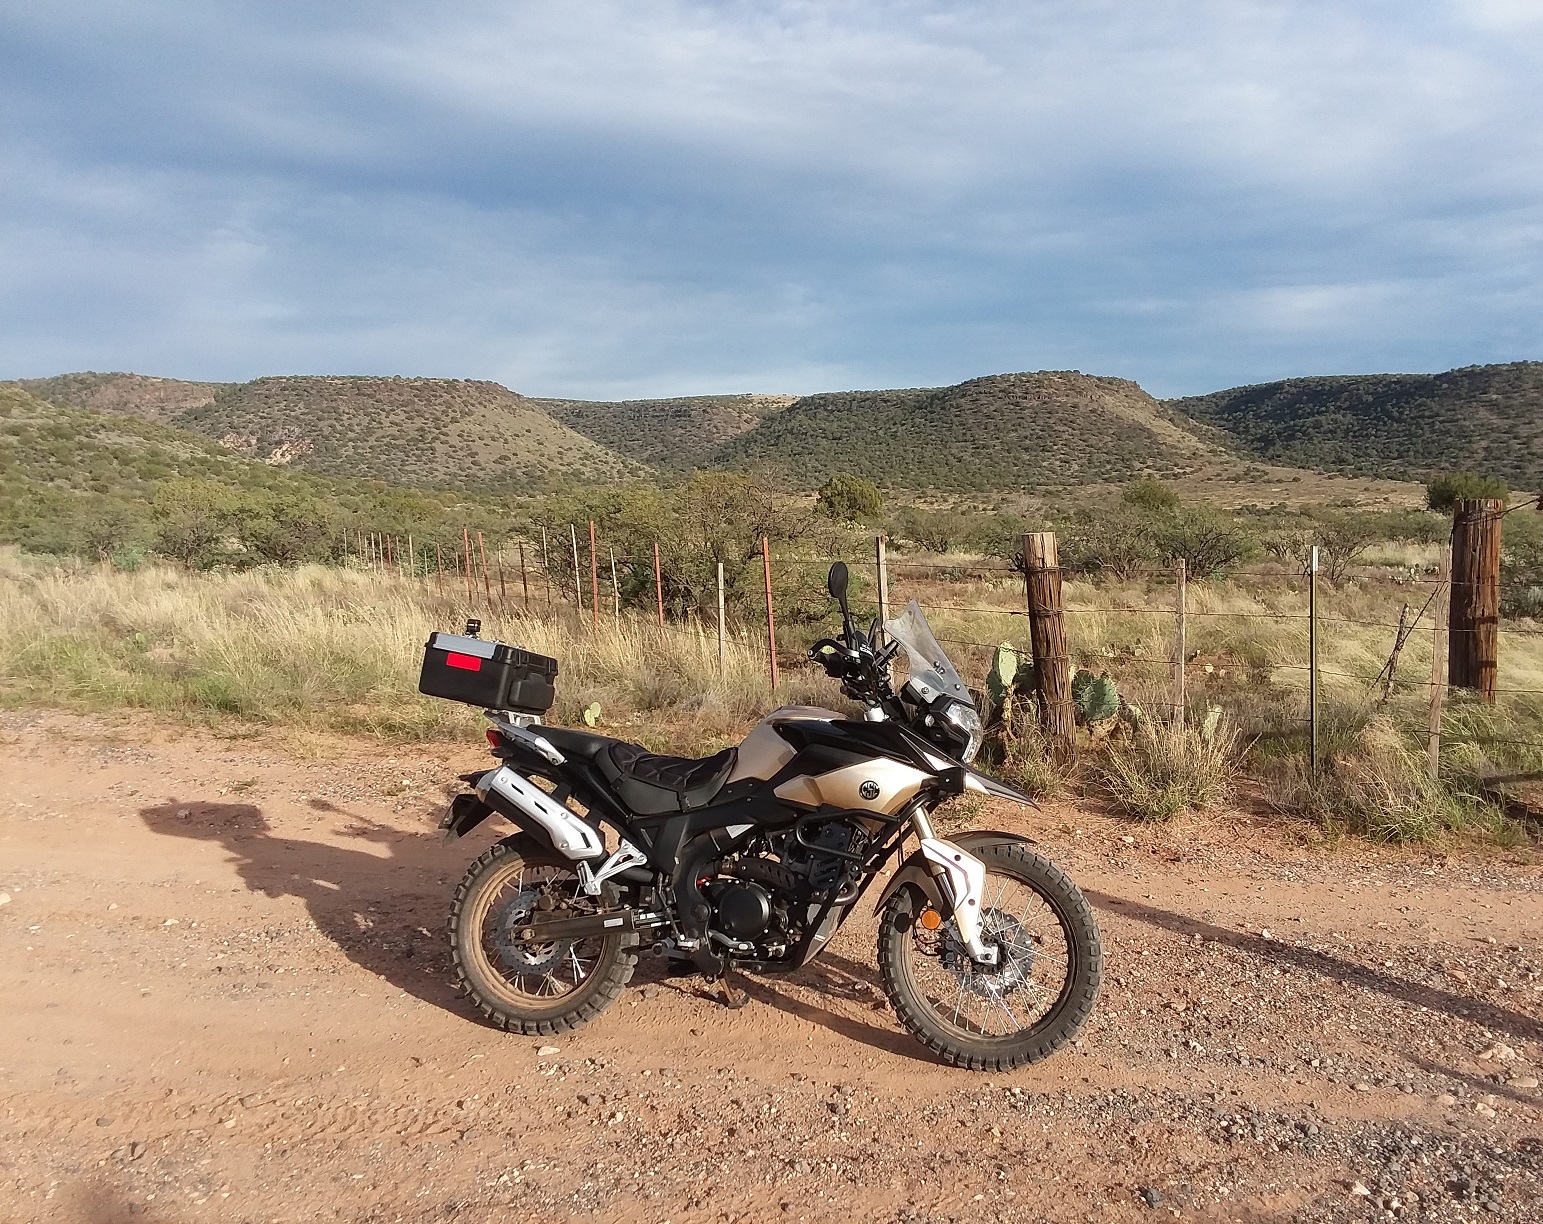
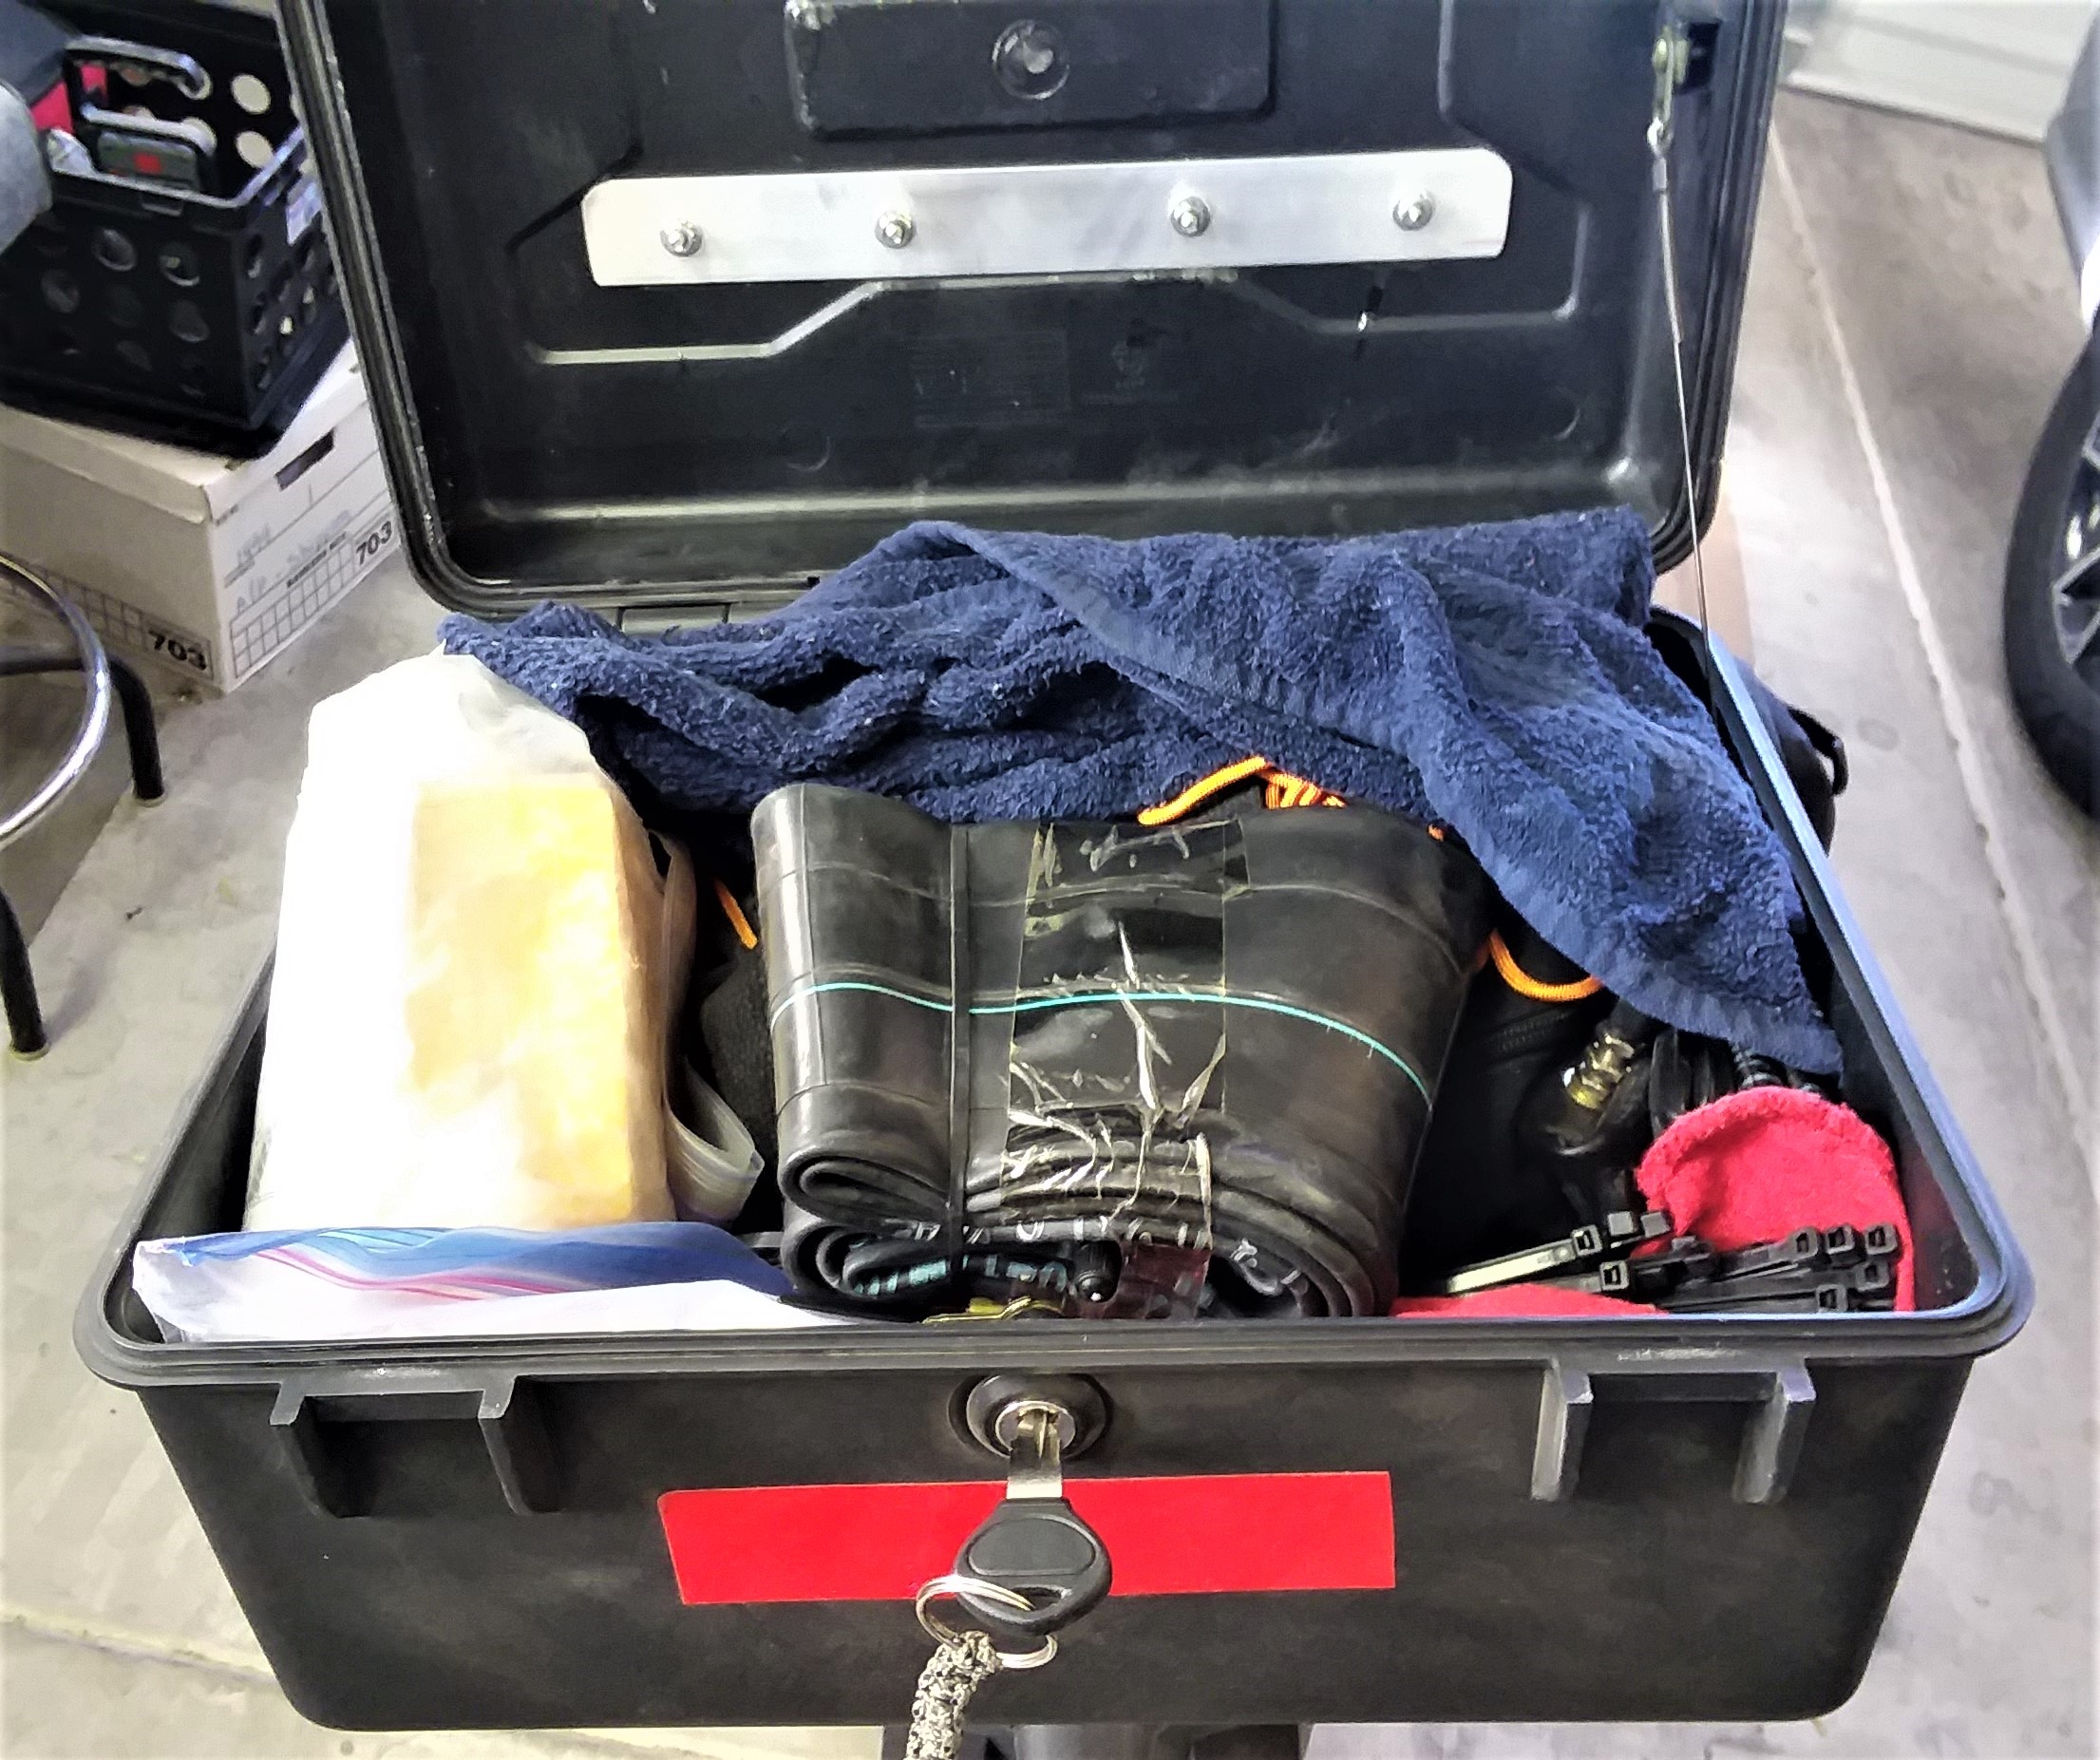
Finally, plan how you will carry this equipment. On my RX3 Adventure I pack everything listed above in the standard molded plastic top box. I never take my tools out. I carry everything on this list on every ride – on and off the road.
The “Best Practice” would be to carry your tools low in side cases. If you prefer the standard molded side pannier cases, divide the list above in half. Keeping your tools in the side cases has the advantage of lowering your center of gravity. In my case, I only use soft panniers when riding dual-sport routes – and I don’t like hard tools in soft luggage. So I make the decision to forfeit some stability and carry the weight of the tools in my rear box. This allows me to only add the side panniers for overnight camping trips.
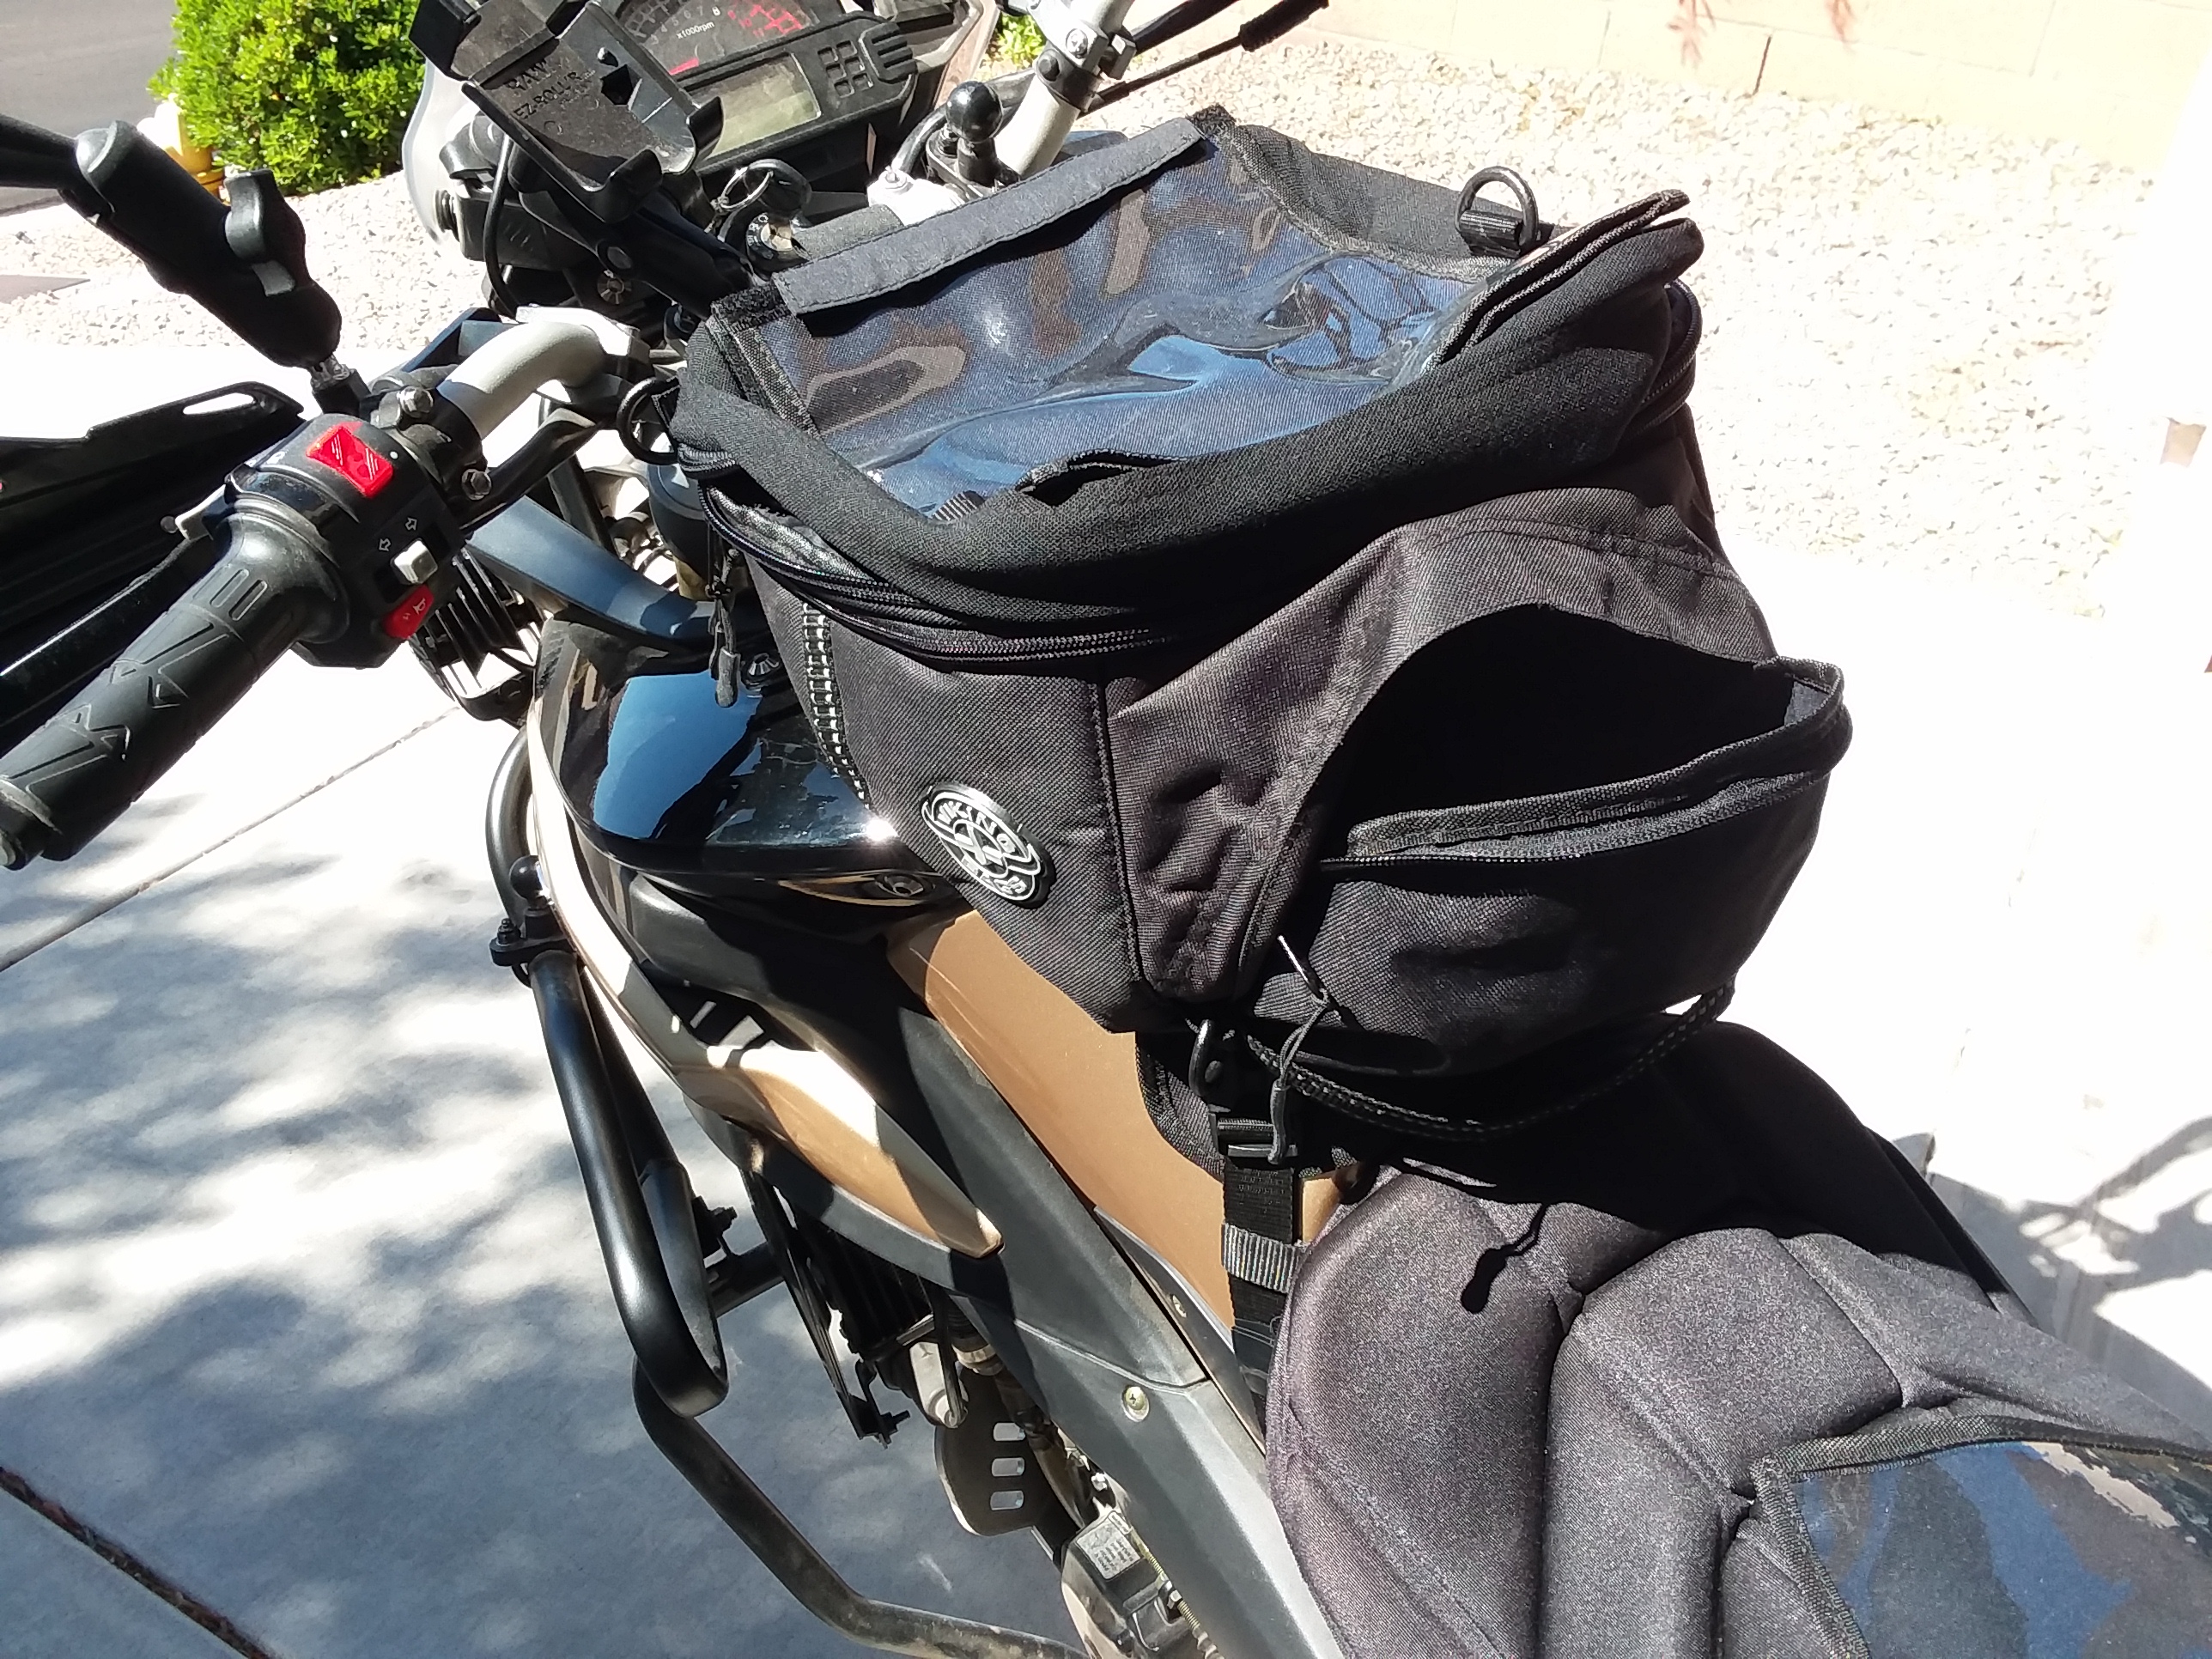
This article doesn’t touch on the many other pieces of equipment, gear and personal items that will make your ADV rides more comfortable and efficient. For example, where do you carry maps, flash light, snacks and toilet paper! We will cover that in the next article, but for now make a list of all the little things you would carry in the glove box or center console of your vehicle on a long trip. Some people like to put these small items in a backpack – and that is quick and easy. I prefer to not carry the weight on my back and opt for a tank bag. Just remember, Less is More! If you aren’t SURE you really need it – leave it out! Plus, review your list after every ADV ride. Then cross off anything you didn’t use and are now relatively sure you can live without next time.

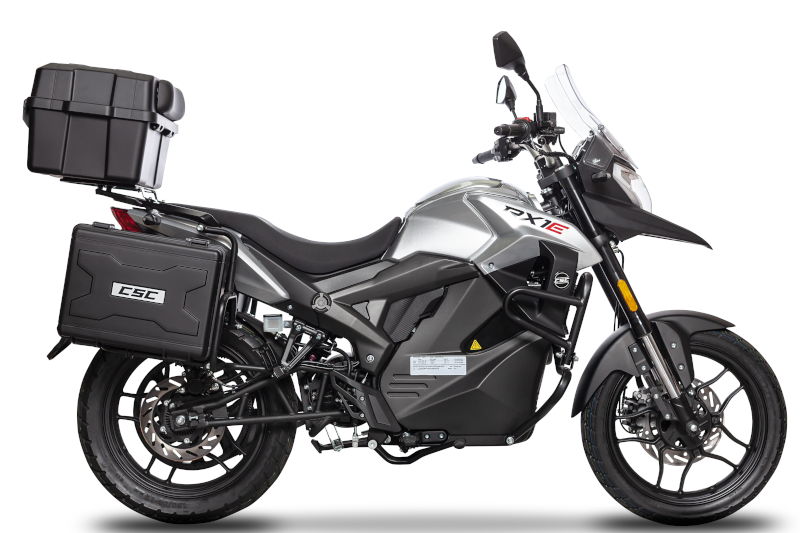 RX1E Electric Motorcycle
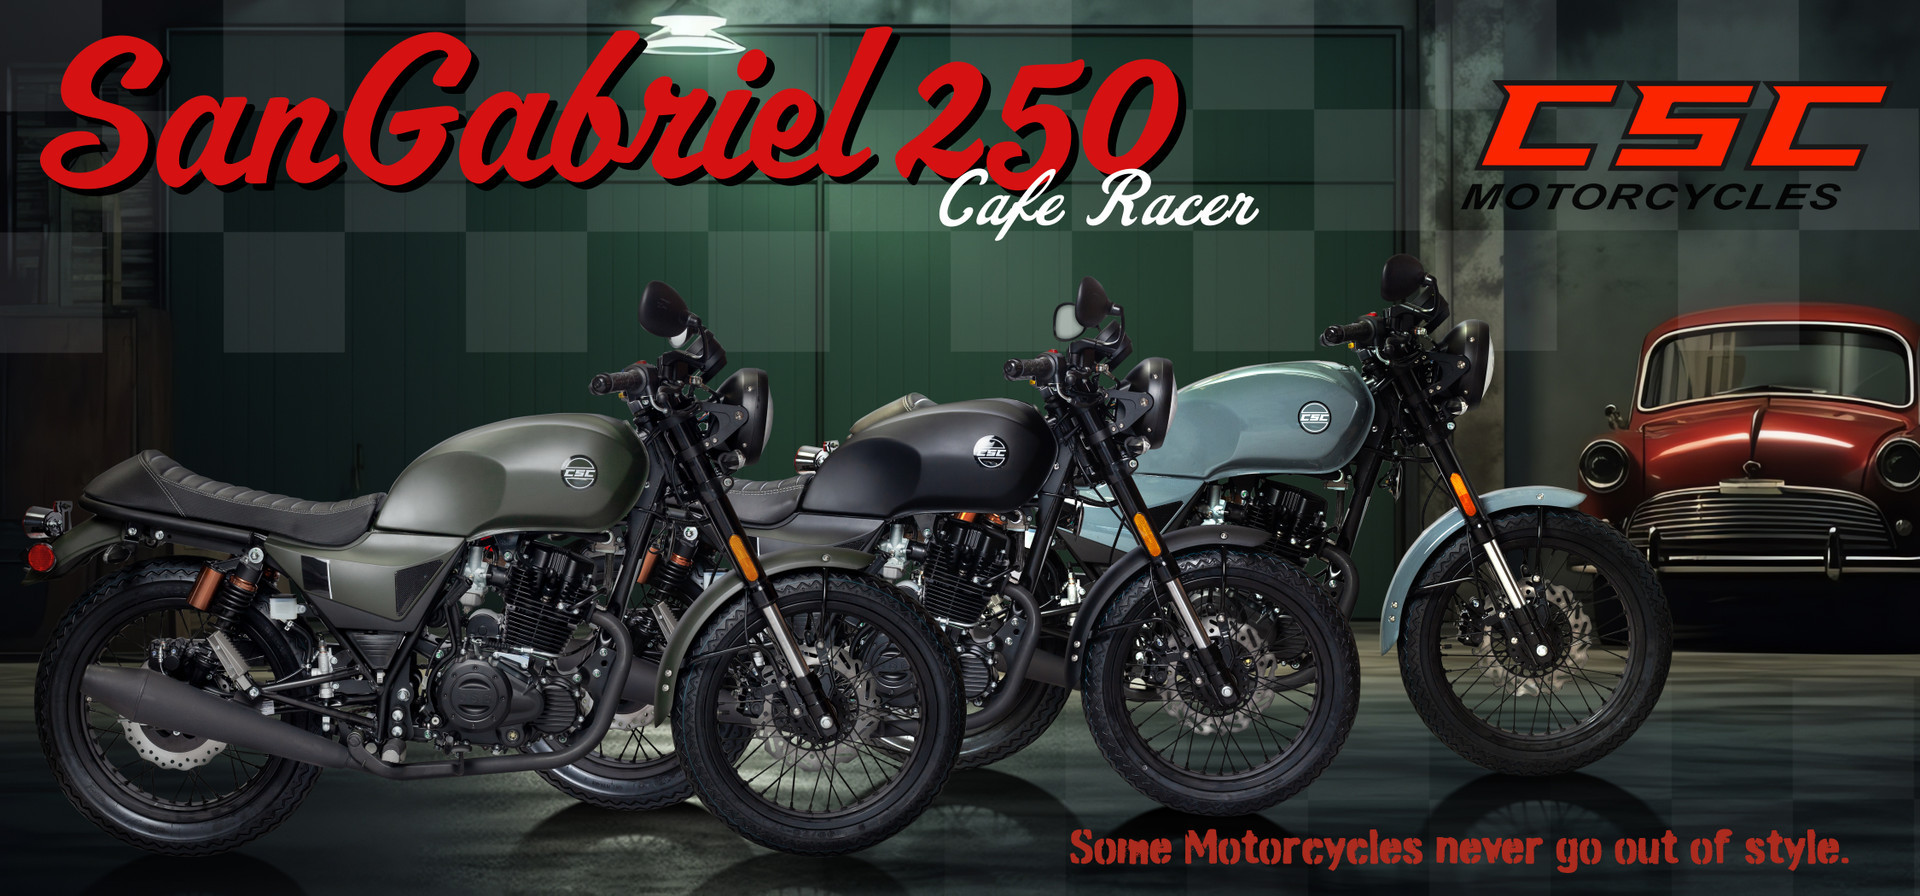
 SG250 San Gabriel Cafe Racer
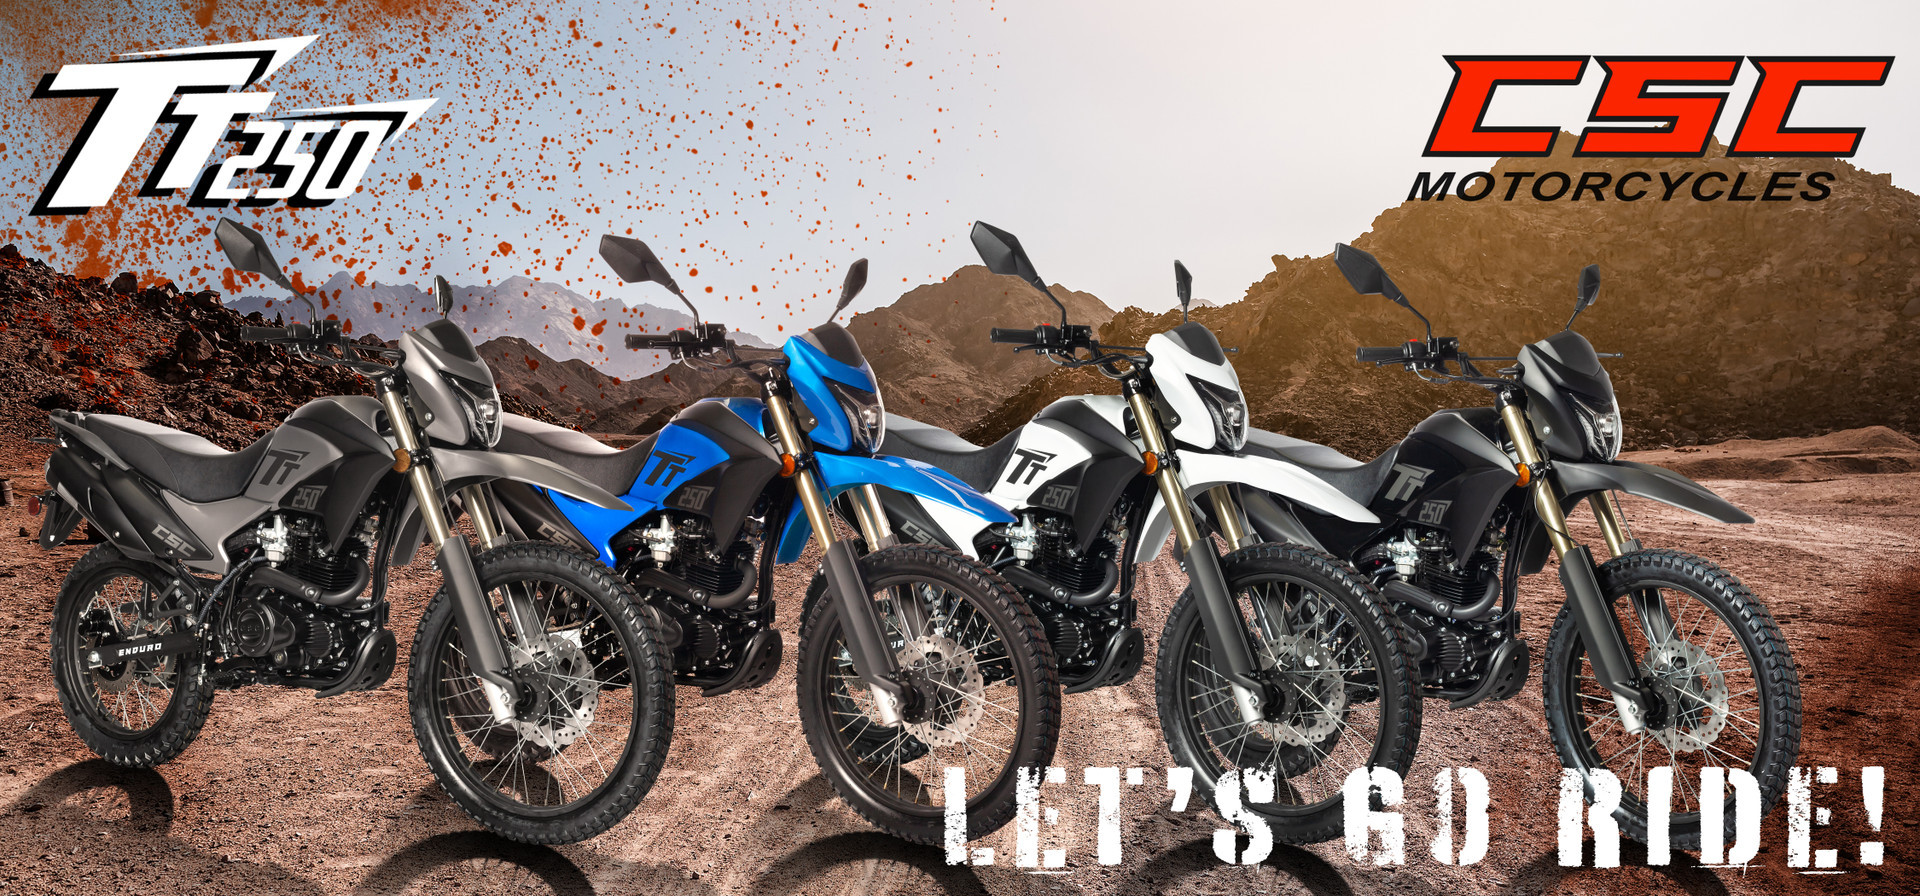
 TT250 Enduro