


This tutorial addresses TT250 carburetor maintenance, and specifically, carburetor removal, disassembly, cleaning, and reassembly. If your motorcycle is running rough and the problem is related to the carburetor, or if your motorcycle has not been operated for a long time and you did not treat the fuel prior to storage, the fuel will create gums that can clog the carburetor jets and affect engine performance. This tutorial will show you how to remove, disassemble, clean, reassemble, and reinstall your carburetor.
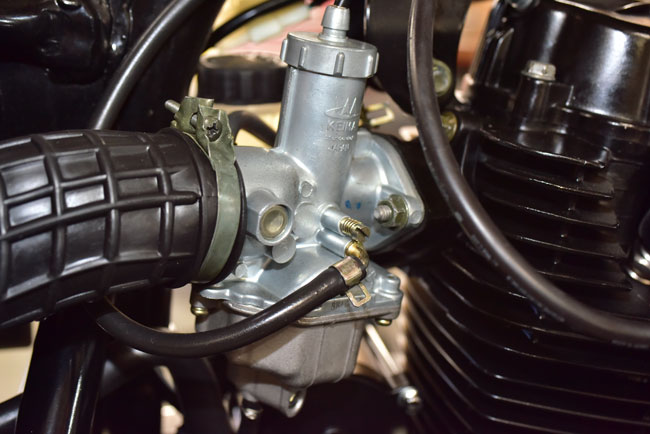
The TT250 uses a conventional Keima slide carburetor. It will be much easier to gain access to the carburetor if the fuel tank is removed. Removing the fuel tank involves removing the rear body panels and the seat, detaching the tank body panels from the frame (you do not need to remove the body panels from the tank), disconnecting the fuel line from the carburetor, removing the fuel tank, and disconnecting the fuel tank electrical connection to the fuel gage.
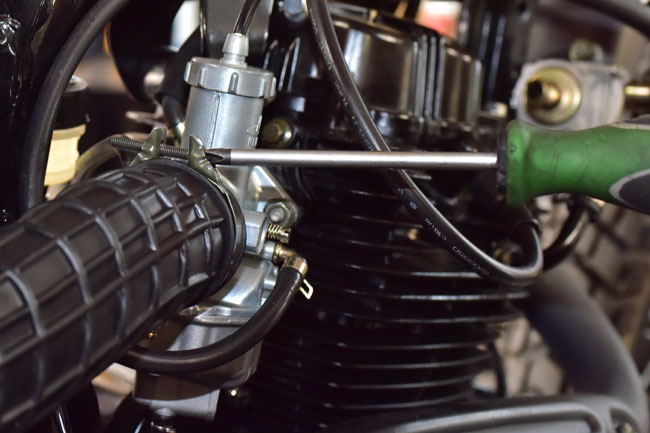
Loosen the Phillips head screw securing the airbox inlet to the carburetor and detach it from the carburetor.
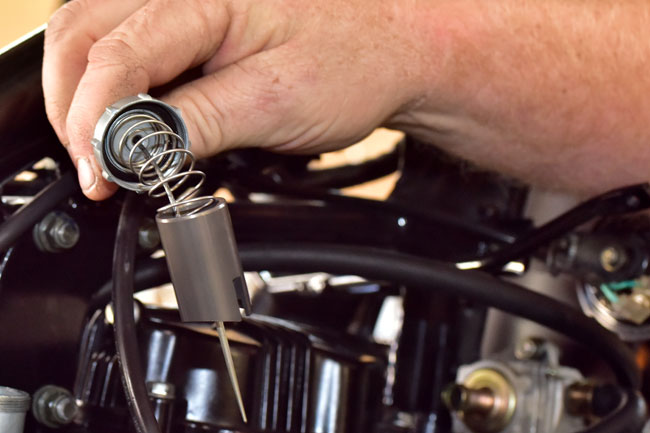
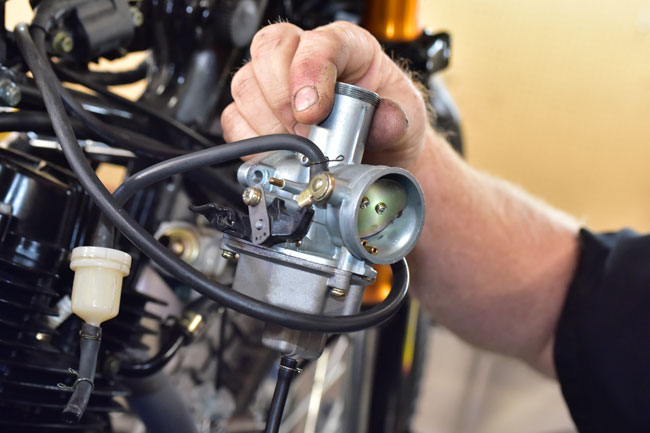
Unscrew the carburetor slide assembly cap and remove the carburetor slide assembly from the carburetor.

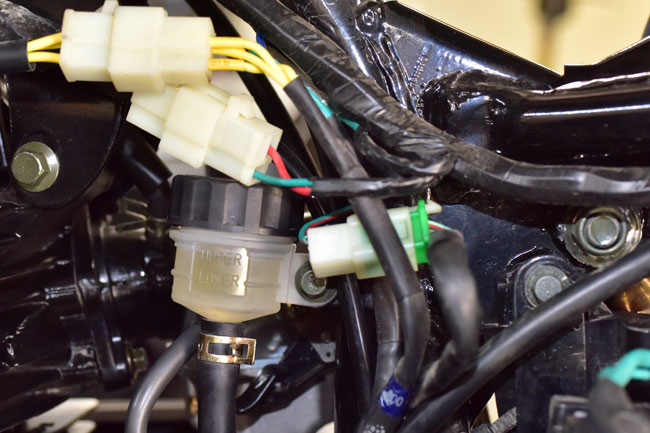
Remove the two 10mm nuts securing the carburetor to the intake manifold. It will be easier to access the left side carburetor mounting nut if you first detach the rear brake master cylinder.

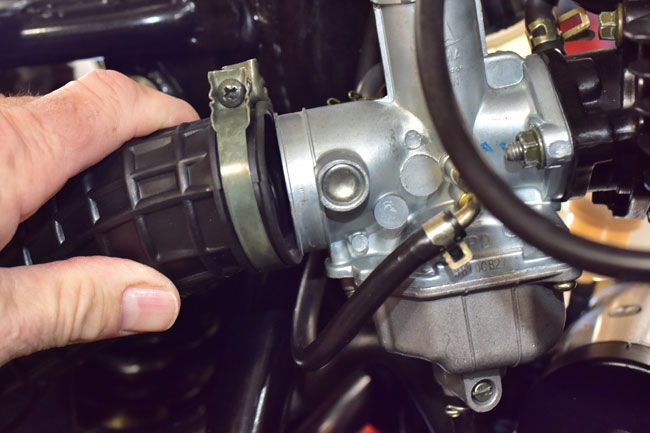
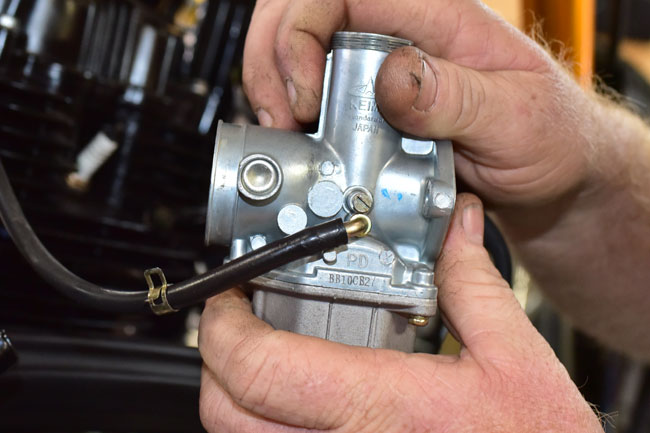
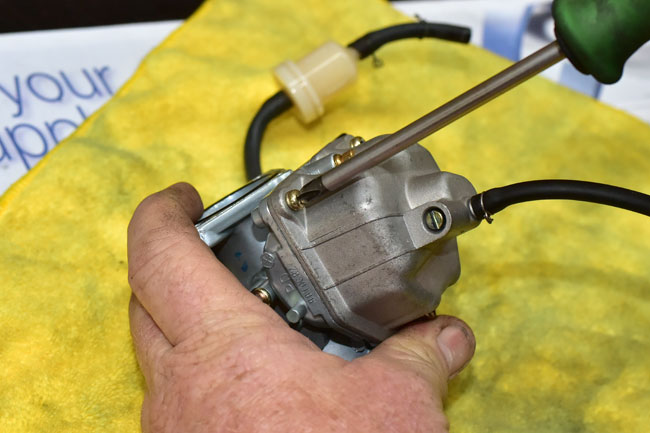
Pull the carburetor away from the engine and detach the vent hose such that you can move the carburetor to a clean work area.
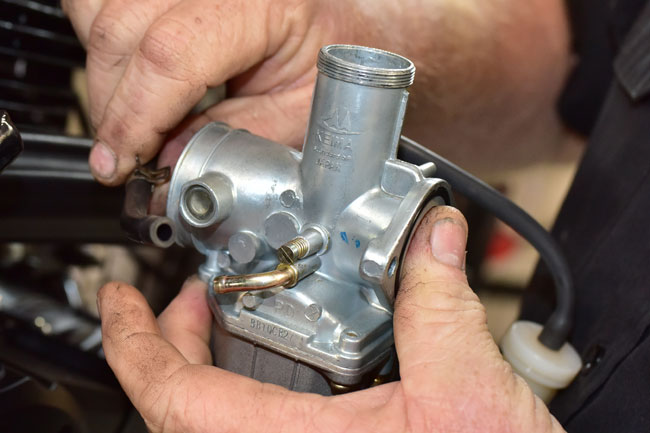
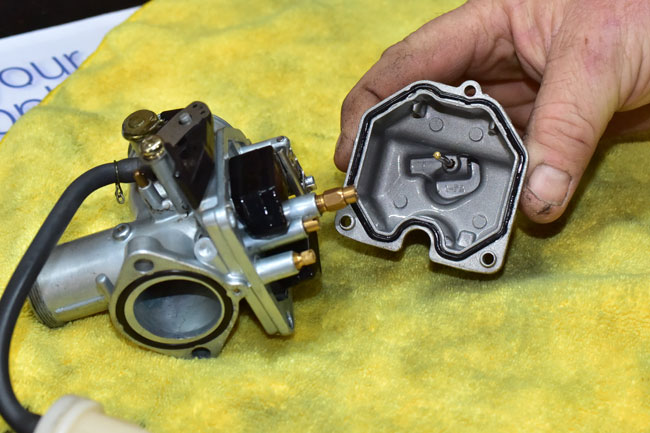
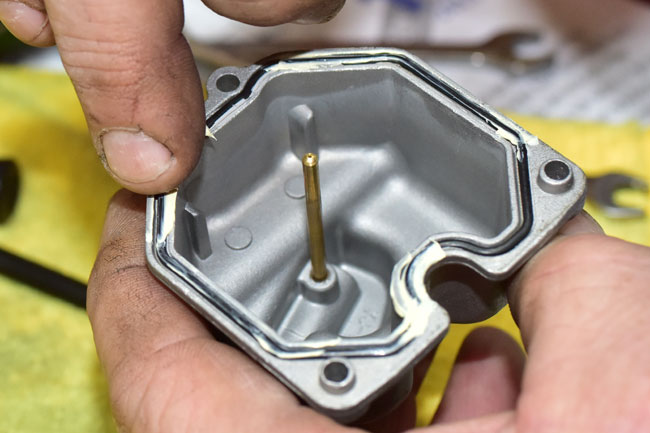
Remove the carburetor float bowl
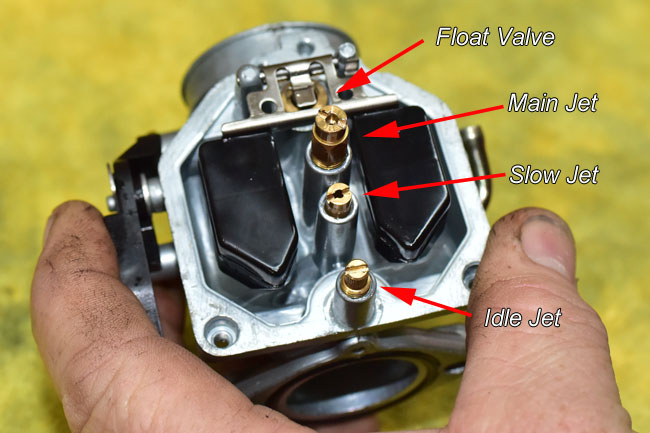
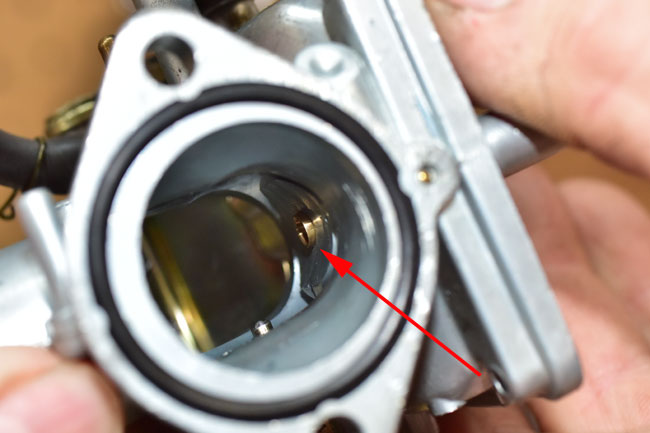
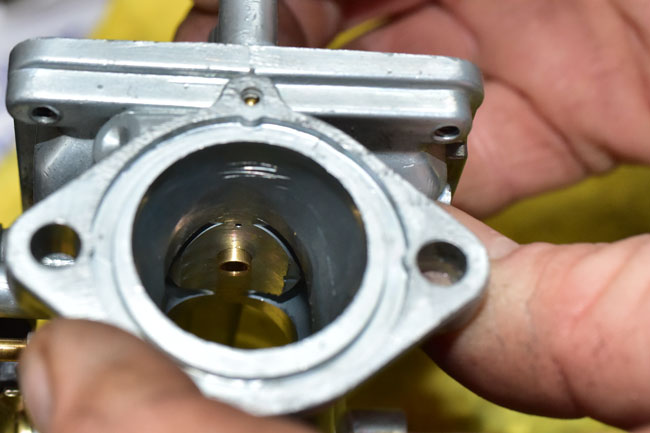
At this point, when you invert the carburetor you can see the float, the float valve, the main jet, the slow jet, and the idle jet.
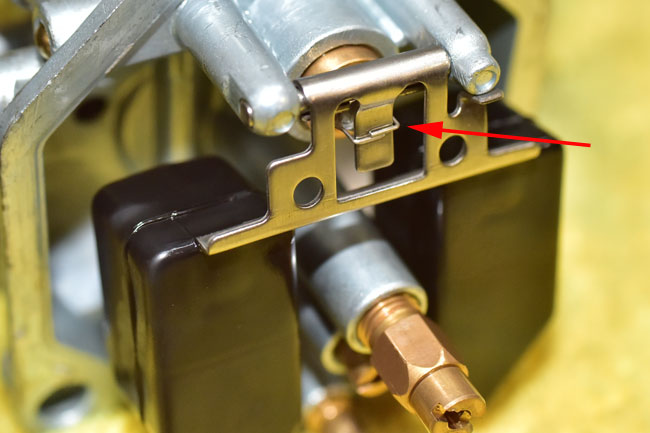
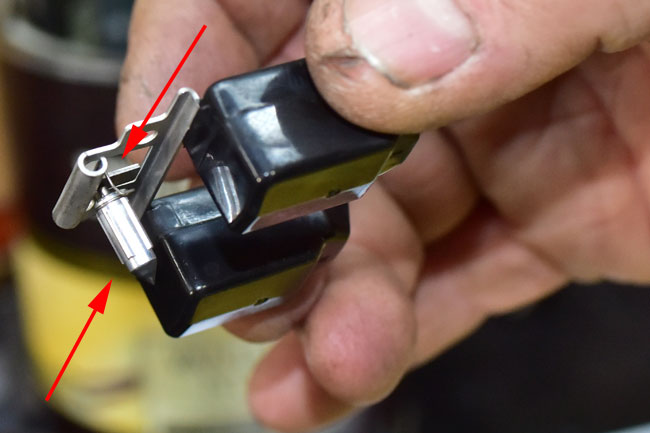
The float pivots on the float pivot shaft to operate the float valve. The float valve is connected to the float by a wire clip.
Gently push the float pivot shaft out of the carburetor body.
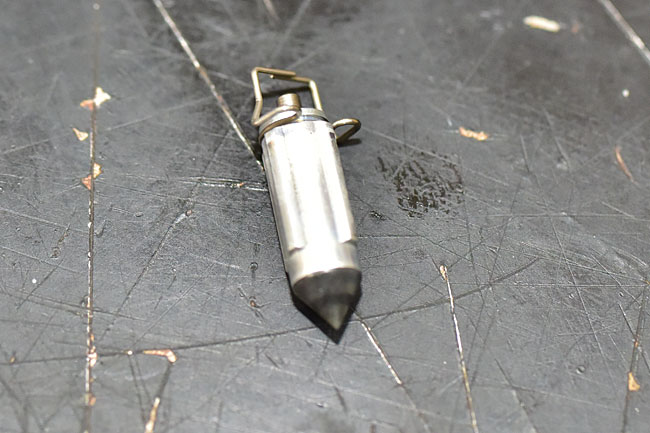
Lift the float and the float valve from the carburetor body. Take care not to drop the float valve; it will fall off of the float when the float is tilted.
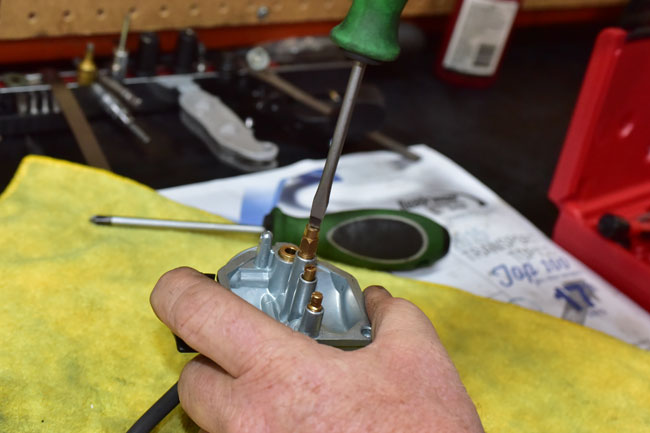
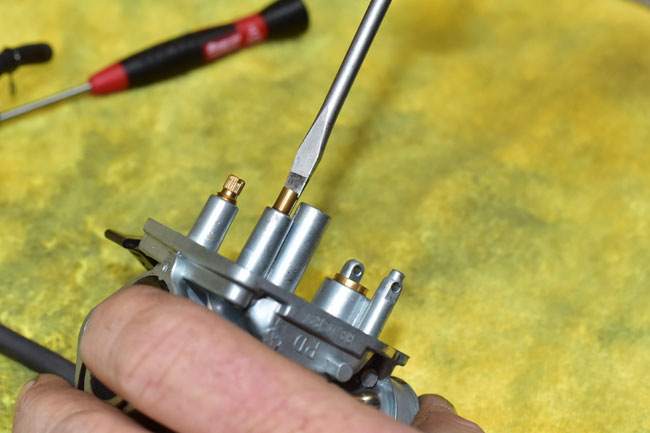
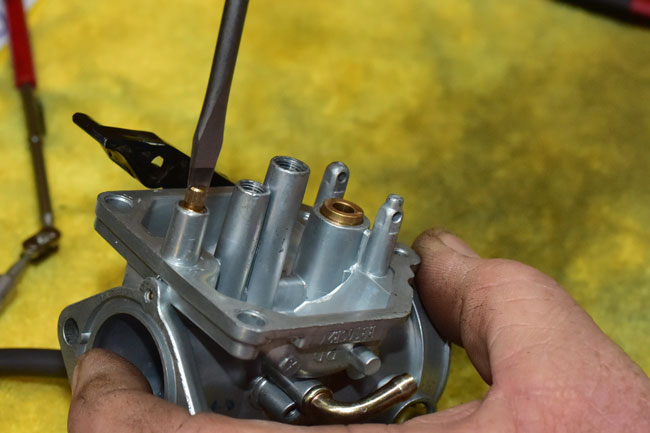
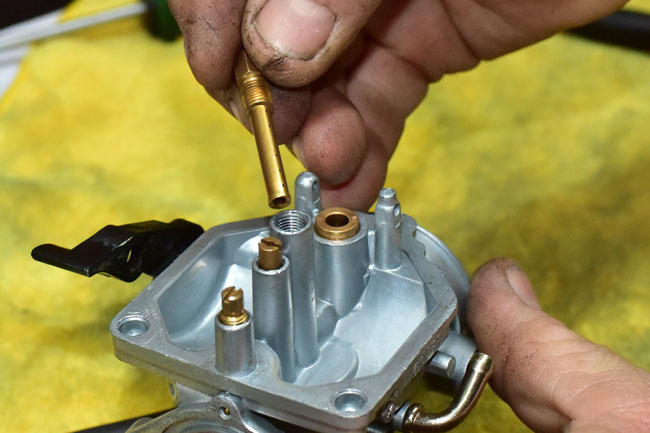
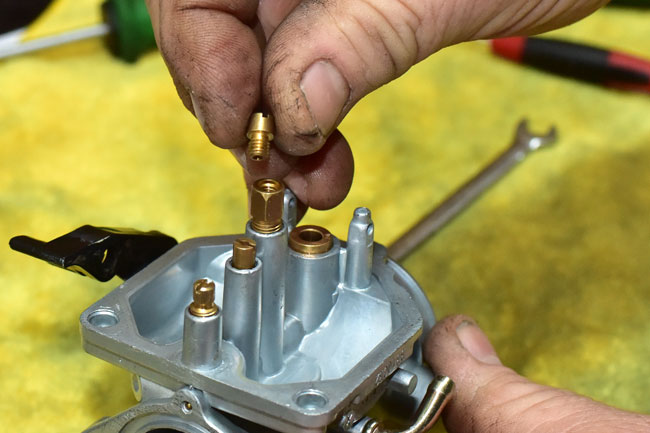
Remove the main, slow, and idle jets from the carburetor with a flat head screw driver.
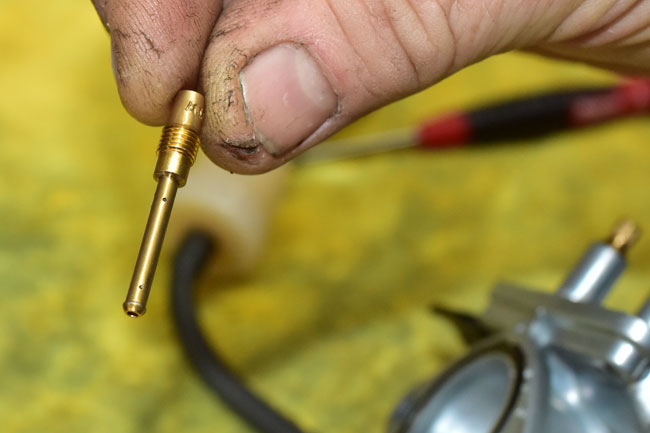
The main jet is in a brass carrier. It’s likely the entire carrier will unscrew when you unscrew the main jet. You can then unscrew the main jet if you secure the main jet carrier with an 8mm wrench.
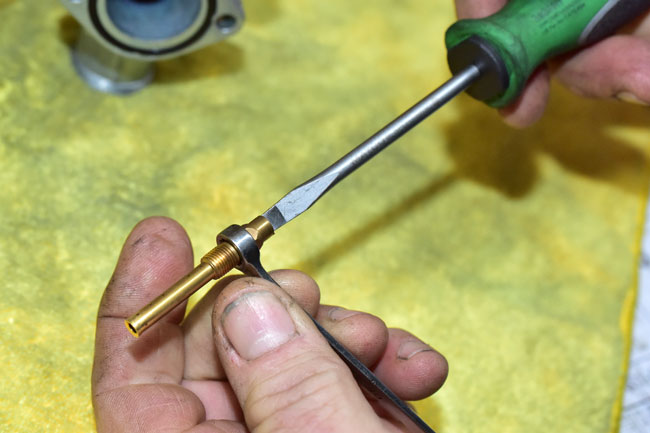
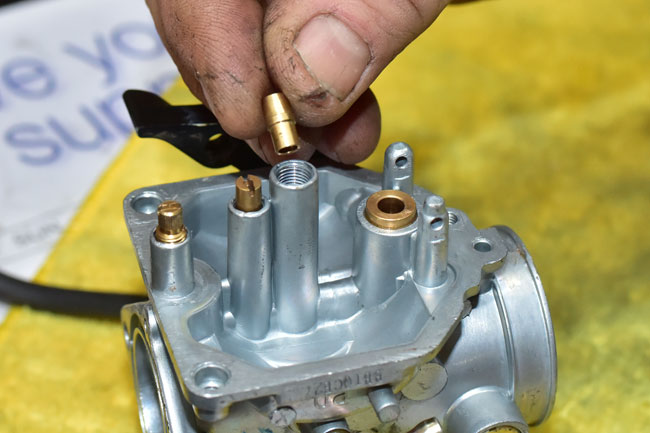
There is a brass bushing that fits in the bottom of the carburetor body. It interfaces with the main jet carrier. Remove the bushing from the carburetor. Note that this bushing has a beveled end and a square-cut end. The beveled end will interface with the main jet carrier when these parts are reassembled.
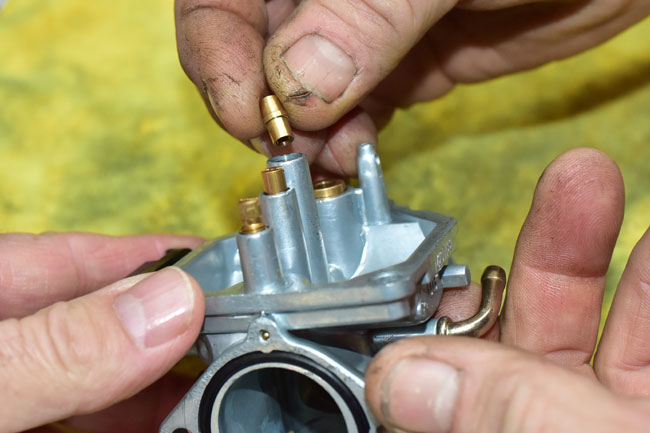
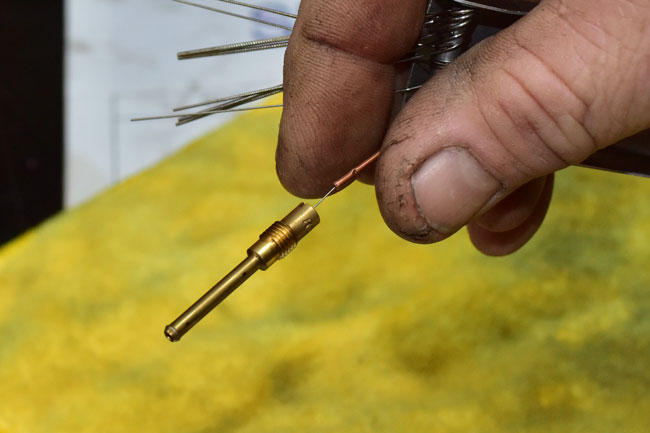
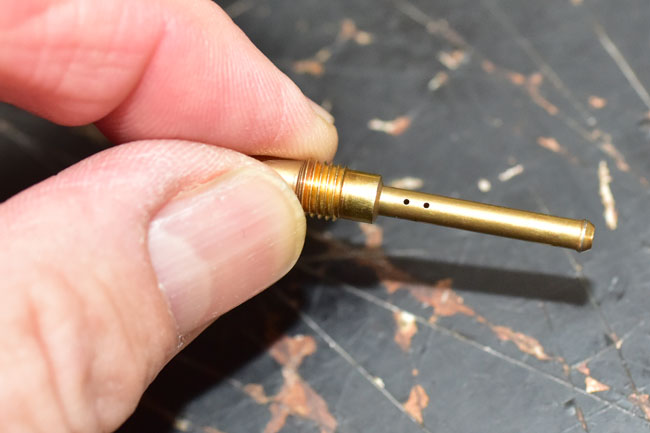
Remove the slow jet.
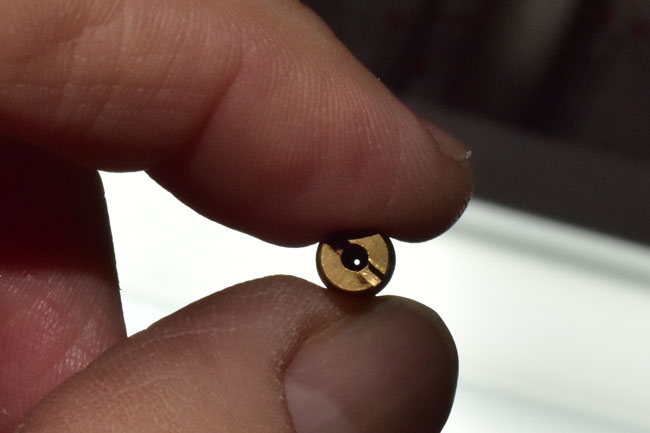
Remove the idle jet.
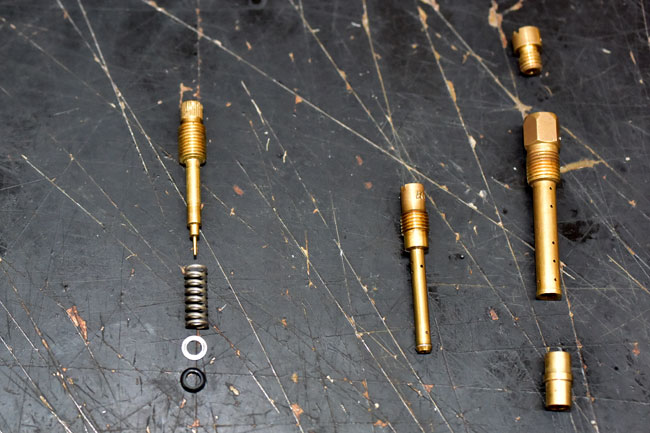
There will be a spring, a flat metal washer, and an o-ring beneath the idle jet. Carefully remove these from the carburetor body if they do not come out with the idle jet.
The idle jet, the slow jet, and the main jet components are shown below. The idle jet is on the left, the slow jet is in the middle, and the main jet is on the right.
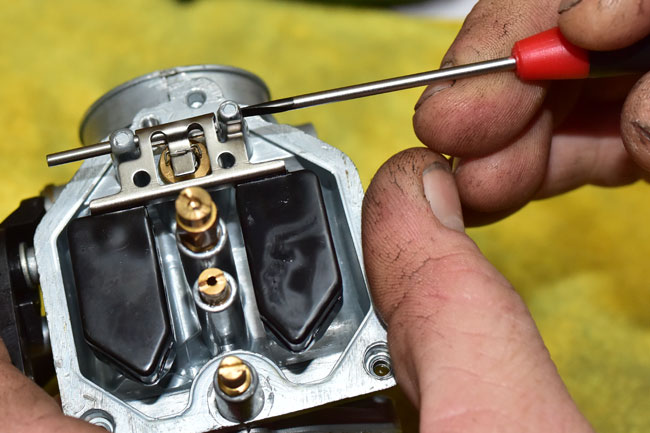
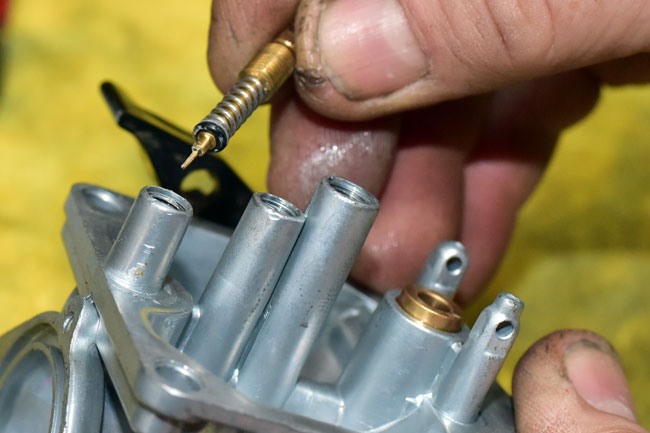
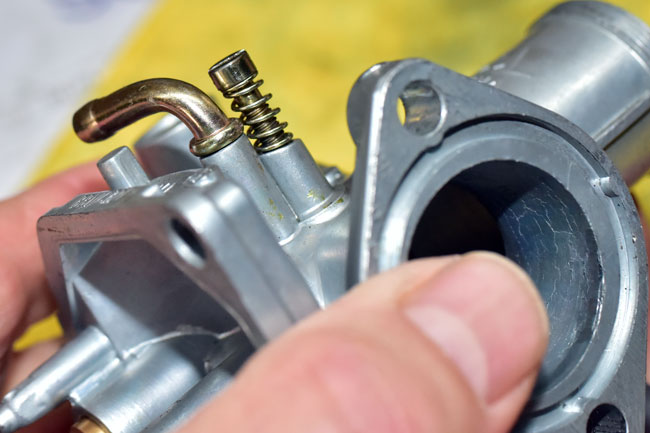
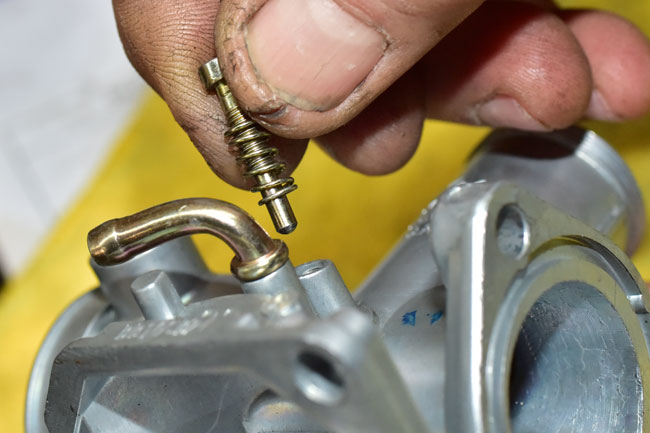
Remove the slide adjustment screw (this is the screw used to adjust idle speed) and spring from the carburetor body.
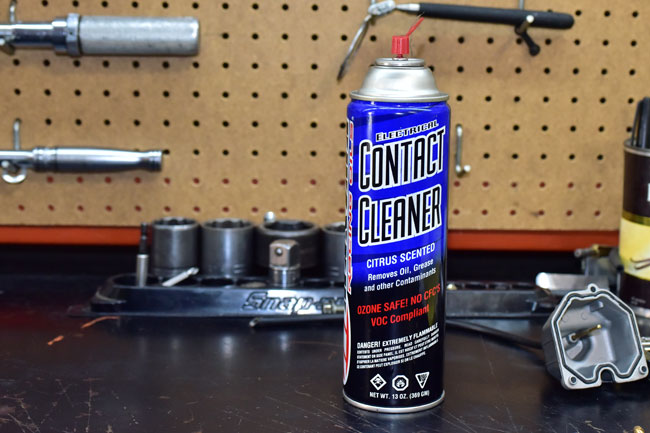
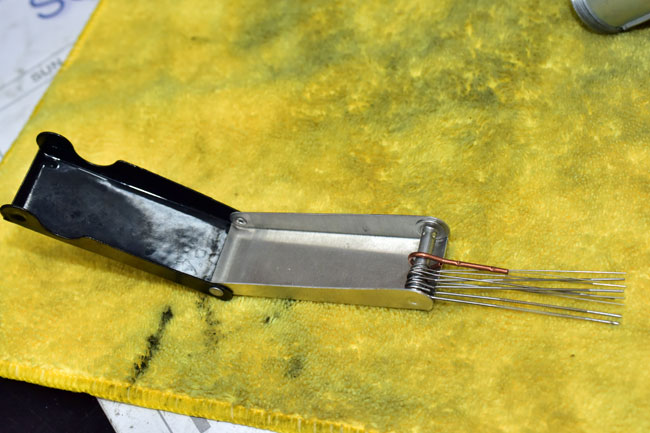
Clean all three jets using a suitable cleaning solvent and a jet cleaning tool to assure all passageways are open.
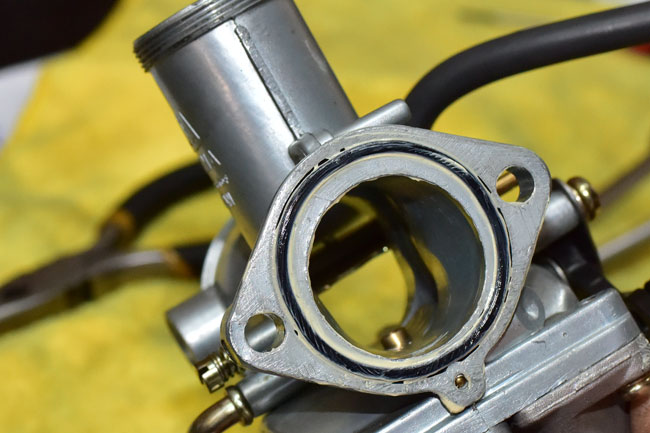
Remove the o-rings from the float bowl and the carburetor body.
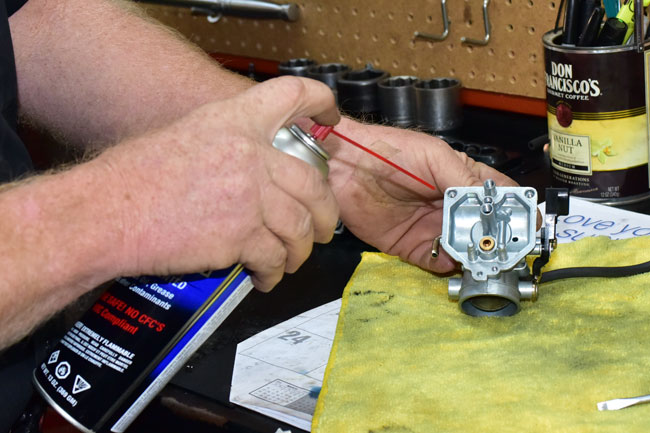
Clean the carburetor interior and exterior surfaces using a suitable solvent.
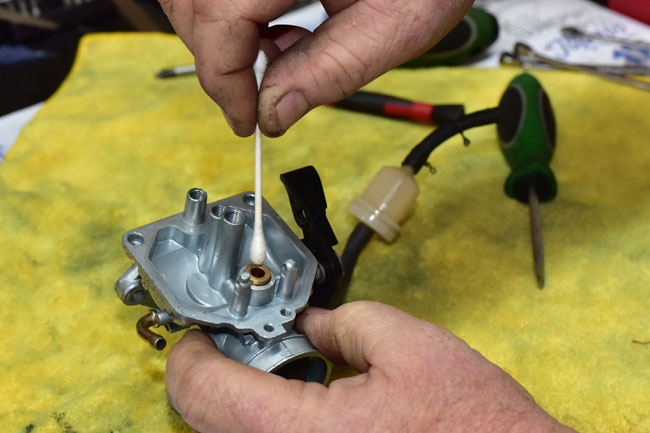
Use a q-tip to clean the interior of the float valve body.
Assembly is the reverse of disassembly. We are including a few specific points on reassembly here in this tutorial.
When reinstalling the jets and the jet carriers, d0 not overtighten them or you may strip the aluminum carburetor body threads.
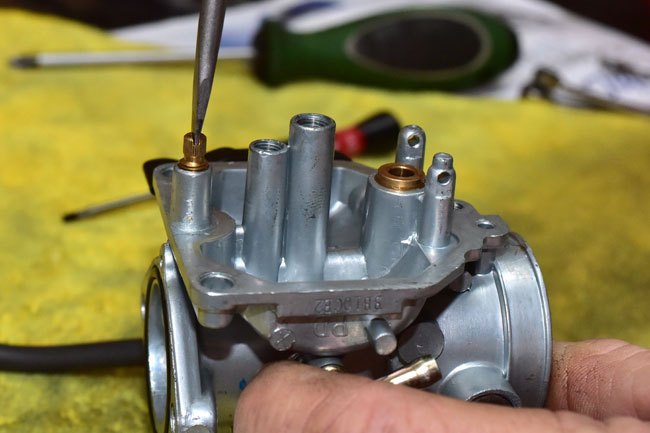
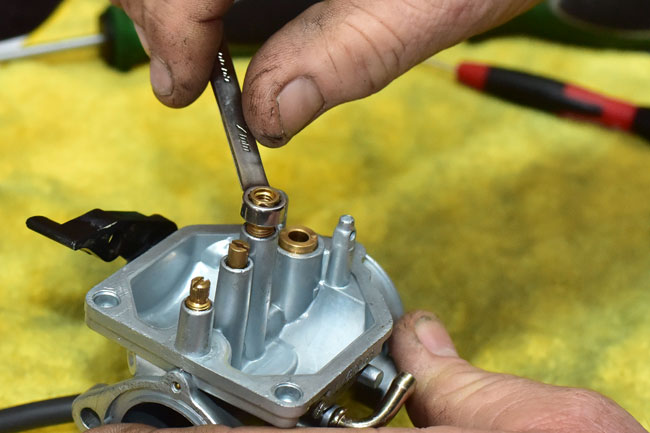
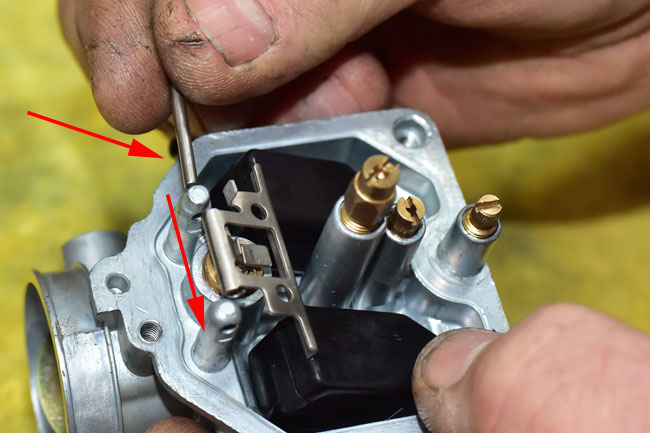
When installing the brass bushing that faces the underside of the main jet, make sure the square end faces away from the main jet carrier and the beveled end faces the main jet carrier. When you insert this piece in the carburetor body, it is not likely to fully seat or go in straight without assistance. We use an Allen wrench to make sure this bushing is properly guided into its seat.

After the bushing is in place, install the main jet carrier and lightly tighten it. Do not overtighten it.
Install the main jet and lightly tighten it with a flat head screwdriver.
Put the float valve on the float and guide it over the float valve seat. Take care not to let the clip that connects the float valve to the float come off the float.
Guide the float pivot shaft through the carburetor body tangs’ drilled pivot points and the float.
Reinstall the O-rings on the float body and the carburetor body. We apply a light coating of grease to the O-rings.
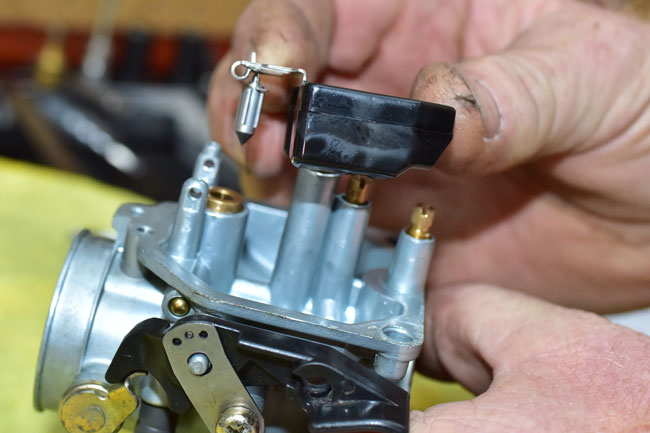
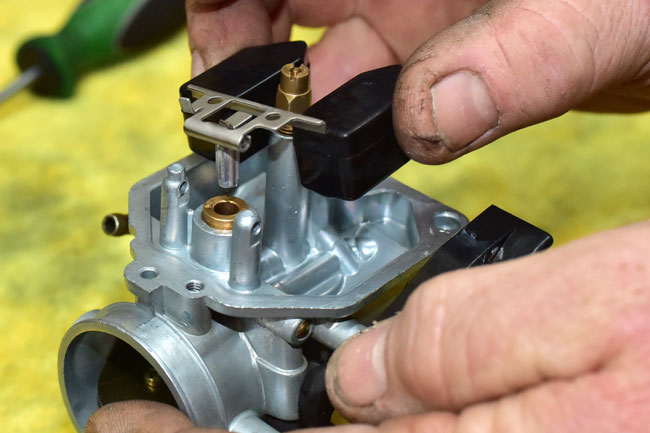
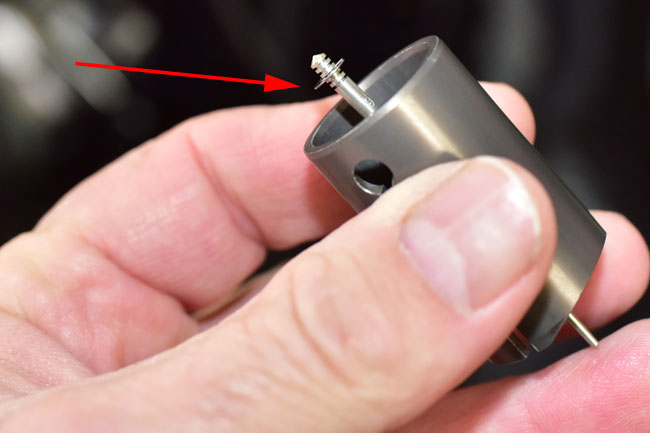
Reinstall the carburetor slide assembly. The carburetor slide assembly includes circlip that attaches the needle to the slide, as shown in the photo blow. Positioning the needle higher in the slide will enrichen the air fuel mixture; positioning the needle lower in the slide will cause the engine to run leaner.
Re-installation of the carburetor on the motorcycle is the reverse of installation. After installing the carburetor and reassembling the motorcycle, start the engine and allow the motorcycle to come to operating temperature. Adjust the idle speed with the carburetor slide idle speed adjustment screw to approximately 1500 rpm (the TT250 does not have a tachometer; we make the adjustment by sound).
 TT250 Enduro
 SG250 San Gabriel Cafe Racer