


This tutorial, as the name implies, addresses fork maintenance. We stock all parts for the forks, so whatever you need, feel free to call us at 909 445 0900 and we’ll ship whatever you want immediately.
The most common problem for any motorcycle’s forks would almost certainly be leaking fork seals, and in this tutorial we’ll show you how to get to and replace a fork seal on the RX3.
Some people change their fork oil periodically, but the labor involved is fairly significant and we don’t recommend changing the fork oil if you are satisfied with the front suspension or if you don’t have leaks.
Some people like to raise the forks in the fork yokes to change ride and handling characteristics, but we don’t recommend that.
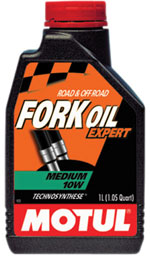
Finally, you may wish to use a higher viscosity fork oil to stiffen the front suspension; this maintenance tutorial will show you how to drain the oil and replace it with a higher viscosity oil.
Changing the Fork Oil
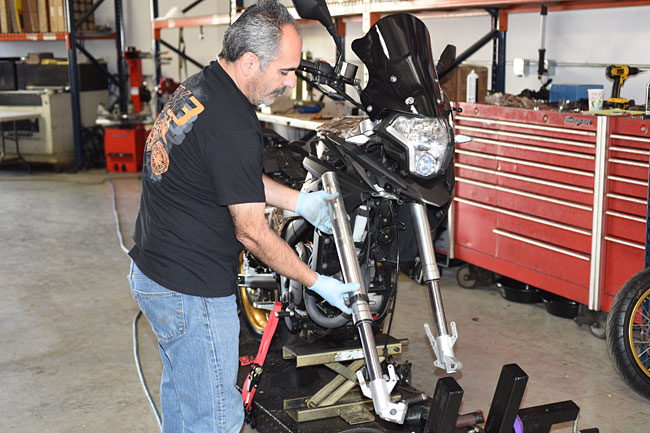
The first step in working on the forks is to remove the front wheel. You can learn how to do that in our front wheel removal maintenance tutorial. You will need to get the front wheel off the ground to do this.
After the front wheel has been removed, many people will loosen the fork cap (but just loosen the cap; do not remove it yet). We advise loosening the upper fork yoke pinch bolts first if you want to do this. Other folks like to loosen and remove the fork cap after the fork has been removed from the motorcycle (you can do this if you have an impact wrench, but it is difficult to do without an impact wrench once the fork is off the motorcycle).
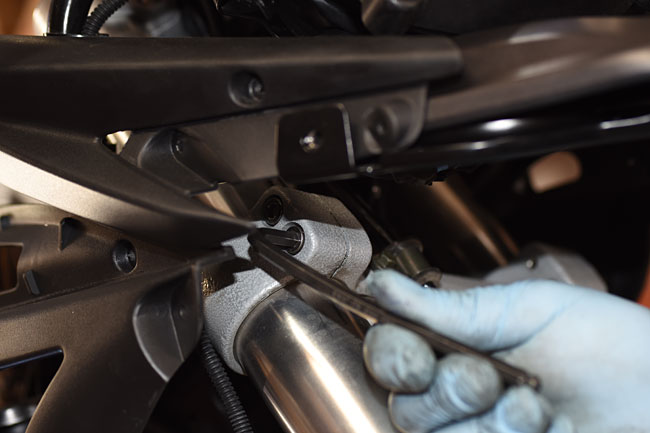
The next step is to remove the speedometer cable from the right fork leg (if you are removing the right fork leg). There’s a composite clamp that secures it. Unscrew the clamp screw and detach the speedometer cable from the fork leg.

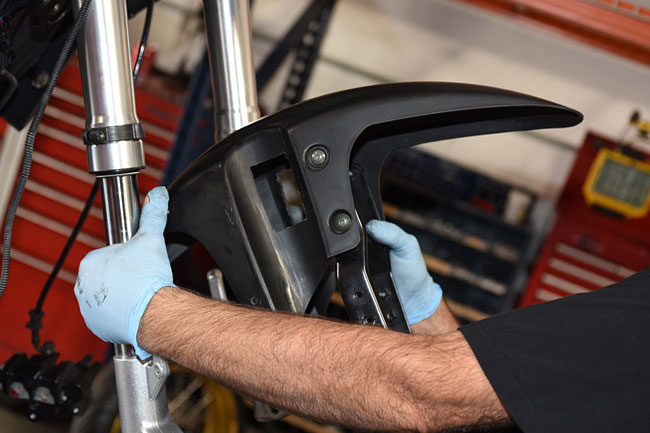
Remove the front fender by removing the four bolts that secure it to the forks. The front fender can be maneuvered through the forks so that it can be removed after the bolts securing it have been removed.
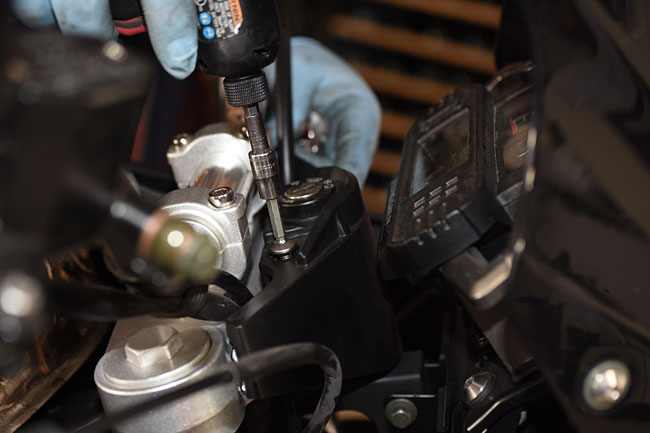
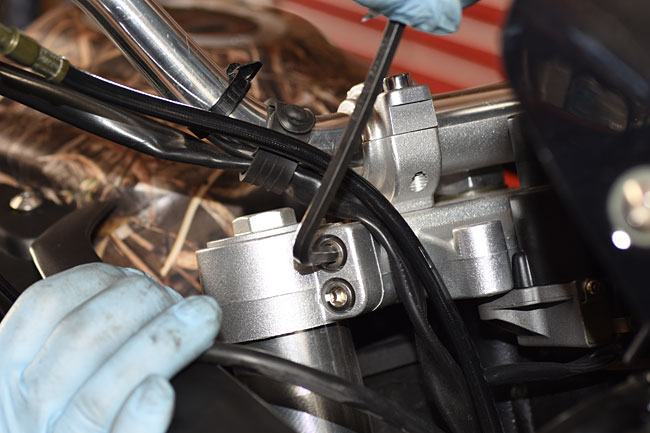
Remove the two bolts that secure the ignition switch shroud. You need to remove the shroud to gain access to the upper yoke fork pinch bolts.
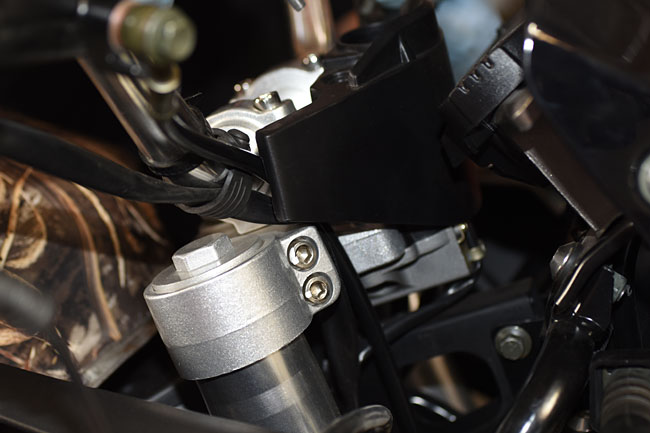
Loosen the two upper yoke pinch bolts if you have not done so already. You don’t need to remove them; they just need to be loose.
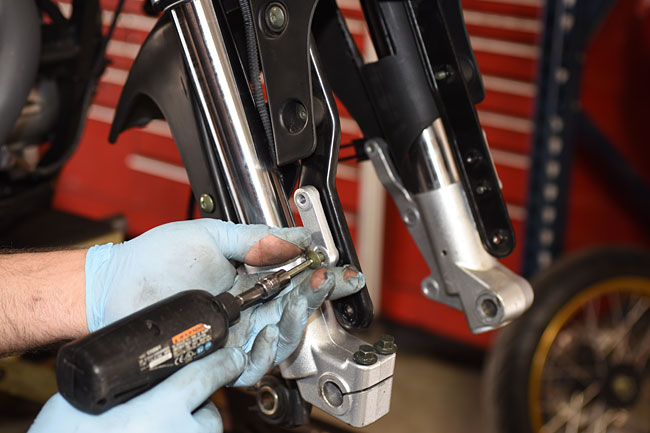
The next step is to loosen the lower yoke pinch bolts, but you need to be prepared for the fork leg to drop as soon you loosen the last pinch bolt. We recommend holding the fork leg with one hand while you loosen the last pinch bolt. You can get to the lower yoke pinch bolts from beneath the body panels, and you don’t need to remove the body panels to gain access to the lower yoke pinch bolts. We took them off for this tutorial only to make the parts more visible.
At this point, you’ll have the fork leg off the motorcycle.

Unscrew the fork cap from the fork. If you did not loosen it first, as mentioned at the beginning of this tutorial, you will need an impact wrench to loosen it.
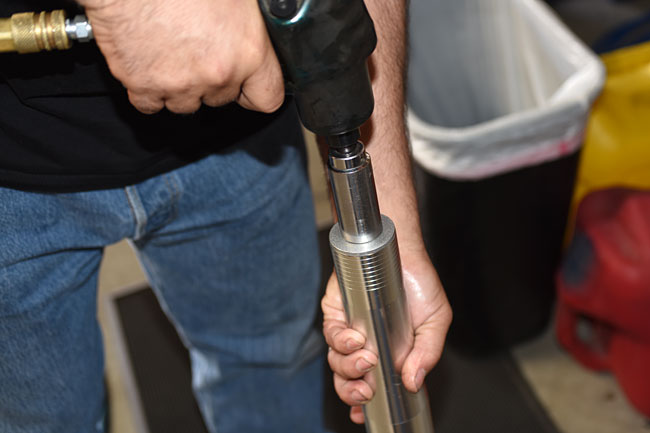
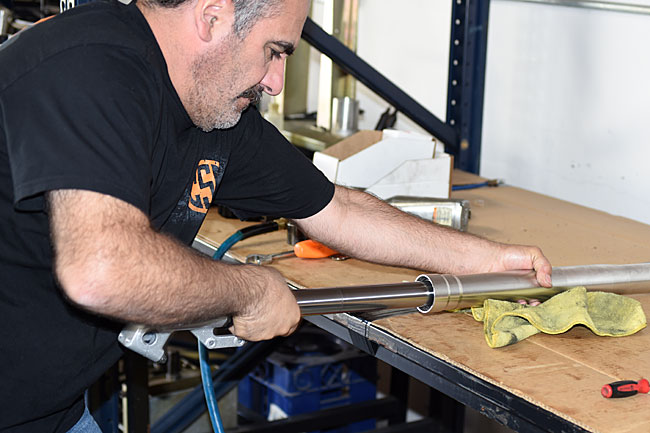
While you are unscrewing the fork cap, and after you have unscrewed the fork cap, keep the fork in a vertical orientation as you see it in the photo below. That’s because the fork contains oil, and if you tilt it, the oil will spill out.
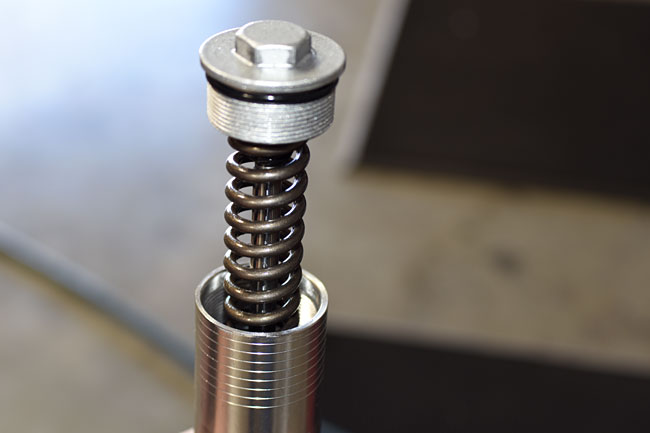
Tilt the fork over a container and empty the oil in it. Note that in this photo, we’ve already removed the fork cap and spring (that’s why you don’t see it in the photo). When you do this at this point in the disassembly process, the fork cap and spring will still be attached to the fork. The fork cap will be fully unscrewed, but it will be attached the fork rod (as you will see in the two photos down).
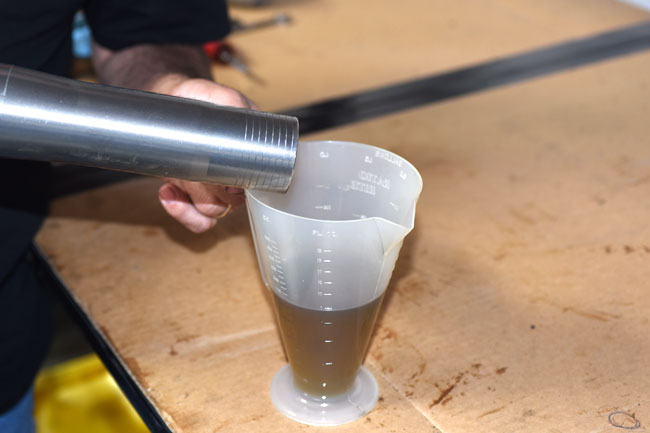
Empty the fork oil into a suitable container for future disposal.
Each fork leg contains 330 cc (or 11.2 US fluid ounces). The fork oil that comes from the factory is a fairly light oil, which provides a comfortable ride. At 210 lbs, I’m what some folks would call a full-figured rider, and I like the ride the RX3 provides as it comes from the factory. Some people want a stiffer ride if they wish to ride the motorcycle more aggressively in the rough stuff. You can stiffen the RX3’s front suspension by using a heavier weight fork oil.
At this point, if your fork seals are good (i.e., they were not leaking) and the only reason you took the forks apart was to change the fork oil, repeat the above process for the opposite fork. Reassemble the forks in the same manner as they were disassembled, leaving the fork caps loose so that you can add new fork oil. Add 11.2 ounces to each fork. We advise using a funnel.
CSC stocks fork oils in various weights. If you wish to stiffen your front suspension with a heavier fork oil, give us a call at 909 445 0900. Ask to speak with Rich, our suspension specialist, and review your needs with him. Rich is a real expert in this area and he’ll get you dialed in with the fork oil that will best meet your needs.
Repairing a Leaking Fork Seal
The other common fork maintenance action is repairing a leaking fork seal. If the fork seal leaks because it was damaged by grit or some other attributable cause, you probably need to only replace the leaking seal. If the seal started leaking due to age-induced degradation, it’s a good idea to replace the seals on both sides of the forks. If one leaked due to age-induced degradation, the other is likely to start leaking soon.
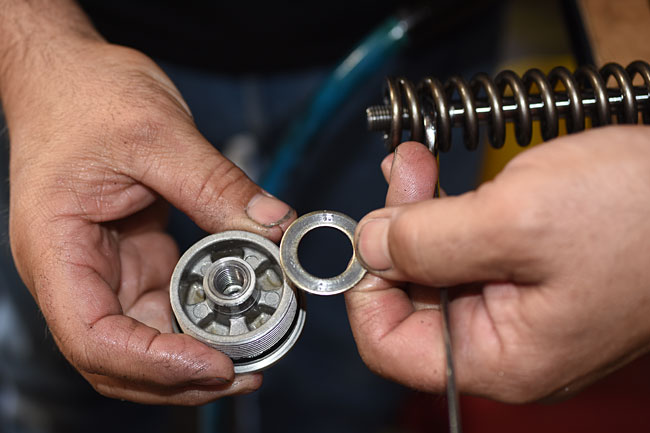
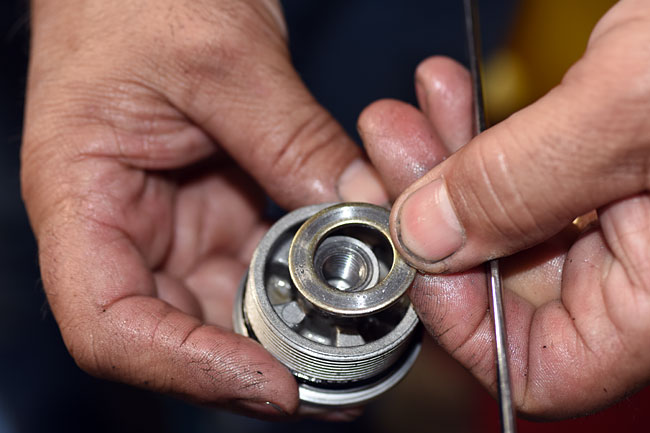
Put a wrench on the bolt head inside the fork spring, and unscrew the fork cap from the fork rod that runs though the center of the fork spring.
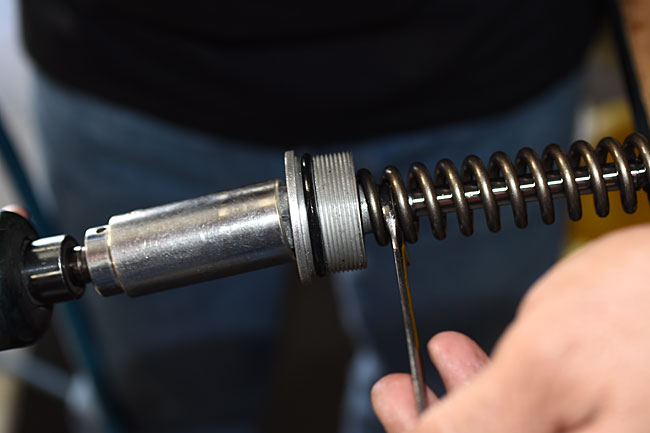
The fork cap and its washer will separate from the fork rod.
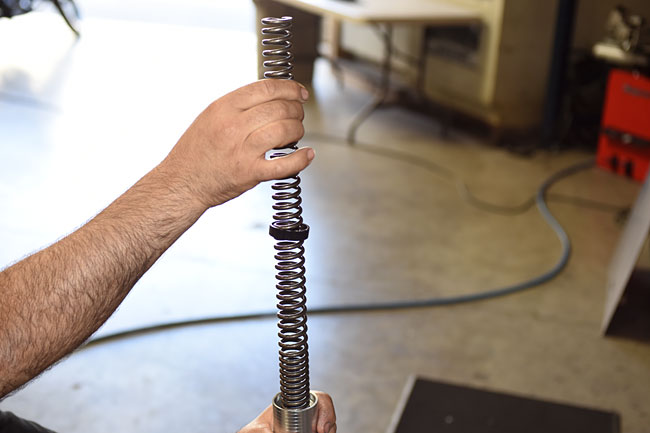
Pull the fork spring completely out of the fork. Note that the fork spring is a compound spring. The more tightly wound coils always go toward the lower end of the fork, as you see in the photo below.
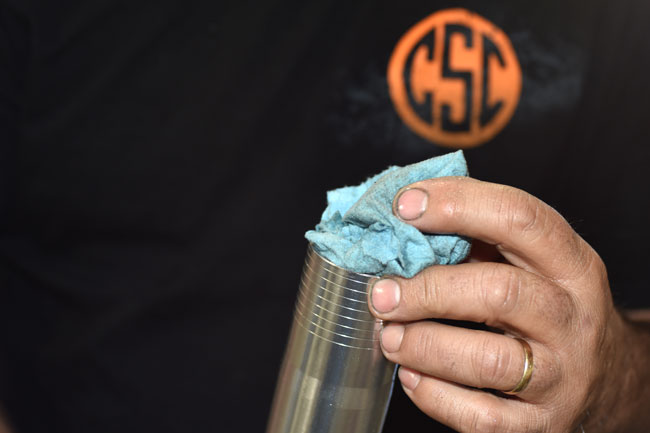
At this point, put a shop rag or a paper towel in the opening at the top of the fork (where the fork cap was). There will still be residual oil in the fork and this will keep it from making a mess.
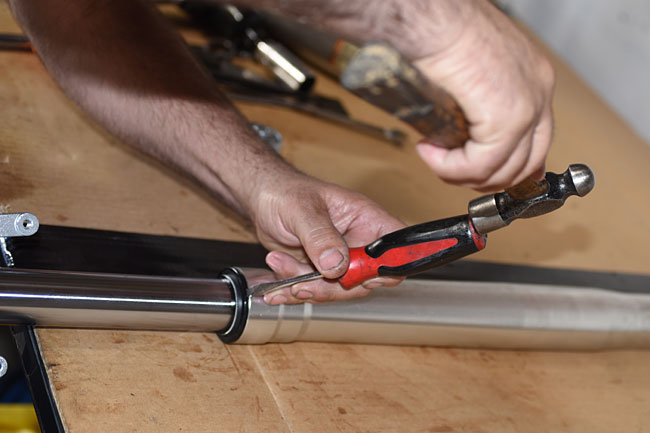
The next step is to remove the dust seal, and this calls for a light touch. Use a fine bladed screwdriver (or something similar) and gently tap the dust seal away from the fork upper tube. Work gently around the periphery of the dust seal, as you see Rich doing in the photo below. If you get careless here and gouge the fork or damage the dust seal, you’ll need to replace those parts.
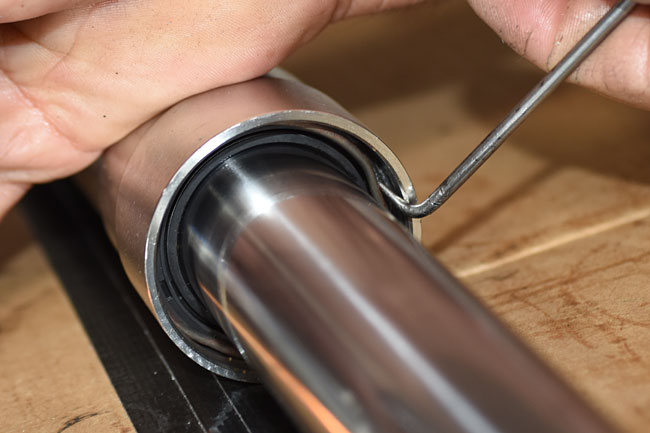
Once the dust seal has been removed, you need to reach inside the fork upper with a pick. You’ll see a raised area in the clip that secures the fork seal in place. Gently place the pick inside the raised area of the clip, and push inward and toward the opening. The clip will release. Remove the clip from the fork.
Now we can pull the fork lower out of the fork upper. This is not easy. What you see Rich doing in the photo below is using the fork lower as a jack hammer. Pull it sharply away from the fork upper while holding the fork upper. You’ll have to repeat this several times to get the fork lower out of the fork upper.
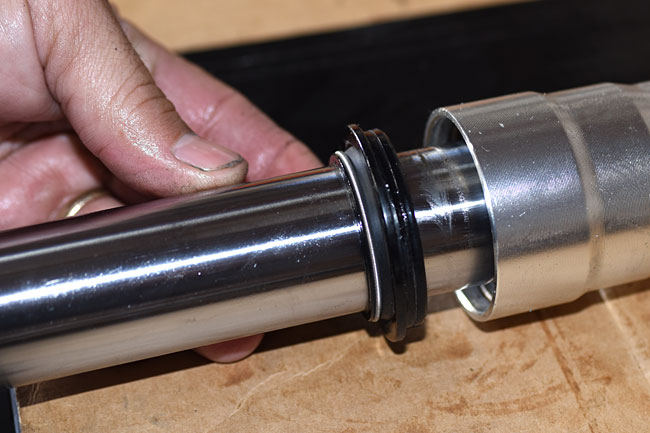
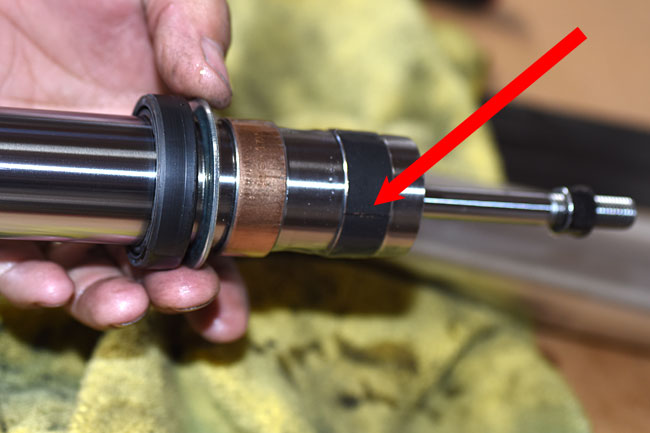
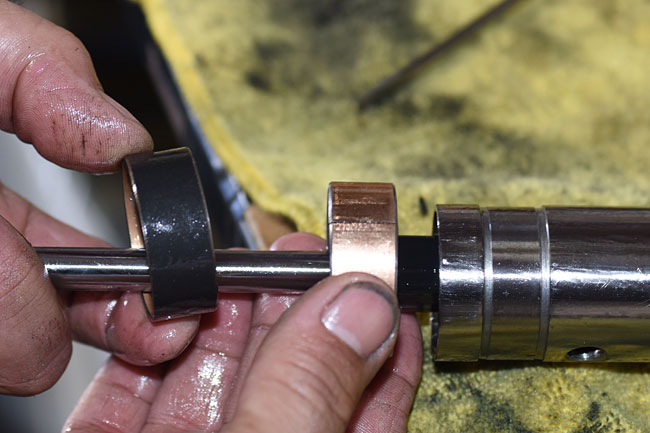
After you have separated the fork lower from the fork upper, it will look like this. Note that there are two circular flat clips around the diameter of the fork lower. These are slider bearings; one is black in color; the other is bronze. These keep the fork centered in the tube. Each bearing has a slit in it to allow expanding the bearing so that it can be removed from the fork lower. The red arrow points to the slit in the upper bearing. It’s barely visible and it is a fine slit.
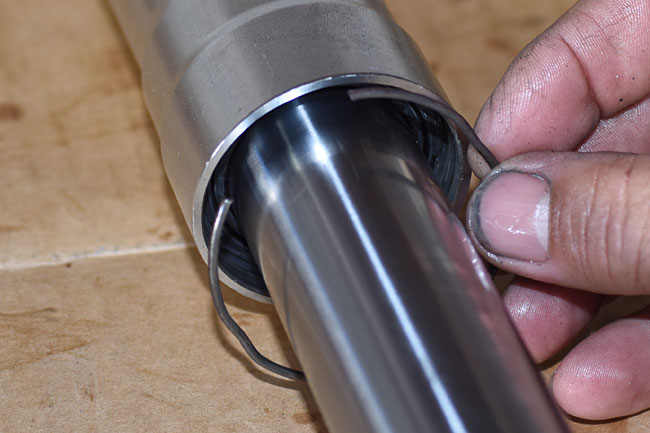
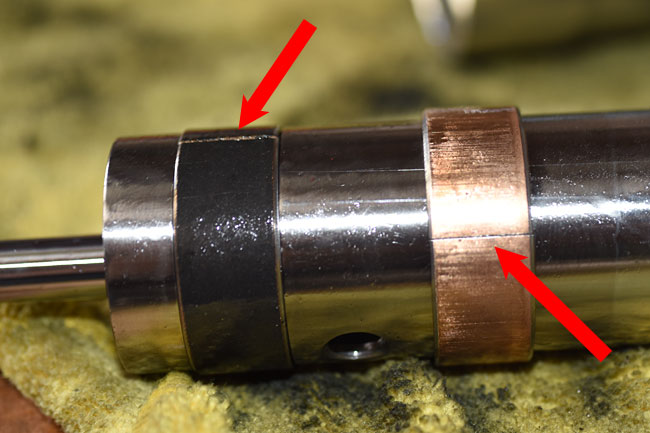
Here’s another photo showing the slits in both bearings.
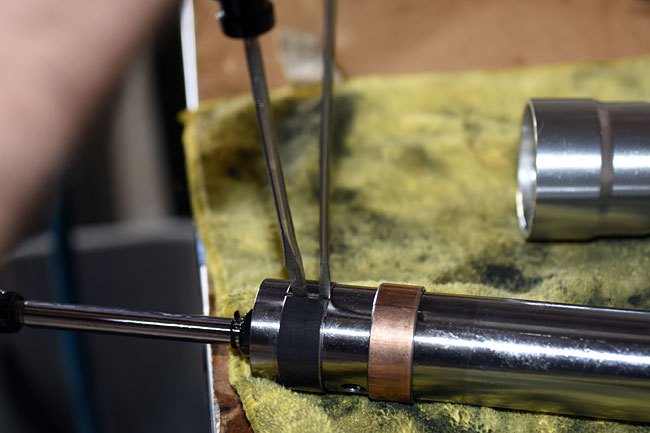
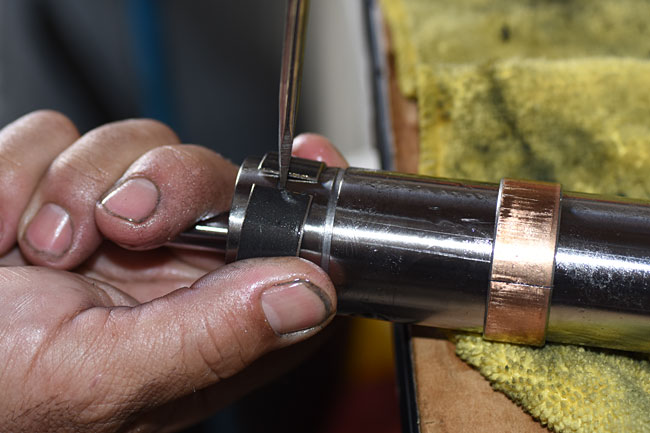
The upper bearing (the black one) rests in an annular groove machined into the fork lower. We have to expand this bearing diametrically to get it off the fork lower. Rich did this using a very fine-bladed screwdriver (the one on the right in the photo below) to start the expansion process. Once he opened the bearing a tiny bit with the fine-bladed screwdriver, he inserted a larger screwdriver. This allowed expanding the bearing so that it could get out of the fork lower machined annular groove and off the fork lower. Don’t carried away with this expansion. The trick is to expand the bearing just enough to get it out of the groove.
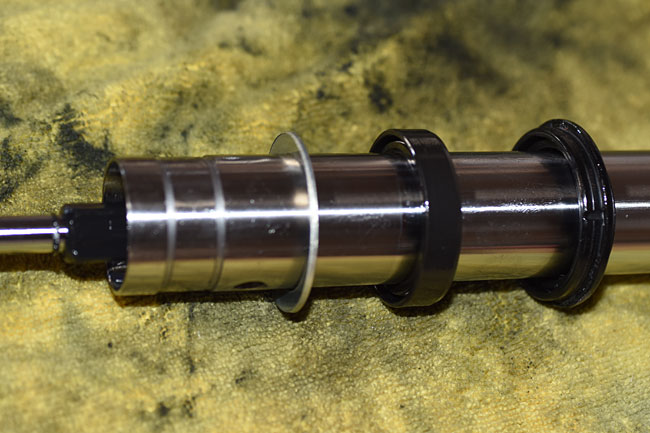
After getting the upper bearing off, slide the lower bearing off.
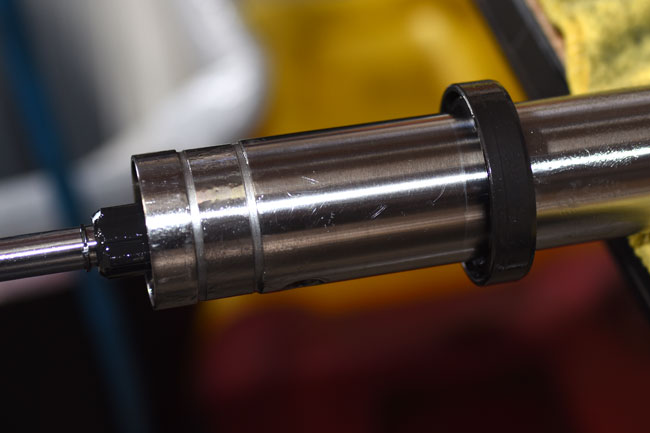
At this point, the fork lower will look like the photo below.
We’re almost done, but not quite. The challenge now is to get the fork seal over the annular groove without damaging it. If the seal is leaking and we already know it is defective, we don’t care about getting the fork seal off without damaging it (we’re going to replace it anyway). But if we are taking the forks apart for any other reason, we need to be careful. We similarly need to be careful when installing a new seal. Those edges are sharp, and if we’re not careful, we’ll damage the new seal and have to start all over again. Some folks use thin plastic (e.g., from a baggy) to cover the annular groove’s edge when removing or installing a new fork seal. Another suggestion from one our customers is to use electrical tape to cover the annular groove while sliding the seals off of the fork leg.
After removing the fork seal and the dust seal, examine both carefully for any cuts, tears, or degradation. If there’s even a hint of damage, replace the defective part. You should also examine the fork lower (which is the part that slides through the dust seal and the fork seal). If there are any scratches, gouges, or surface imperfections on the portion of the fork lower that slides through the seals, you need to either polish the imperfections out or replace the fork lower. If you don’t, you’ll just create another leak.
Assembly is the opposite of the disassembly procedure. After you’ve reassembled the forks, make sure all fasteners are tightened in accordance with the torque table in the CSC RX3 Service Manual torque specification table.
There’s a fair amount of work involved in fork repair (this is one of our longer maintenance tutorials), but it’s a lot less expensive doing it yourself. And my guess is you’ll reach the same conclusion I have when working on these motorcycles. We’ve posted 10 or 11 maintenance tutorials now, and one of the things that has impressed me greatly with the RX3 is just how fine a motorcycle it is. The quality of the internal parts is just awesome. I used to run factories and machine shops making high performance military aircraft and weapons systems, and the workmanship exhibited in the RX3 is every bit as good as what we built for the US Department of Defense.
Like always, when you finish servicing your motorcycle, go for a ride. You’ll feel better, secure in the knowledge that your forks were serviced correctly.
 SG250 San Gabriel Cafe Racer
 TT250 Enduro