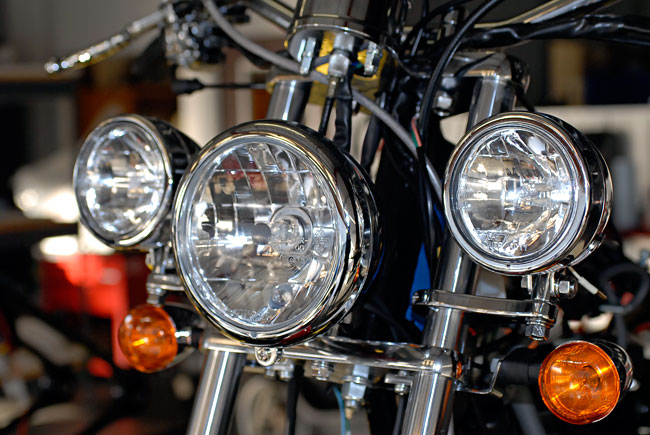
One of the snappiest accessories you can add to a CSC Motorcycle is our AC-1003 Spotlight Kit. There’s just something about those big bulbs that give a motorcycle a complete look. I like it, and I always have (going all the way back to the days when I was a kid drooling over those full dress Harleys and Indians). The entire CSC kit with all required mounting hardware, wiring, the switch, and the spotlights is only $249.95, and you can get it by calling 800 884 4173 and asking for TK.
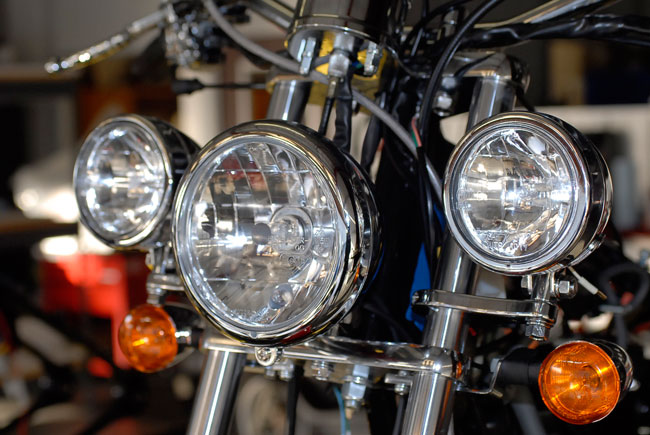
Our master bike builder Tony B recently assembled a set of installation instructions, and as promised a few blog entries ago, I’m including them here for you, too. Here we go!
Prior to performing any of the operations shown below, disconnect the battery negative terminal. This is a good idea whenever doing any work on any motor vehicle, and it’s a good idea here, too.
Although the motorcycle gas tank is not present in the photos below, the operations shown here can be performed with the gas tank in place.
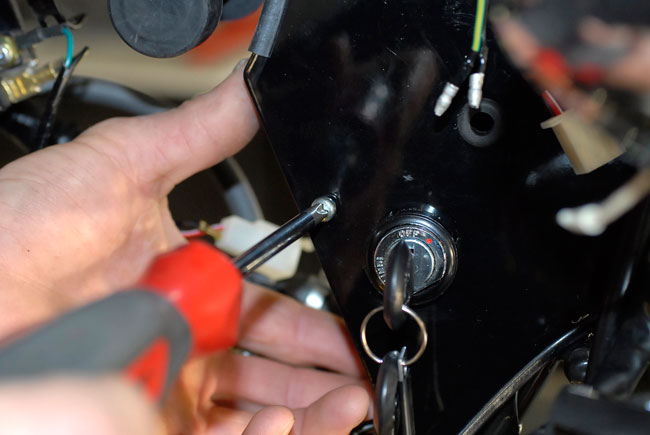
We’ll start by removing the neck cover on your motorcycle. We do this by removing the two Phillips head screws on both sides of the neck, and then removing the cover.
Once you’ve pulled the cover off, carefully pull the harness inside the neck area rearward so that it is outside the neck area.
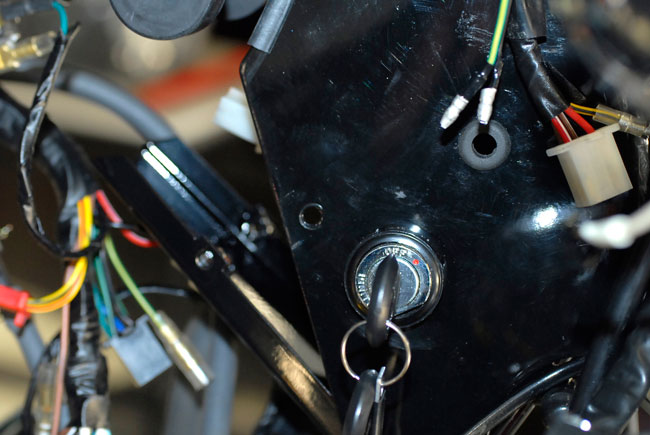
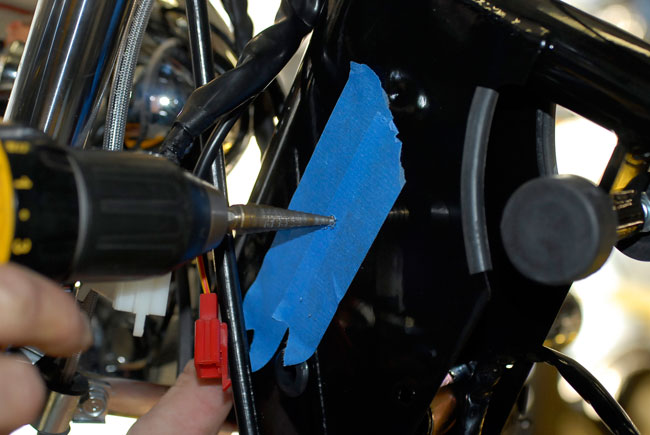
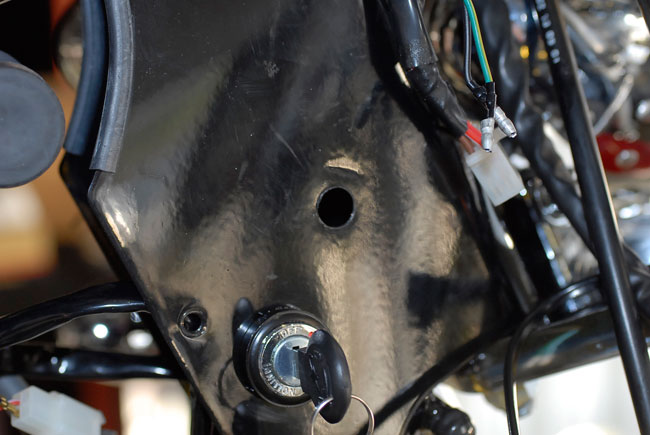
The next step is to drill two ½-inch holes in the neck, with one on each side in the approximate location shown. Make sure the harness and writing contained in the neck has been pulled out of the neck area so that you do not drill into the wiring. We like to put some tape in the area where going to drill to minimize any damage to the paint and the painted surfaces, like you see below.
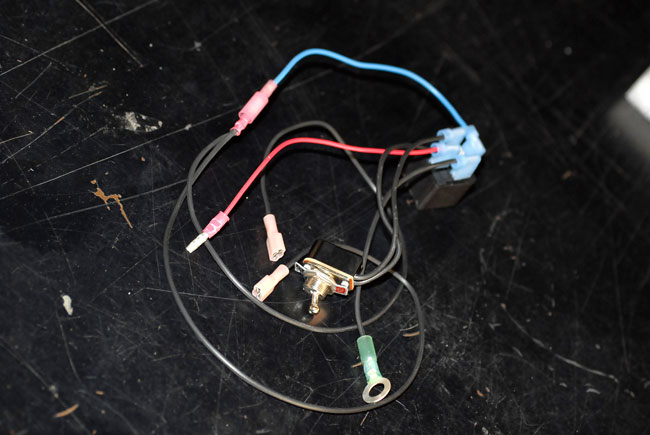
Okay, so far, so good! Our next step is to take the spotlight harness kit out of the box and stretch out all of wires. This is what the harness looks like…
Notice that the harness has two identical leads (these will go to the spotlights), a ground lead with an eyelet (the one with the green-shaded connector), an on-off switch, and a red terminal.
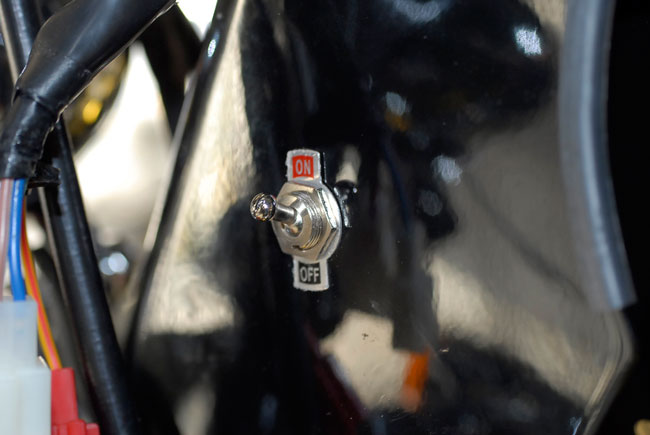
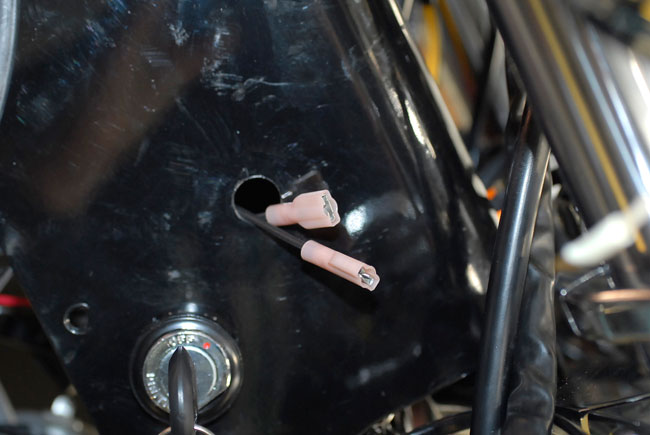
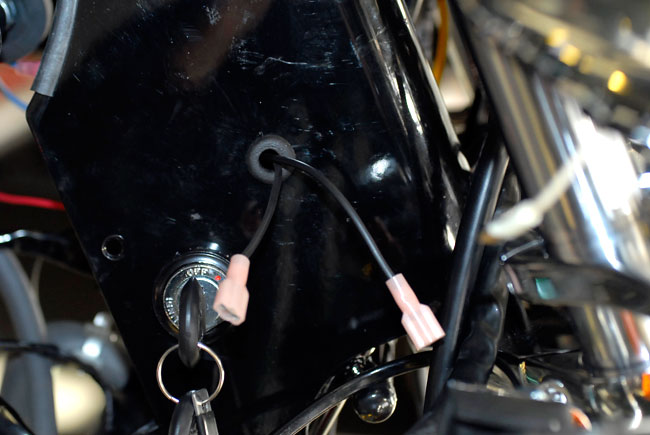
What we’ll want to do now is install the toggle switch with its nut in the hole on one side of the neck, and pull the wires for the left and right spotlights through the other hole, as shown below. We always like to put the switch on the left side of the bike (that way you won’t have to take your hand off the throttle if you want to turn the lights on while riding). It almost sounds silly to mention this, but make sure the switch is installed so that the toggle is outside the bike (don’t ask me why I mention this…). It’s gonna look like this…
Pull the leads for the left and right spotlights through the grommet, and then install the grommet in the neck as shown below. You have to pull the leads through the hole without the grommet first (before you put the grommet in its hole in the neck), because if you don’t, you won’t be able to get the leads through.
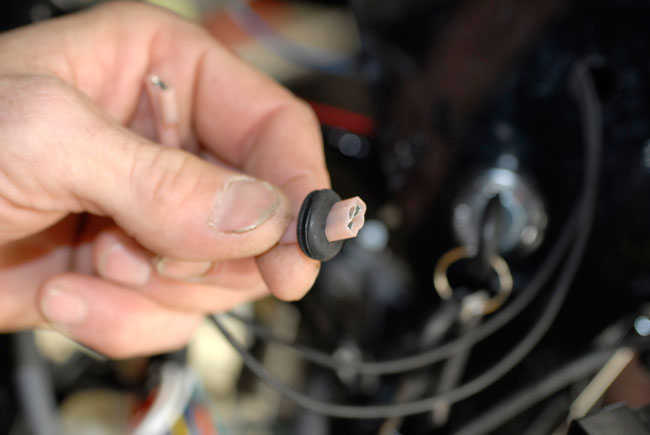
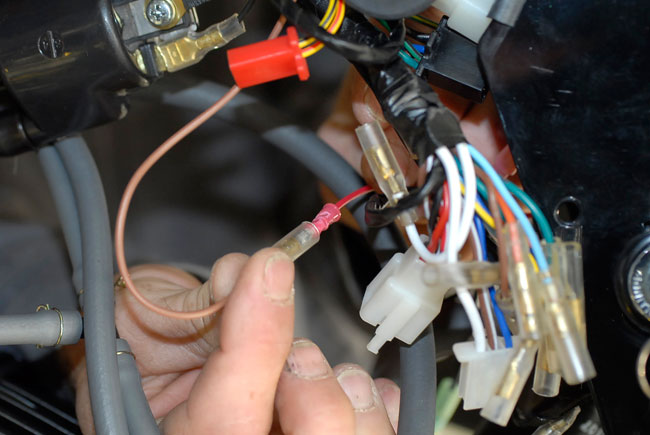
The motorcycle’s main wiring harness in the neck will have one unconnected female terminal on a brown wire. Connect the spotlight harness red wire to the female receptacle on the motorcycle brown wire, like the picture below shows…
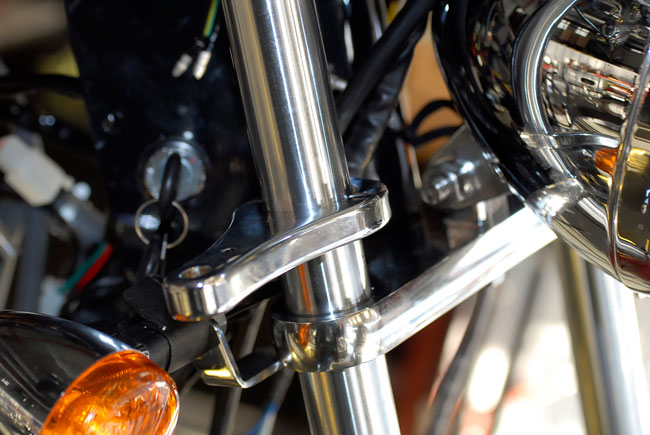
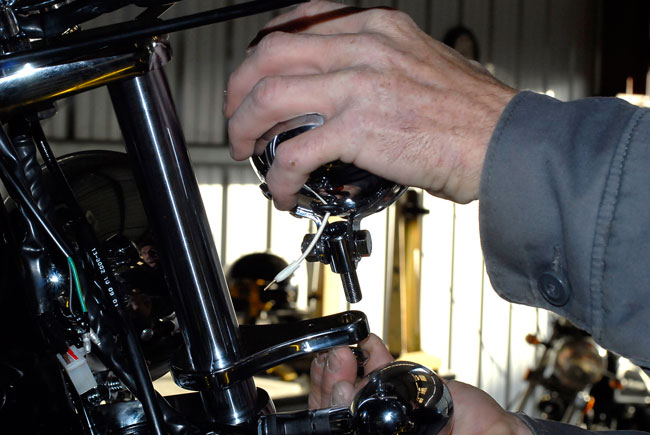
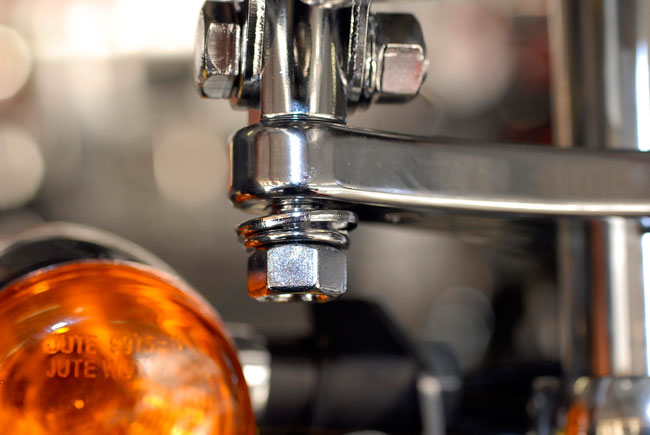
Now it’s to install the spotlights. Install the left and right spotlight mounting brackets on each fork leg, and then attach a spotlight to each fork mounting bracket. Each spotlight mounts with a nut, a lockwasher, and a washer. Take a look at the photos below and you’ll see how this goes together.
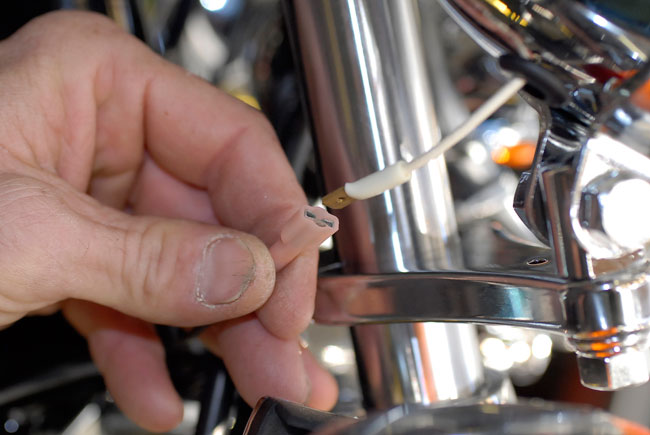
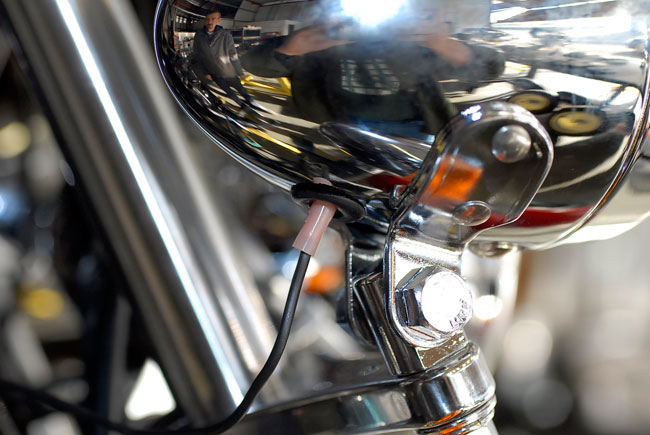
Each spotlight will have a lead exiting from the spotlight case. Route the two spotlight leads from the spotlight harness (in the neck) to each spotlight wire. Connect the lead to each spotlight and then push the leads into the spotlights as shown below. Push the leads all the way into each spotlight. The photo below shows the lead partially inserted into the headlight; you’ll want to push it all the way in.
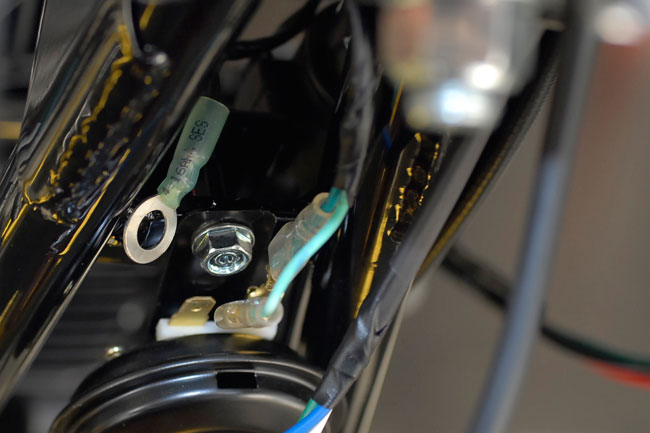
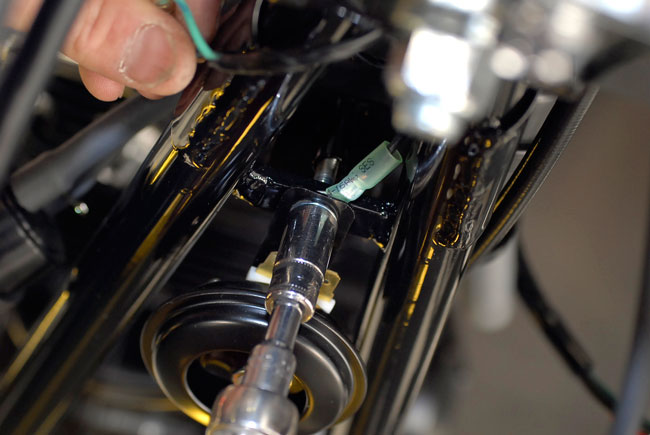
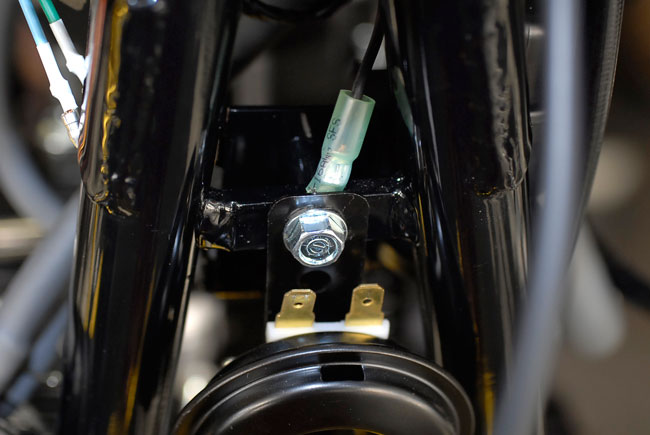
Our next step is to attach the spotlight kit ground lead. Disconnect the two horn leads and remove the bolt securing the horn to the motorcycle frame, as shown in the photos below. Install the eye connector on the bolt, capturing it between the horn mounting bracket and the motorcycle frame. You may need to sand a small area to remove the frame powder coating to assure a good electrical connection to ground. Reinstall the horn mounting hardware, and reconnect the horn electrical leads.
Push all of the wiring in the neck area back into the neck and reinstall the neck cover with the two Phillips head screws. Secure the wiring for the spotlight leads, checking the lock-to-lock motion of the forks to assure no interference from the spotlight wires.
Reconnect the battery negative terminal, adjust the spotlights beam directions to your preference, and enjoy your new spotlight accessory kit! And if you have any further questions, don’t be embarassed….please give us a call at 800 884 4173.







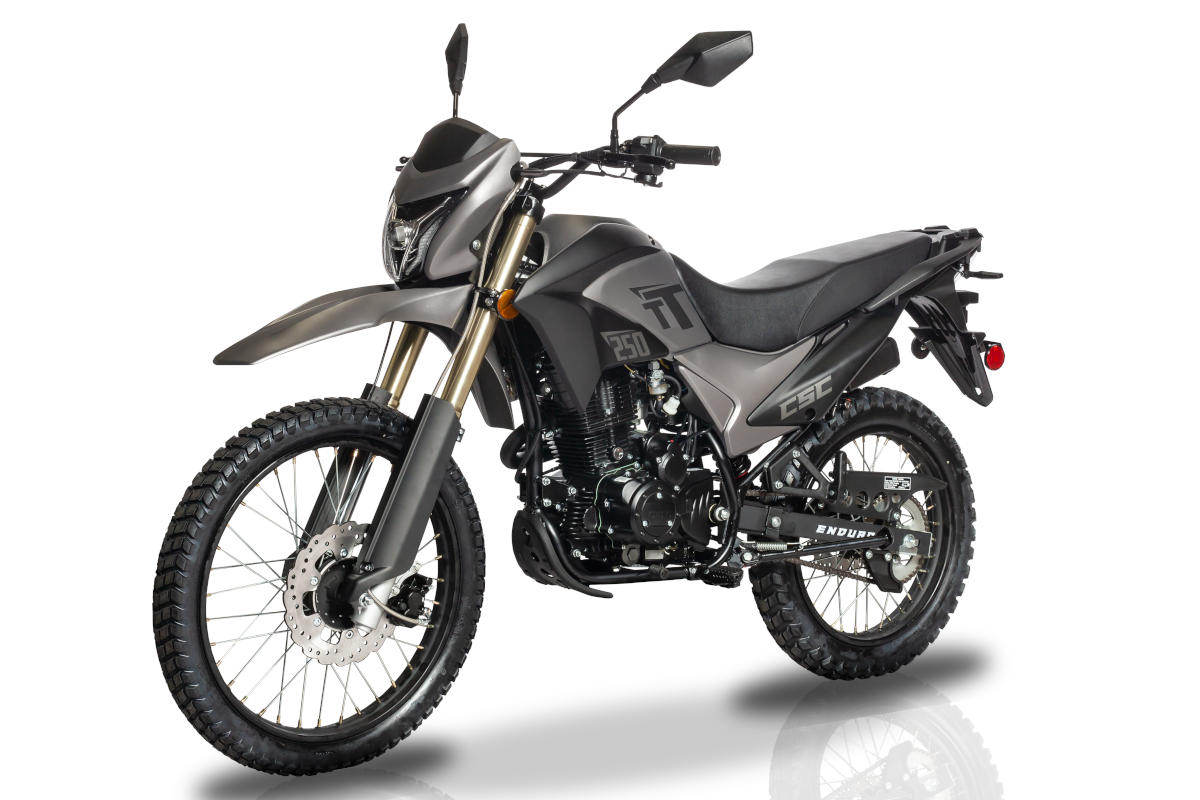 TT250 Enduro
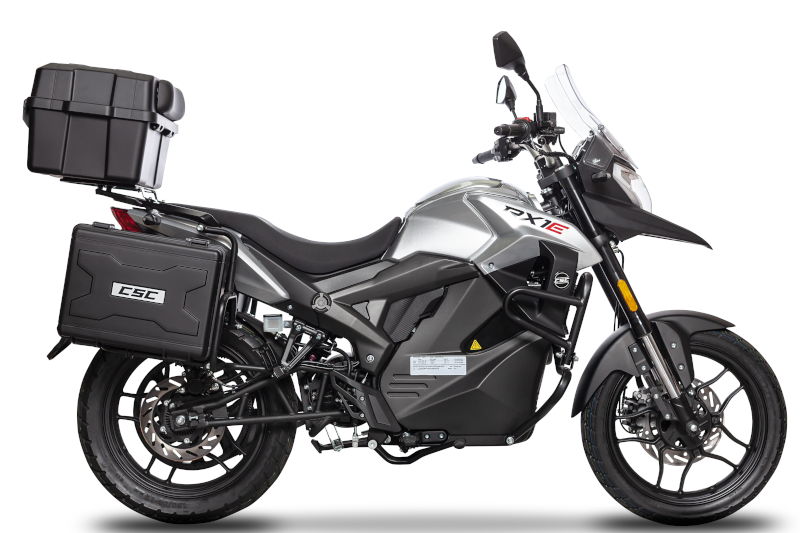 RX1E Electric Motorcycle
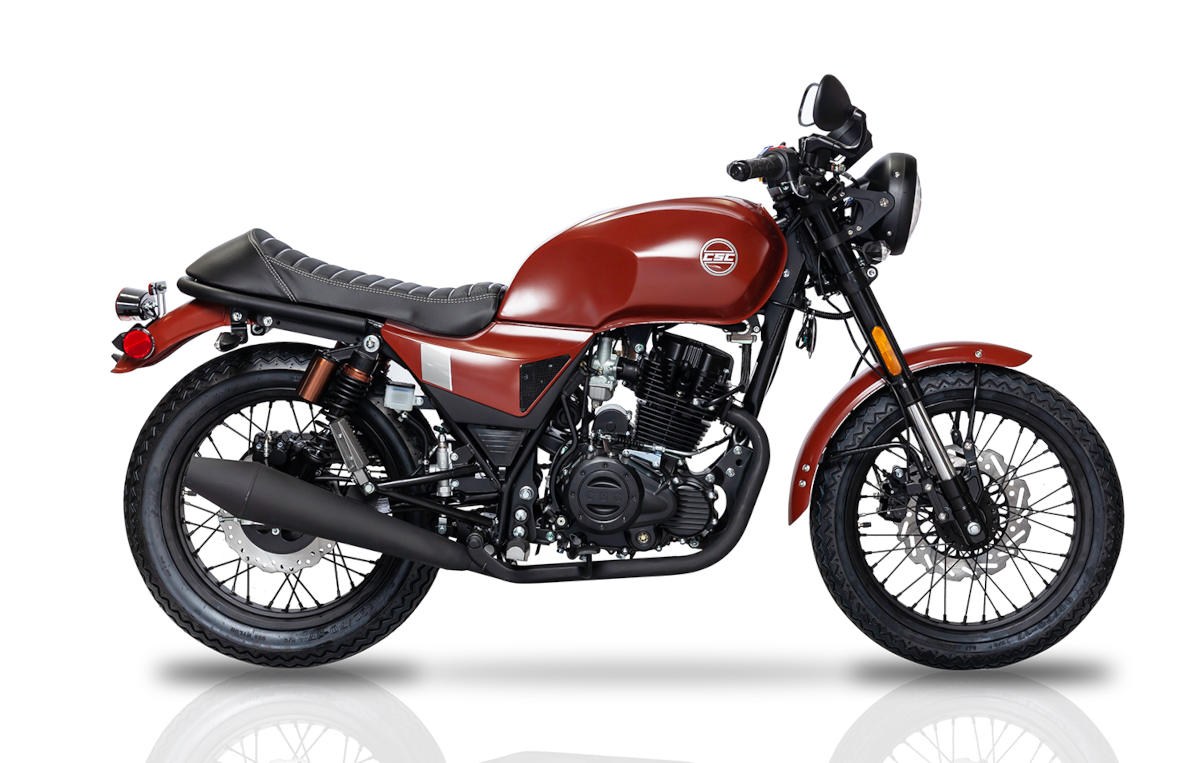 SG250 San Gabriel Cafe Racer