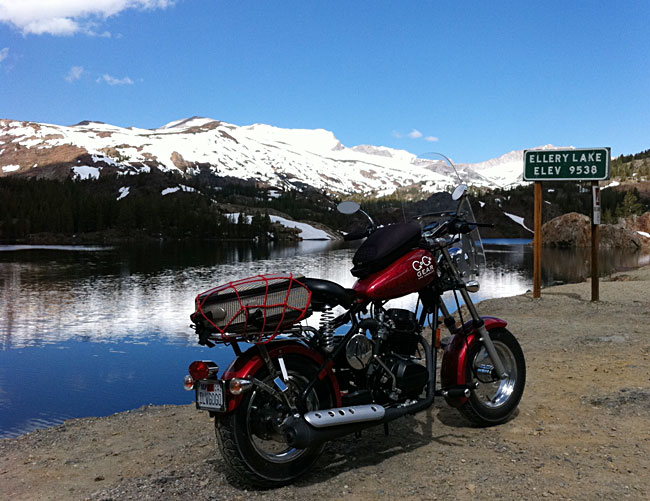
When carbureted motor vehicles are operated at higher altitudes, it’s sometimes necessary to make adjustments to the carburetor to account for the increased altitude. That’s because the air is thinner at higher altitudes and it makes the engine run richer. To compensate for this, we need to adjust the air fuel mixture, and the easiest way to do this is to run a leaner main jet.
We can’t tell you with certainty how high above sea level you’ll need to be before you need to rejet your carb. It depends on air temperature as well as altitude. There’s a bit of experimentation involved here, but we’re going to show you what we do when we’re running the bikes above 8,000 feet or so. Some folks run their bikes at these altitudes and higher with the stock jets and everything is fine; others want to run different jetting. It’s not an exact science. The bottom line here is this: If your bike is running fine at higher altitudes, leave it alone. If it’s not, you may want to change the jet as we will describe here.
This is a bit complicated, but not so much that anyone with basic mechanical skills can’t tackle it. I’ve included a bunch of photos to walk you through the process.
Okay, let’s get started. The photo below shows the carburetor, and the blue arrow points to the float bowl drain screw. The first thing you’ll want to do is close the fuel petcock on the left side of the gas tank. Then get a little cup (not a styrofoam cup), hold it under the carb, and loosen the drain screw. This will let the fuel that’s in the float bowl drain.
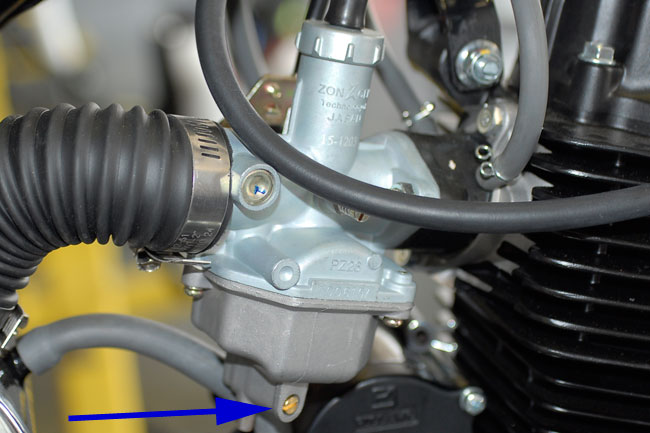
The CSC-150 carburetor
There are three Phillips-head screws that hold the float bowl onto the carburetor. Remove all three screws and then take the float bowl off the carburetor, like you see in the next two photos.
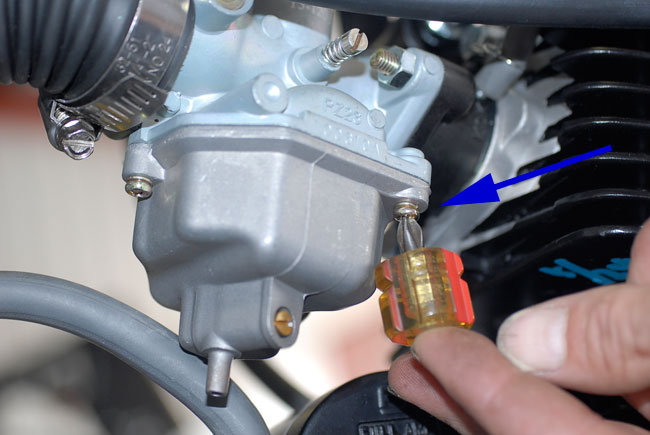
The float bowl attach screws (there are three)
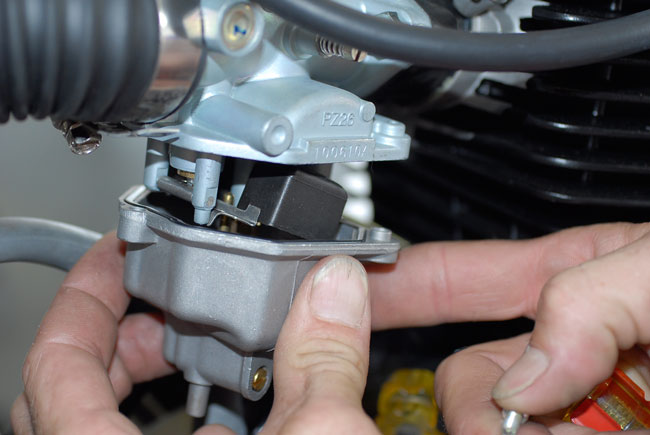
Removing the carb float bowl
Once the float bowl is off the carburetor, you’ll be able to see the main jet and its carrier. That’s the brass piece shown in the photo below. The upper arrow is pointing to the carrier, and the lower arrow is pointing to the jet.
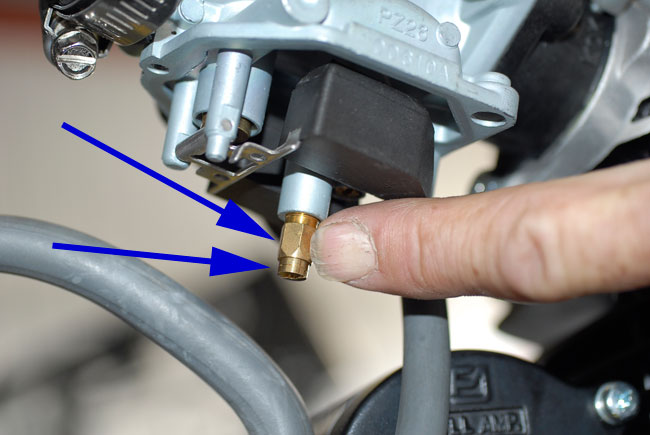
The main jet and its carrier
You can unscrew these from the carburetor using a flat head screw driver.
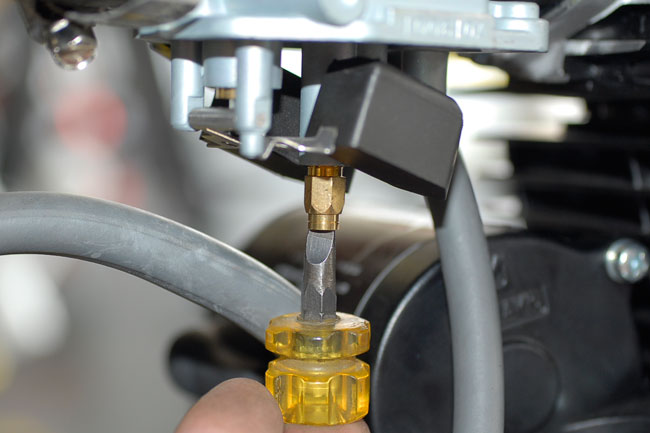
Removing the main jet
The main jet and its carrier usually come out together, like the photo below shows. As mentioned above, there are actually two pieces (the main jet, and the carrier). The main jet is screwed into the carrier. Sometimes when you attempt to remove both from the carb, the main jet unscrews and the carrier stays in the carb. No problem there. You can use a wrench to remove the carrier, or you can just leave it in the carb and work with the main jet only. You can see these two pieces in the next two photos.
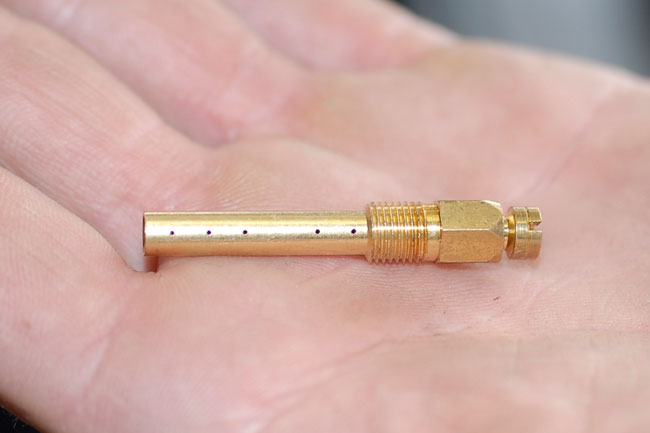
The main jet and carrier removed from the carburetor
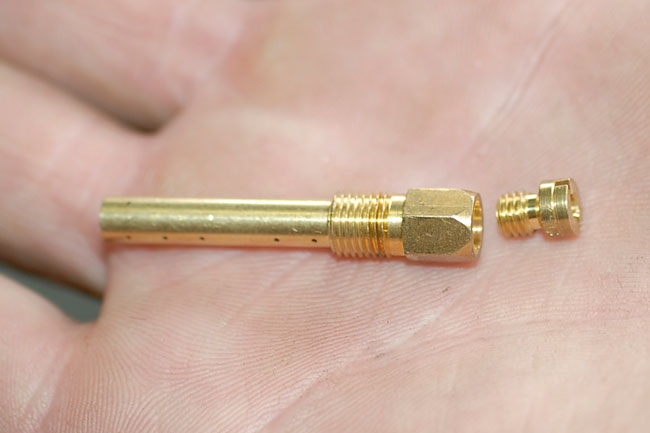
The main jet unscrewed from its carrier
Here’s another shot of the main jet. The stock set up uses a 108 main jet. You can see the numbers on the side of the jet (see the photo below). This is a real little piece, and the numbers are hard to see.
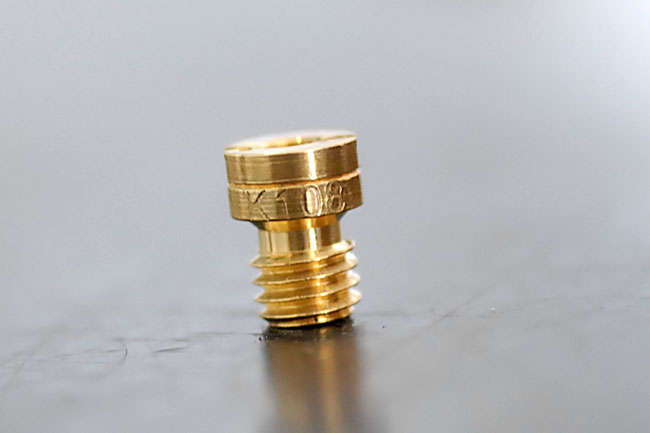
The standard 108 main jet
That main jet in the photo above is what we are going to replace. If you are going to be riding at higher altitudes, you may want to go with a 102 main jet. It has a smaller hole, so it lets in less fuel. That will bring the air fuel mixture back into the correct range (the air is thinner at higher altitudes, so we want to use a smaller jet to keep the ratio of air and fuel in the right range). Just take a 102 jet (which we can sell to you) and screw it into the carrier. Save the 108 jet, because you may want to use it again when you ride your bike at lower altitudes.
After you’ve swapped the jets, screw the carrier and the jet back into the carburetor. You can use a wrench to snug it up just a bit beyond finger tight. Don’t overdo it; just a light torque will work (these are delicate parts).
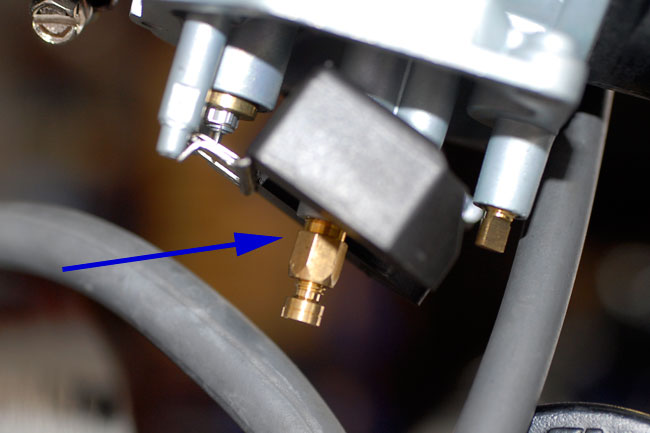
The main jet and its carrier reinstalled in the carburetor
Let’s take a closer look at the carburetor while we still have the float bowl off. The blue arrow in the photo below points to the D screw that we use to adjust the air fuel mixture at idle. You’ll have access to this with the float bowl installed, but I wanted to show it to you with the float bowl off. It’s a little bit harder to see with the float bowl installed and it’s less accessible. We sell a special D tool for this adjustment that I’ll show you in a bit.
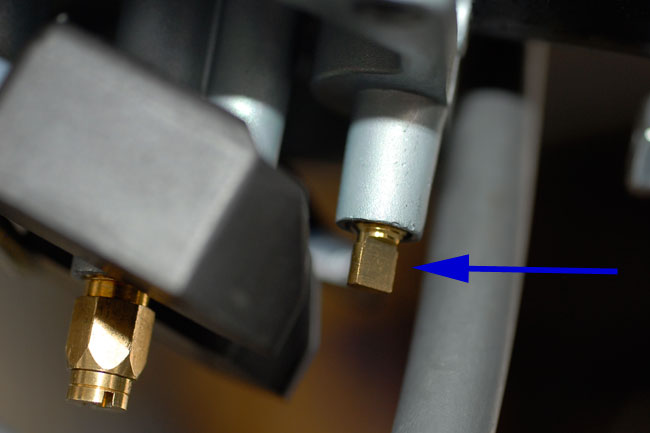
The air-fuel-mixture adjustment screw
Here’s a shot of the float bowl off the carburetor. The blue arrow points to the cutout area that allows access to the D screw when the float bowl is installed.
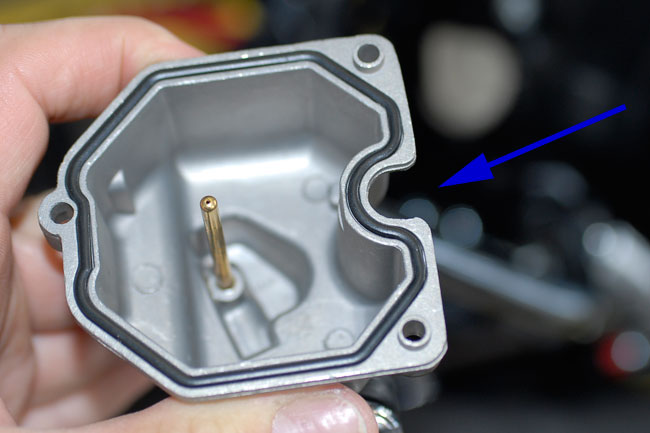
The float bowl, which provides access for the air-fuel-mixture adjustment screw
Once you’ve installed the new jet into the carrier, and then installed the carrier and the jet into the carburetor, you can reinstall the float bowl back onto the carburetor. Make sure you fully screw in the float bowl drain screw (you don’t want to let fuel flow out of the carburetor when reopen the fuel petcock on the left side of the gas tank).
Here’s a shot showing the D screw with the float bowl installed.
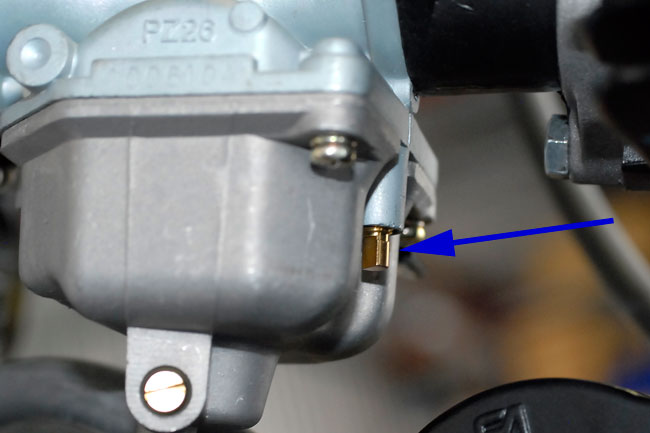
The air-fuel-mixture adjustment screw, seen with the float bowl installed
Here’s a photo of the D wrench we use for adjusting the air-fuel-mixture screw. Tony likes to mark it so that he can track the number of turns.
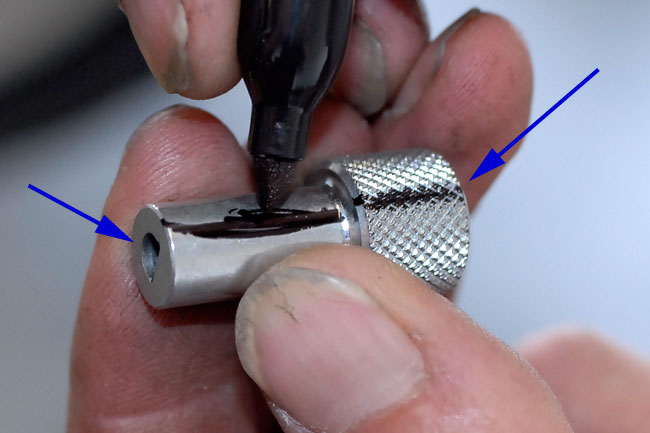
The D-wrench used for the air-fuel-mixture adjustment screw
So, your bike is completely back together, and you’re ready to make final adjustments. What I would do first is simply start the bike, let it warm up, and see how it idles. If it’s idling okay, I’m not going to make any adjustments to the D screw.
If the bike is not idling okay, I know I’ll need to adjust the air fuel idle mix with the D screw. What we normally use as a starting point is this: We’ll completely screw in the D screw (but don’t force it once it bottoms, or you can damage the carb), and then back it out three turns. That’s a starting point. We’ll then make quarter or half turn adjustments in either direction until the bike idles properly. You’ll want to make this adjustment after the bike has warmed up, with the choke off.
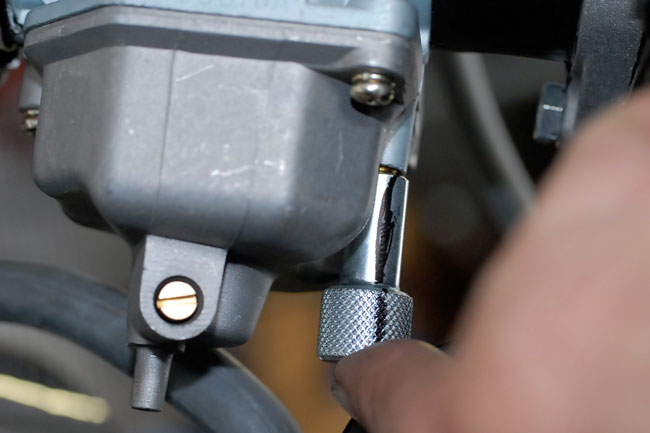
Adjusting the air-fuel-mixture screw with the D-wrench
Folks, that’s about it. The tough part about this is that, like I said earlier, it’s not an exact science. There’s a little bit of playing with the jet size selection (we’ve suggested going from the stock 108 to a 102 main jet if you’re going to be running at higher altitude), and there may be a bit of playing with the air fuel mix at idle using the D screw.
You can normally tell from a short test ride if eveything is okay (and that’s mostly all I ever do), but the real test is this…run the bike on the road for a bit, and then pull the spark plug. If it’s white at the tip, you’re running too lean and you’ll need to go back up a bit on the jet size. If it’s black and sooty, you’re running too rich and you’ll need to run a smaller jet size. If it’s a nice light tan color, everything’s just right!












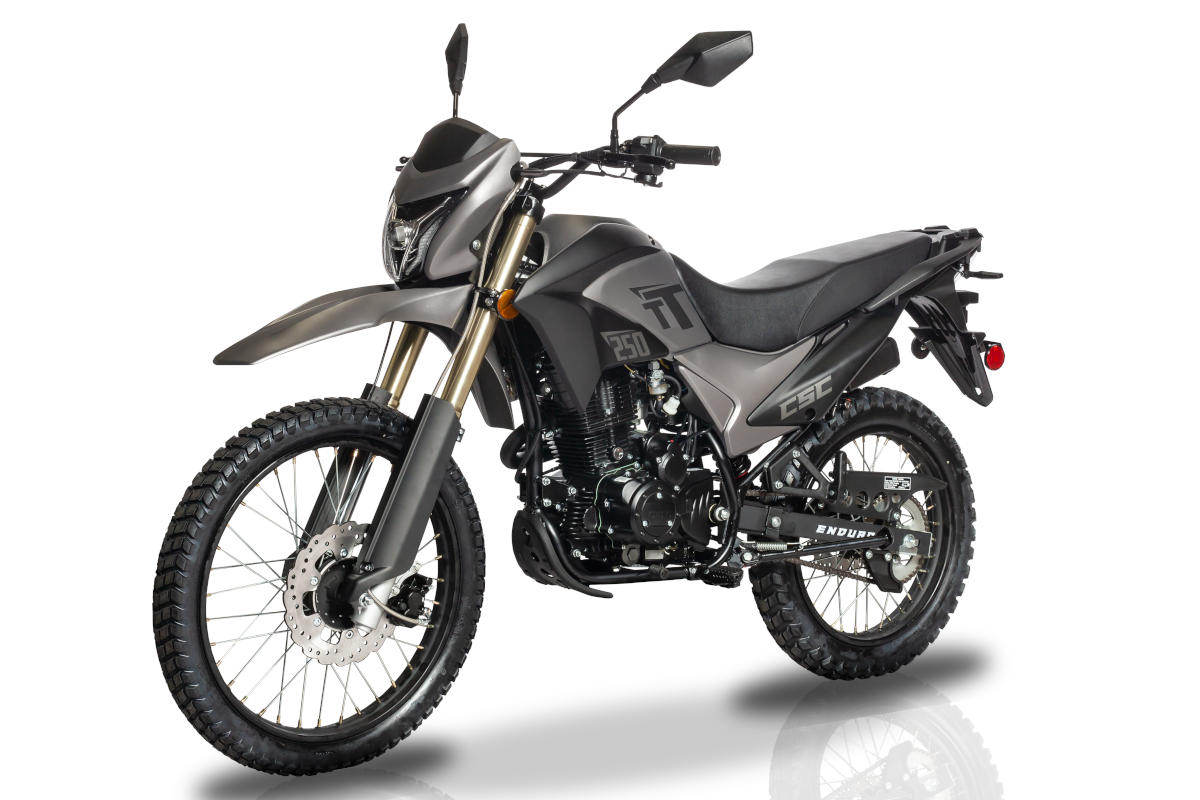 TT250 Enduro
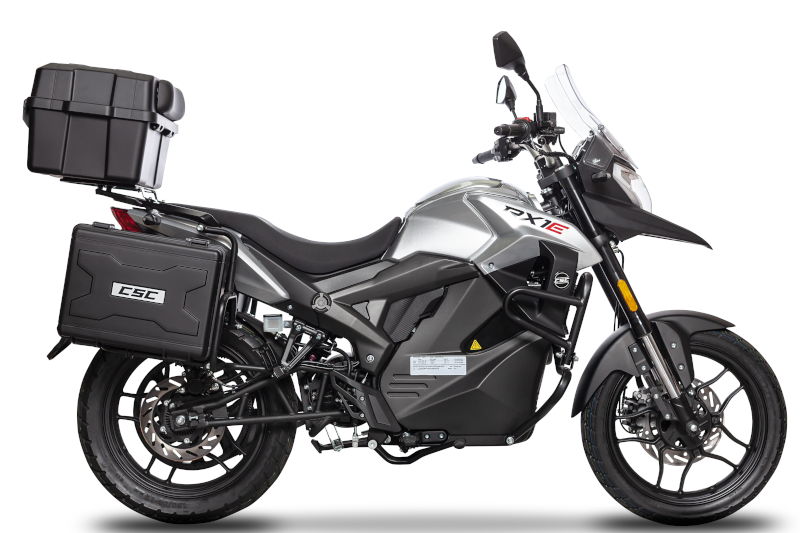 RX1E Electric Motorcycle
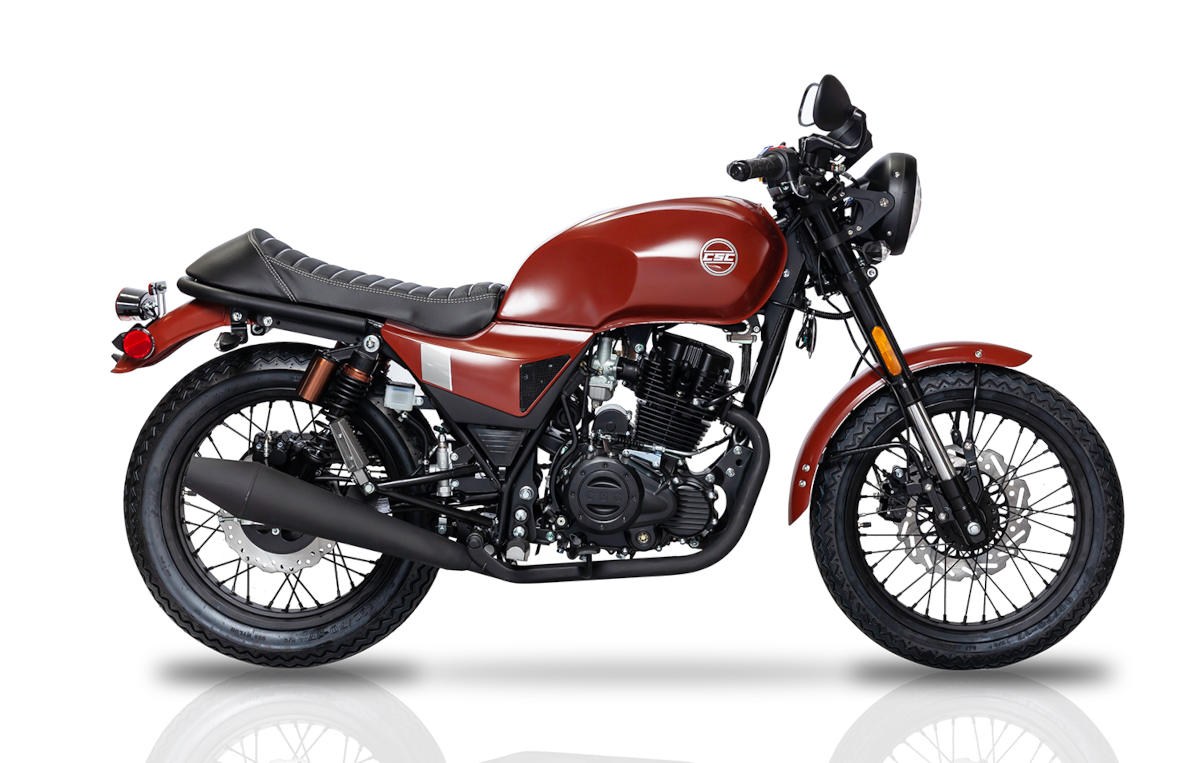 SG250 San Gabriel Cafe Racer