


Make the standard CSC RX3 Adventure luggage even better for extended riding.
By Randy Reek

CSC RX3 Adventure shown with standard hard luggage
The CSC RX3 Adventure includes a set of “hard luggage” as standard equipment. The molded plastic panniers and top box, along with the rear mounting rack and side brackets are an option that would cost $500 or more to add to any stock dual-sport motorcycle.
However, some riders consider the hard luggage too small for serious touring. CSC Motorcycles offers an optional larger set of Tourafella aluminum cases. It is also possible to substitute the hard cases for soft panniers, and this is my preference for adventure riding on rough trails where falls are inevitable and hard cases will get dented or broken.
But most riders are served well by the standard RX3 Adventure luggage package. I have ridden from Florida to Alaska and the biggest mistake I see is riders who carry too much stuff! You will be visiting several towns each day as you travel so there is no reason to carry a week’s worth of food. A limited selection of clothes to handle several days can be washed and rotated indefinitely. Besides, a lighter bike is always more fun to ride, especially when you get into challenging sections of the trail.
I never recommend carrying more than you can fit in the standard luggage of the RX3 Adventure. The only exception is the addition of a duffel strapped across the passenger seat for a tent, sleeping bag and rain gear plus a small tank bag for miscellaneous items.
With this in mind, there are three small projects I completed on my CSC RX3 Adventure to make it even more “adventure-friendly”.
First, I removed the rear top case from the supporting rack. Then I removed to the two bolts that mount the rear rack to the side handles and the two bolts that mount to the rack sub-frame. I applied some medium-strength Loctite to the threads and reinstalled these four bolts. Since the top case is cantilevered off the back of the bike it will be subject to the most vibration on rough trails and this added attention will help insure these mounting bolts won’t vibrate loose.
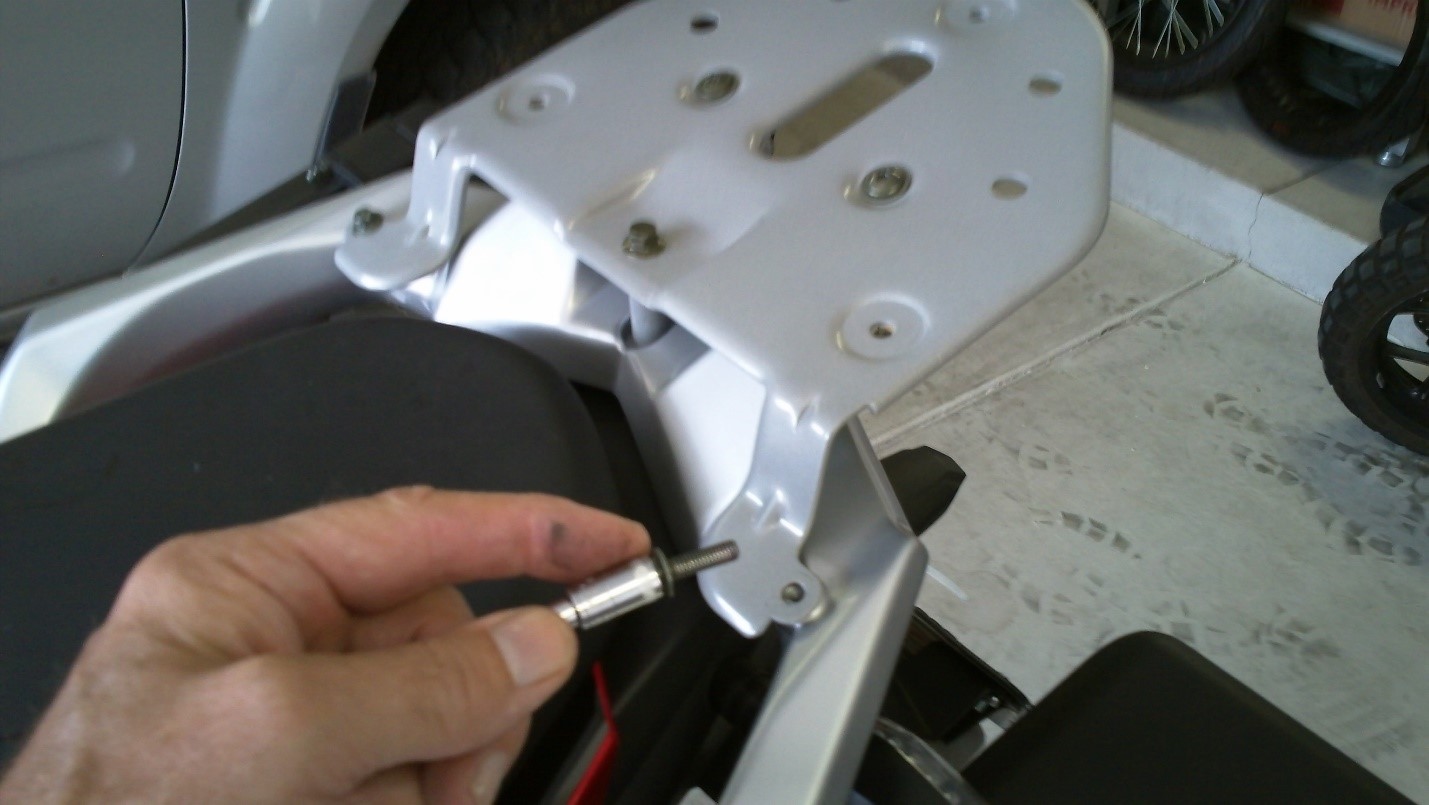
Add Loctite to all rear rack mounting bolts
Second, I added tie-down rings to the inside of the top box. I use the top box for my tool bag and didn’t want anything bouncing back above the rear wheel. I bought three small D-rings at the local hardware store. Then I fabricated some straps using standard pipe strapping.
I installed these D-rings with longer 1.5-inch 6mm bolts and washers, adding a drop of Loctite to each. The stock bolts are barely long enough to engage the threads in the rack. These longer bolts extend slightly below the base of the rack and allowed me to add a lock nut to each.
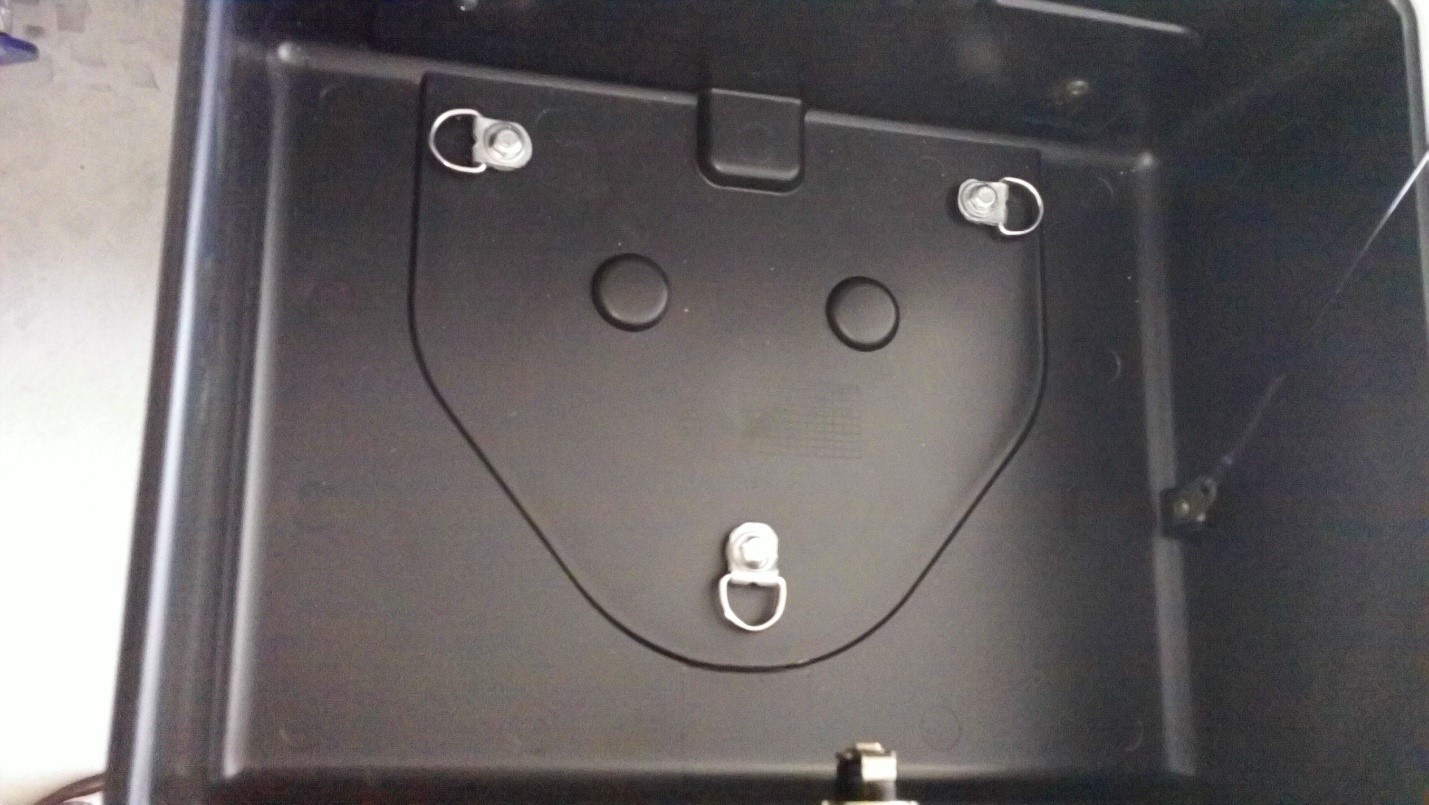
Interior tie-down D-rings. Additional bolts also added at 4 and 8 O’clock positions
While reinstalling the top box, I added two extra mounting bolts. The original three bolts form a triangle, but the rear corners of the box are unsupported by the steel rack. I added two more bolts, nuts and washers between the original ones along the outside edge of the steel rack to add more stiffness to the plastic box.
After installing these mounting bolts, I placed the stock bottom foam insert over the D-rings to mark their vertical location, then cut slits with a razor knife to allow the rings to protrude through the thin foam layer. I carry a well-stocked tool bag along with a spare front and rear inner tube. I also have room for a short bicycle air pump. I secured the tool bag with a length of paracord. I have ridden many miles on rough, rocky roads and the tools don’t move and don’t rattle in the top box. I consider this a huge improvement.
The third project was adding tie downs to the top of the case for additional “overflow” storage.
From previous ADV trips I had accumulated two medium Wolfman luggage “Rolie” bags. (These waterproof, roll-top duffel bags are available from CSC.) I wanted to use one of these bags for excess gear that wouldn’t fit in the cases, or the inner layer of clothes that I shed as the day heats up.
The Rolie bags have a tie down system built in. I bought four chrome tie downs at the local hardware store. Measuring the spacing of the straps, I determined that tie down straps needed to be 6-inches apart. This meant that the spacing of the inside holes on the brackets would be 3.5-inches apart.
Looking at the top of the case, I found that this spacing would allow for the brackets to be spaced evenly around the CSC logo.
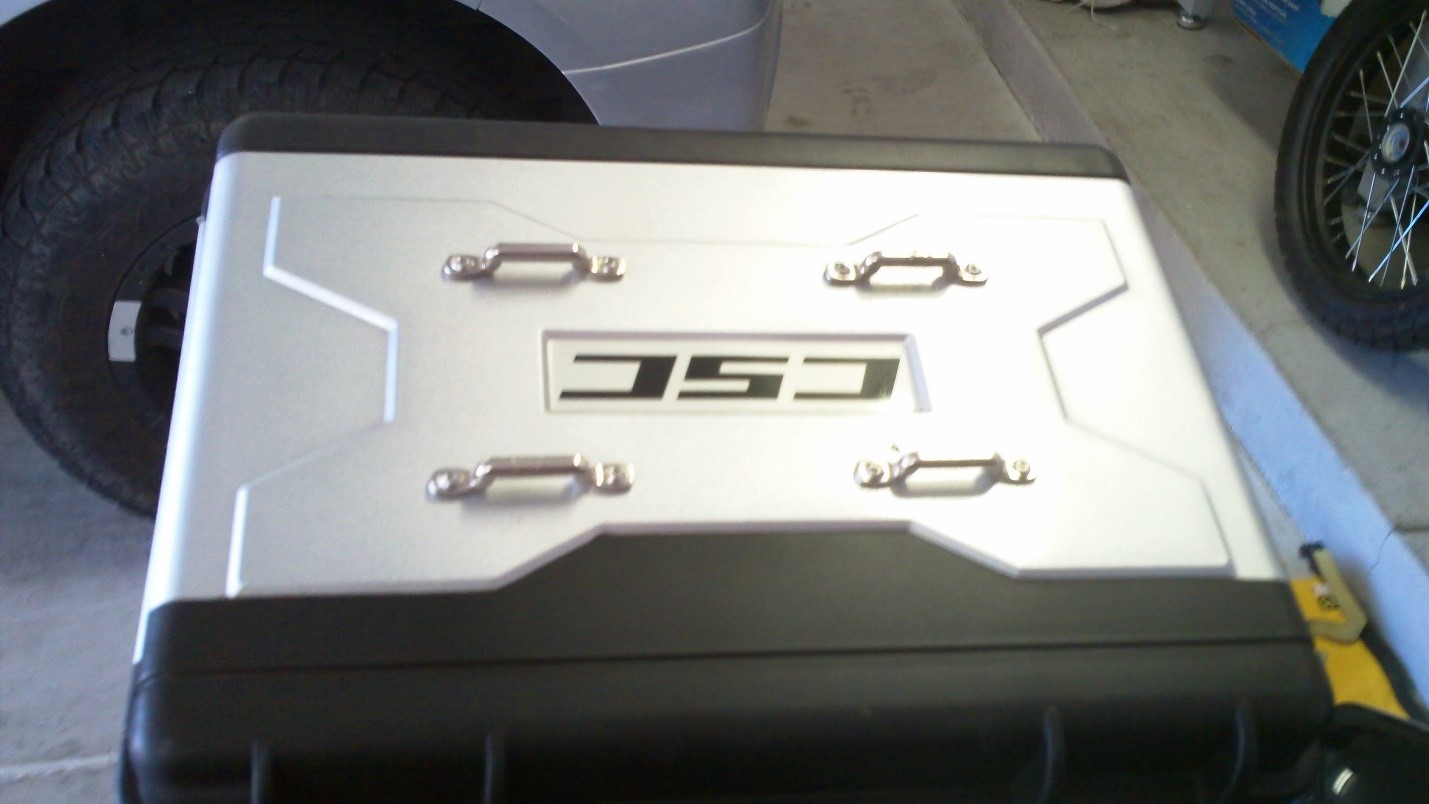
Top case tie-down brackets
The width of the spacing was determined by the molded surface. I wanted to add some reinforcement to the case lid, so I cut two pieces of aluminum about 11-inches long. The 1-inch wide aluminum fit perfectly in the molded lid.

Interior reinforcing aluminum stock
I marked the location of the brackets on the aluminum stock and drilled holes for stainless steel bolts. Then, using the aluminum stock as a guide, I drilled holes in the lid. I bolted the tie down brackets to the top of the lid and used locking nuts on the inside.
The photos below show how the stuffed Rolie bag attaches to the top case with web straps.
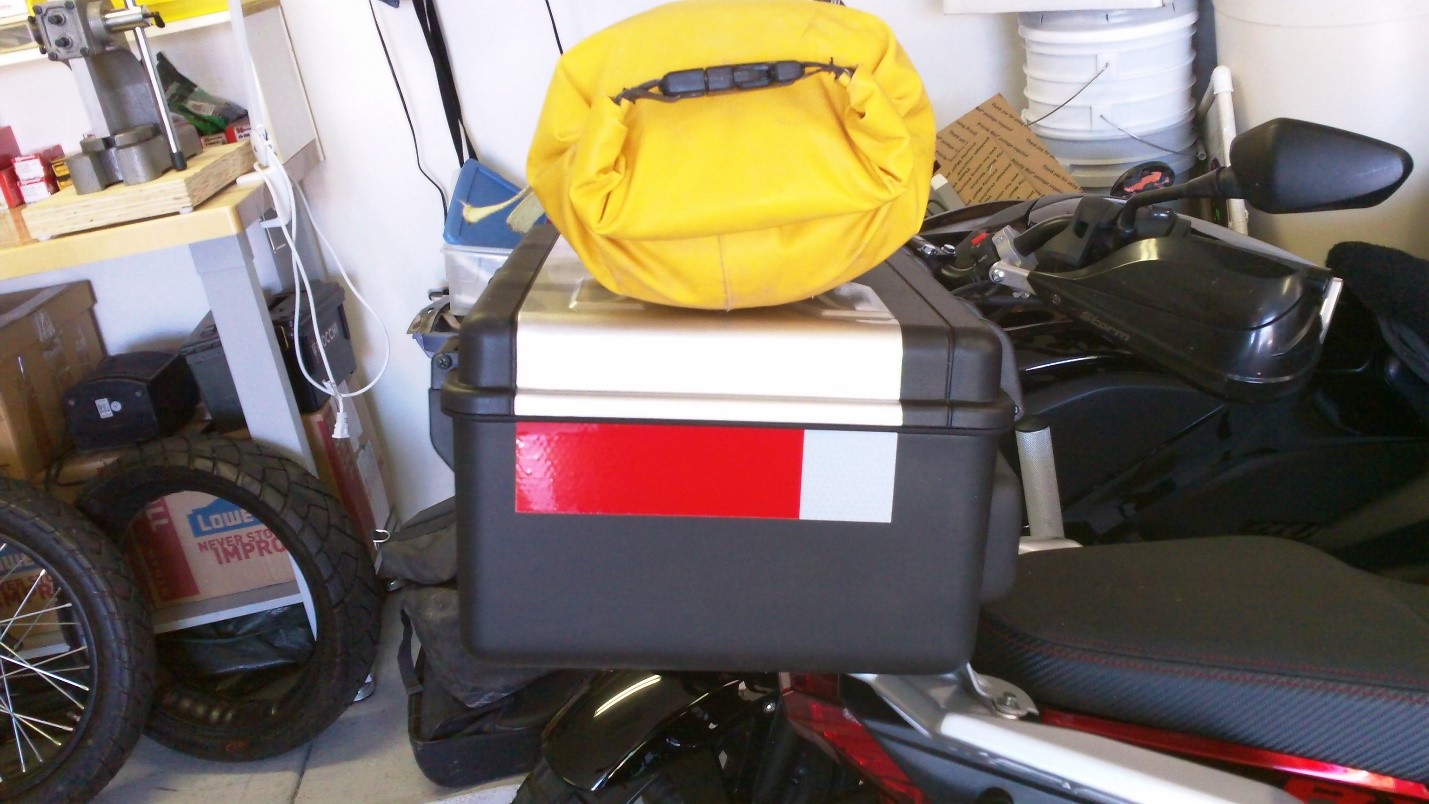
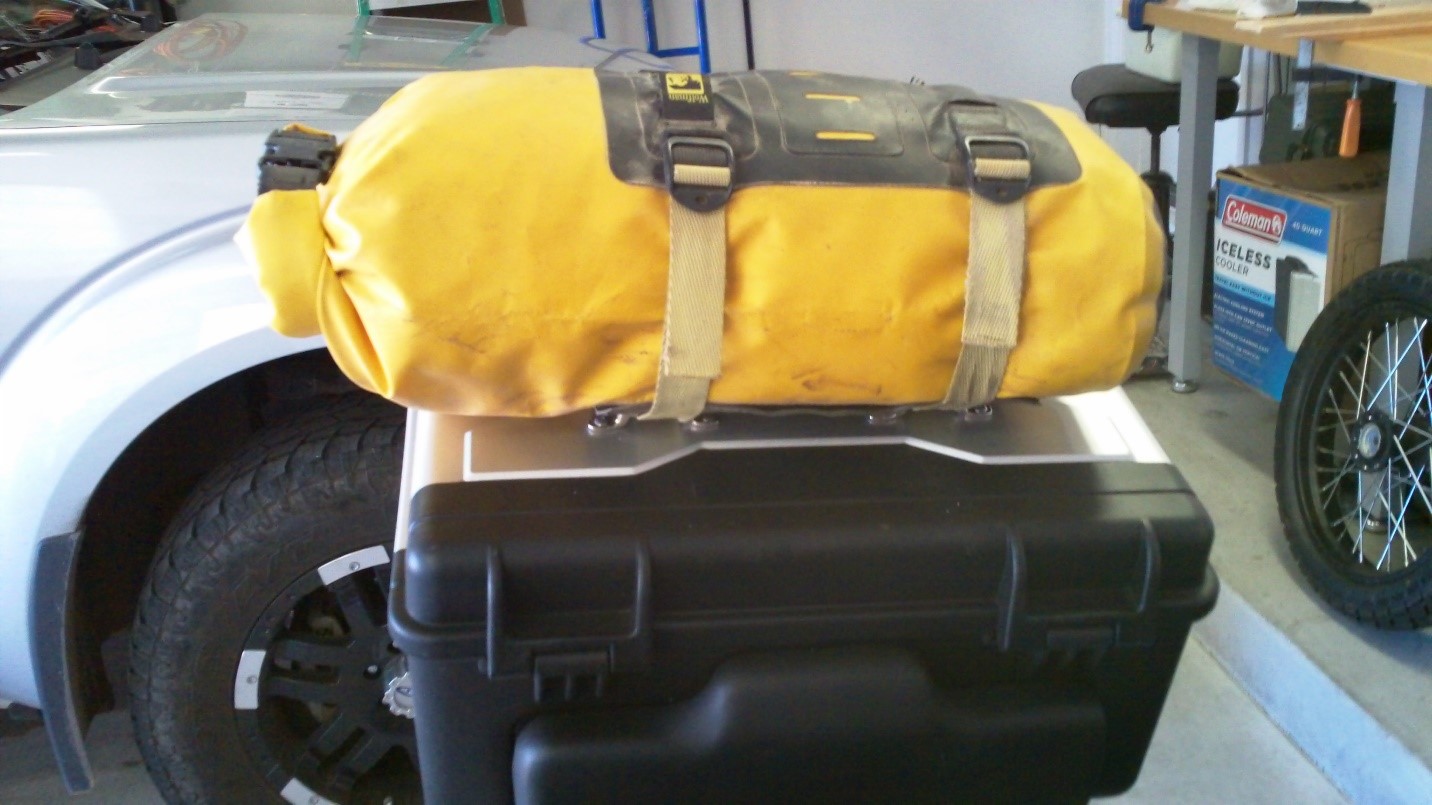
Web straps secure the Rolie bag to the top case
Because the top case is lightweight, you can’t put much weight in the Rolie bag. But this bag is a good alternative to a backpack for a fleece liner or rain coat. Likewise, I can carry the flat, empty Rolie bag in the top case and attach it to the top box only when needed.
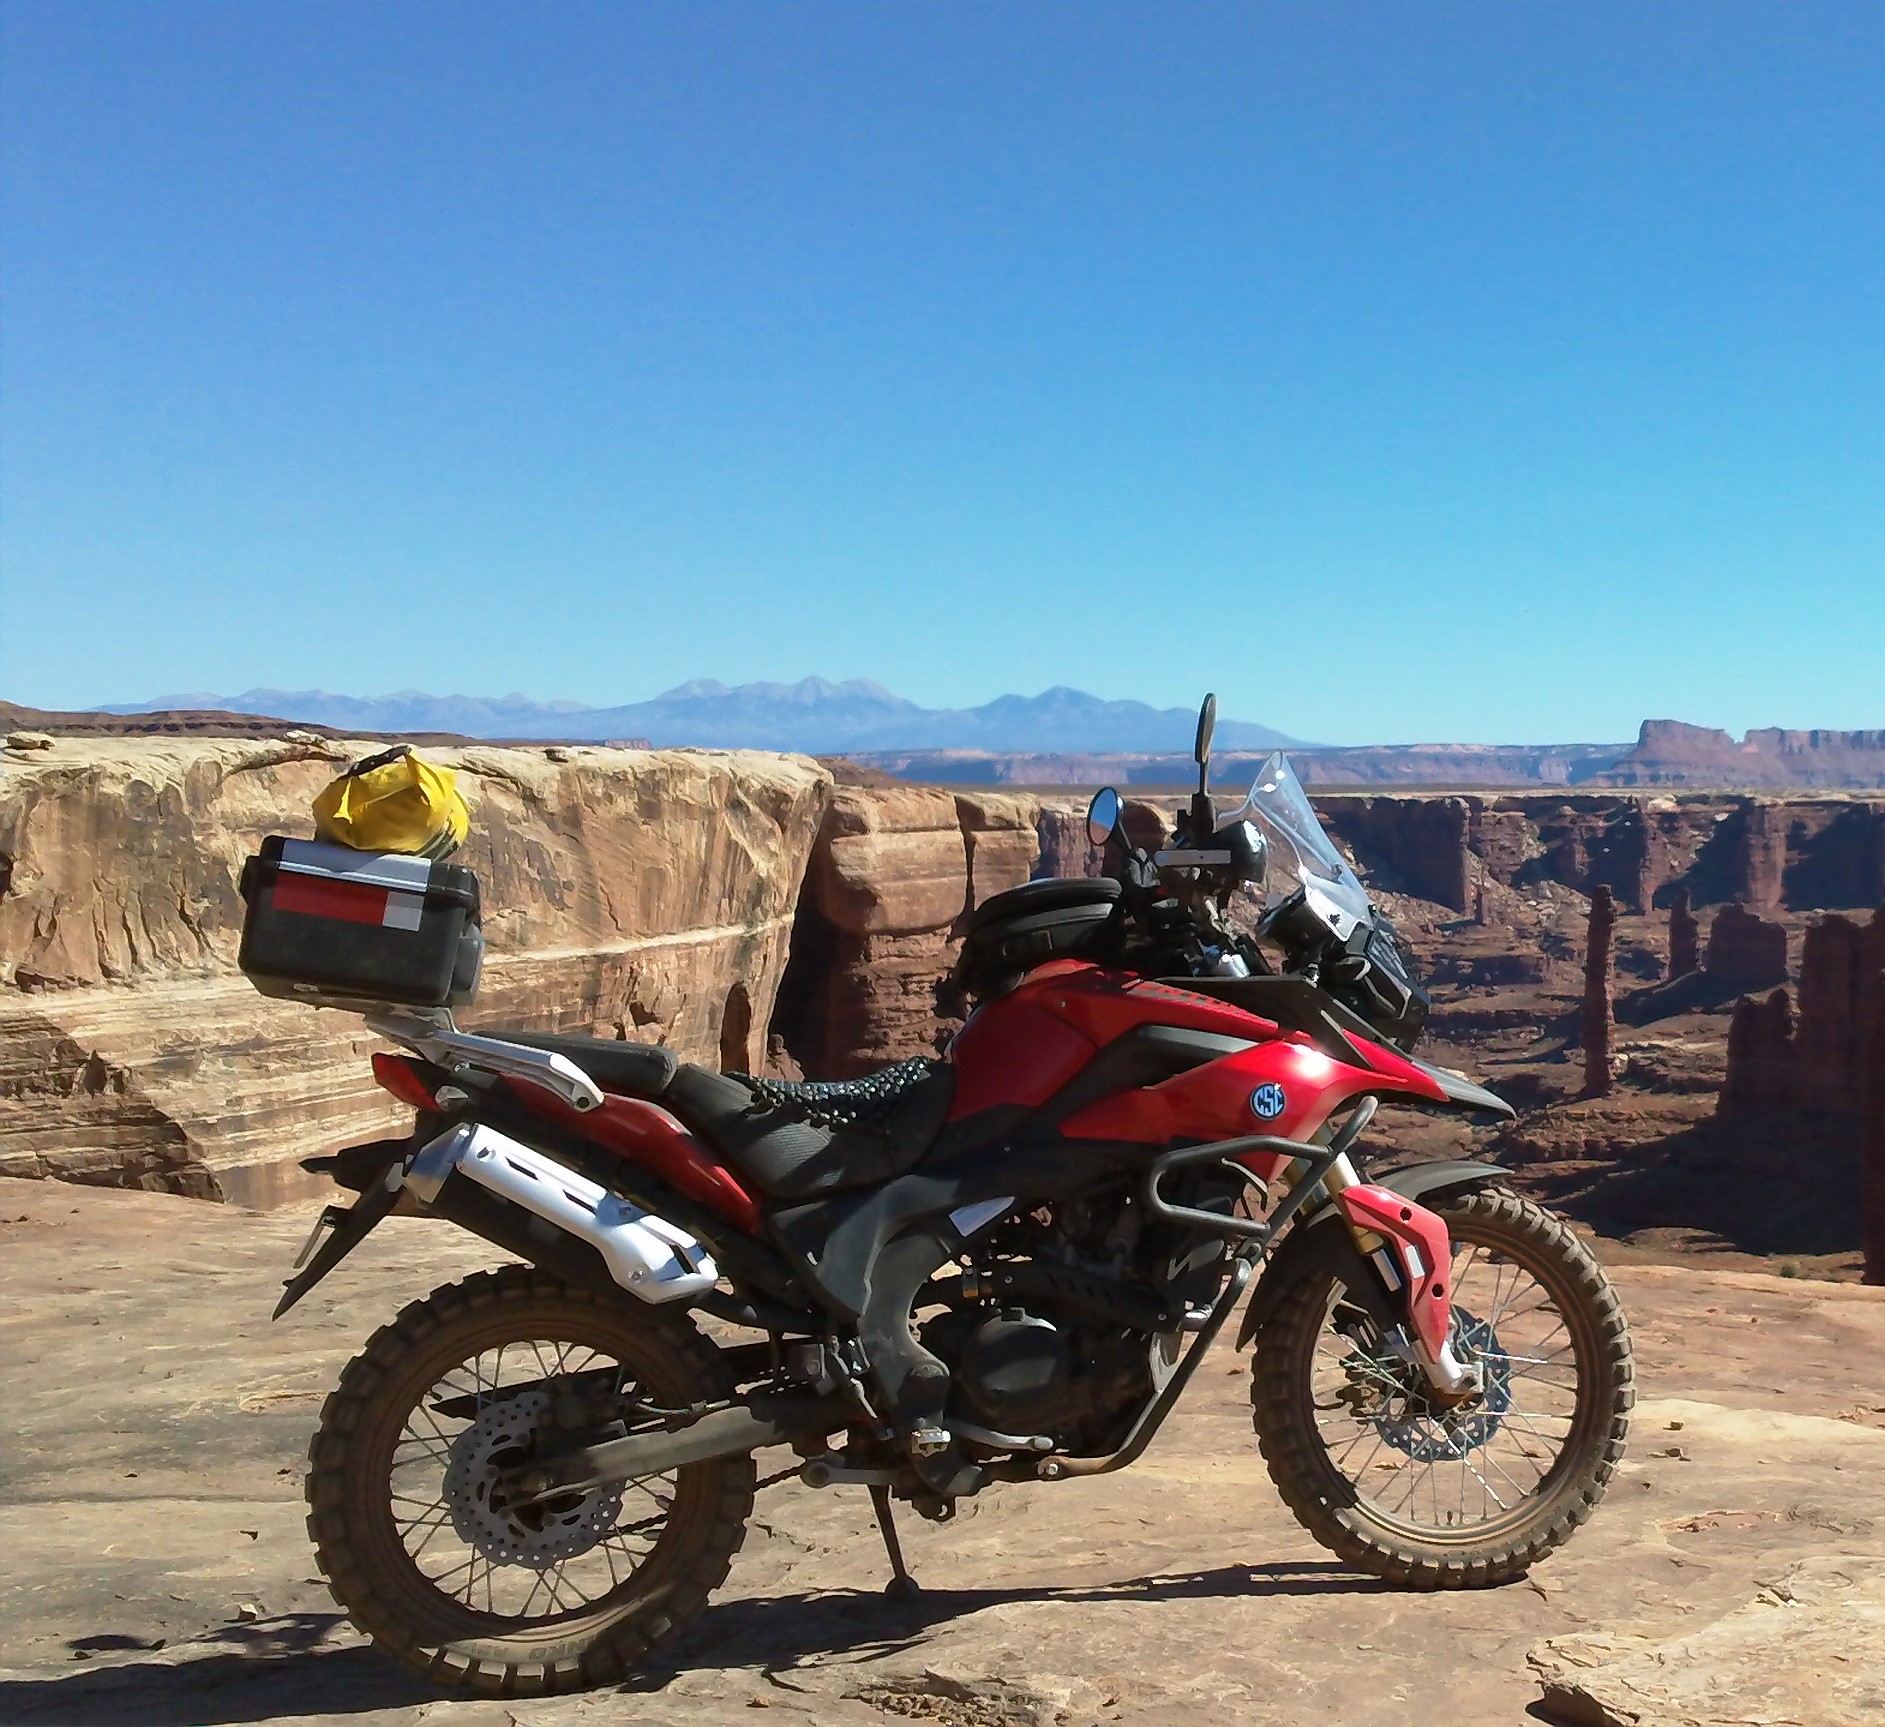
“Naked” CSC RX3 Adventure on the White Rim Trail, Moab, Utah
 TT250 Enduro
 SG250 San Gabriel Cafe Racer