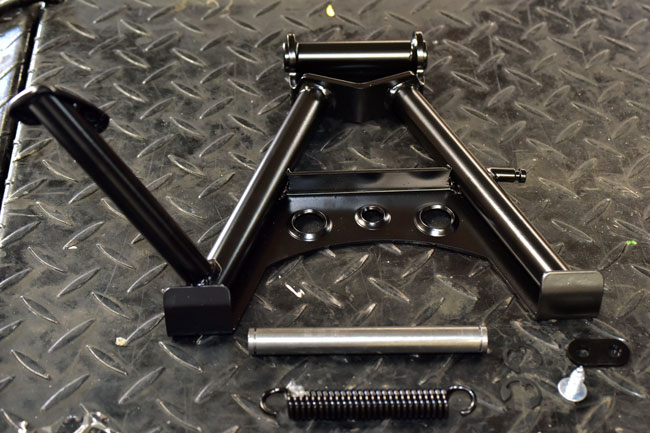
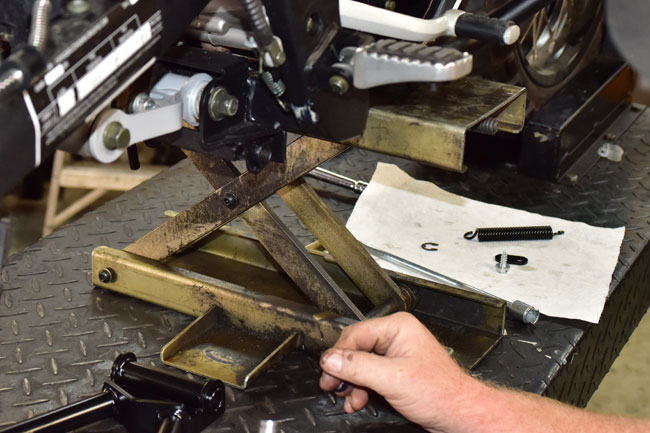
This maintenance tutorial addresses installation of the RX3 accessory centerstand. Your centerstand kit will include the components shown below.
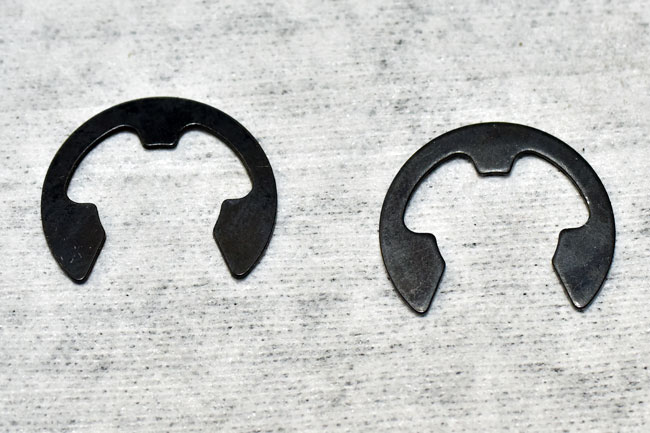
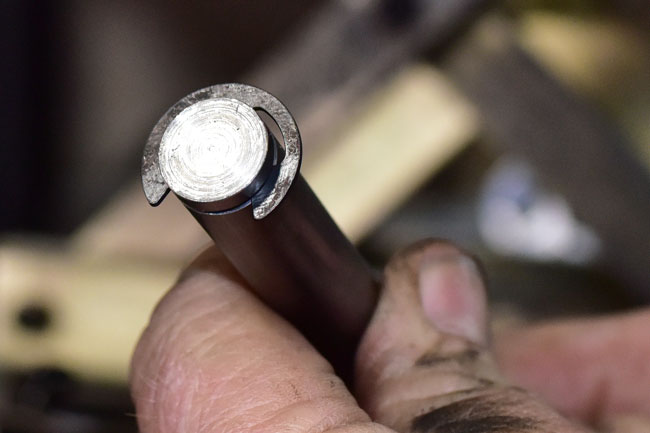
It’s a little hard to see the two circlips in the above photo (they are just to the right of the spring), so here’s a photo of the circlips.
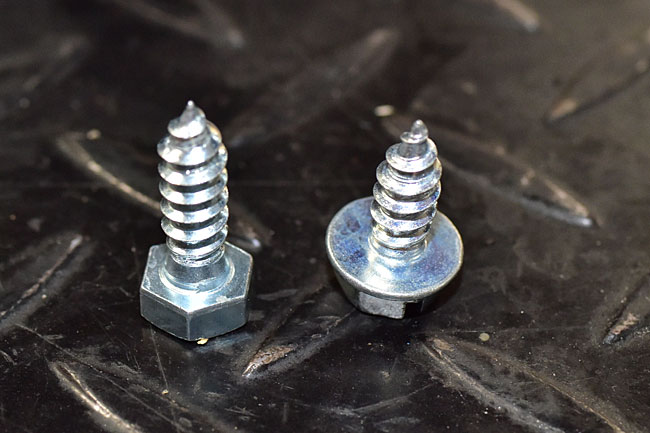
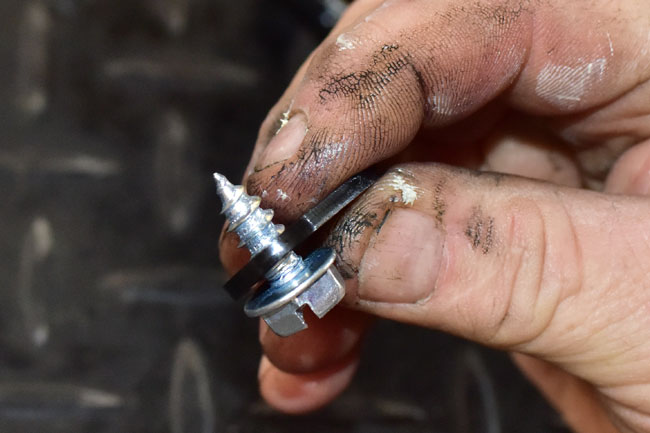
The kit will have two self-tapping screws. You won’t need the one on the left, so you can discard it. Use the shorter one with the integral shoulder you see on the right.
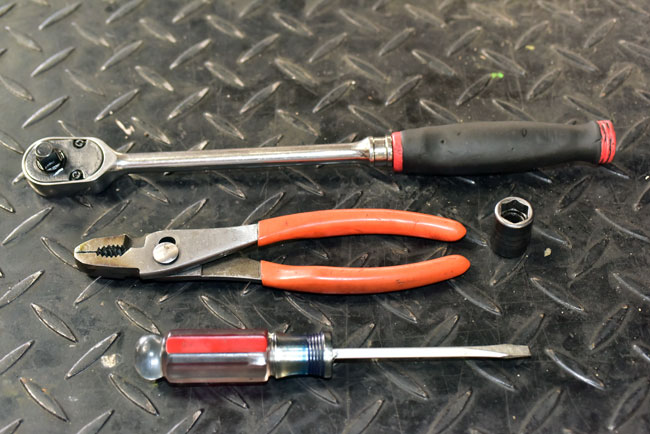
You’ll need the tools you see below for this installation. The socket is a 13mm.
We did this installation with the bike on a lift, but you don’t need to. You can do the installation with the bike on its sidestand.
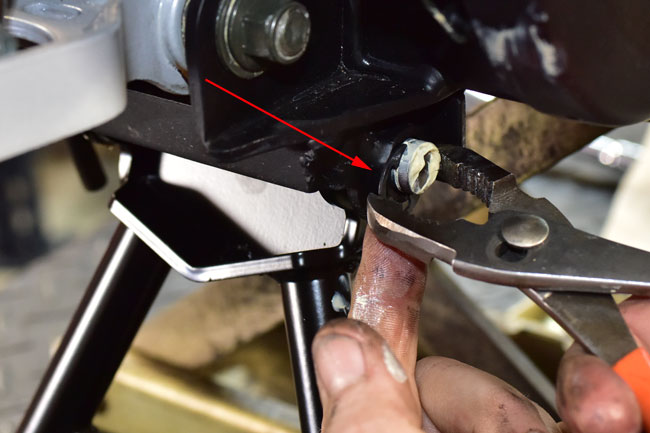
Install a circlip on one end of the centerstand pivot shaft.
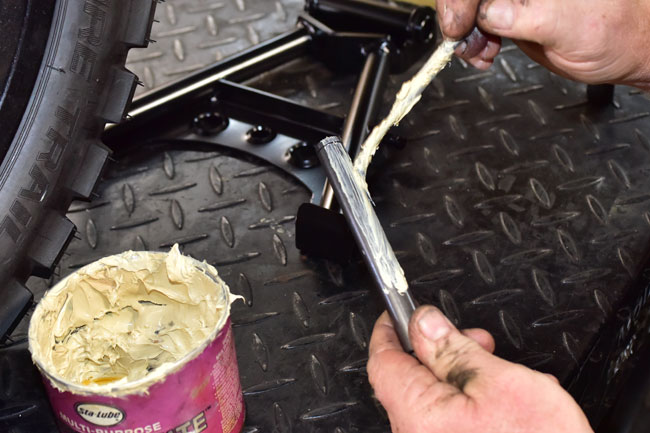
Lube the centerstand pivot shaft with grease.
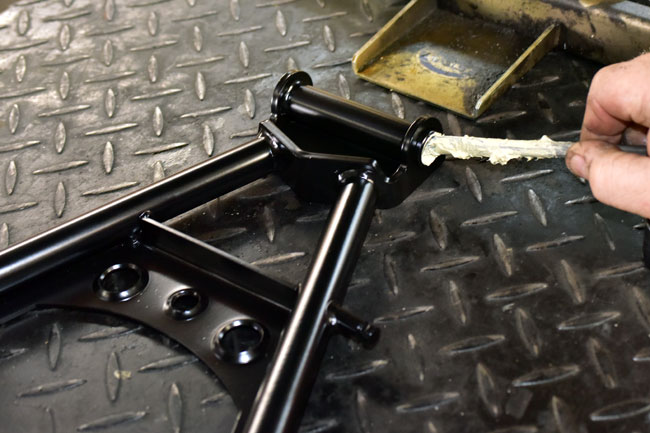
Lube the interior of the centerstand with grease.
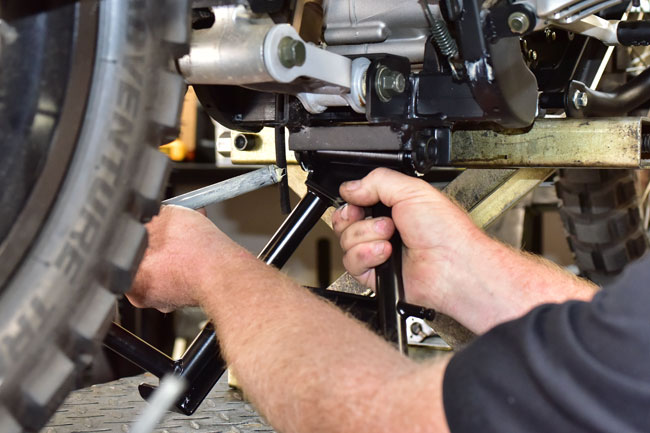
Position the centerstand with between its two mounting points underneath the motorcycle and slide the pivot shaft through the centerstand and its mounting points.
Install the second circlip on the centerstand pivot shaft.
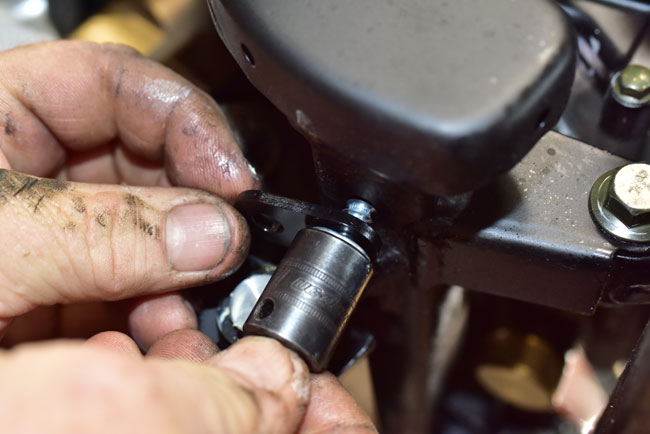
Put the shouldered self-tapping bolt through the spring tab.
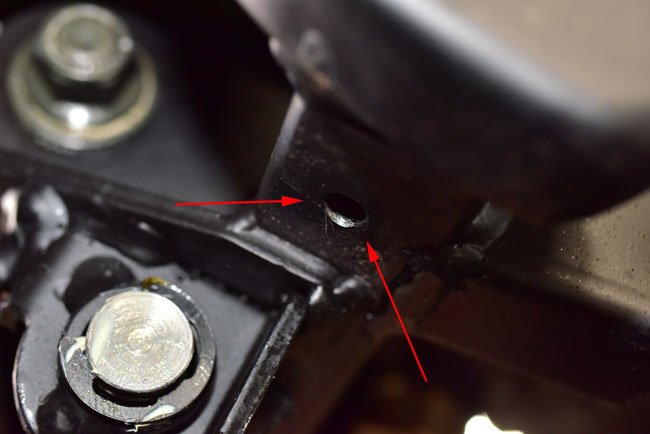
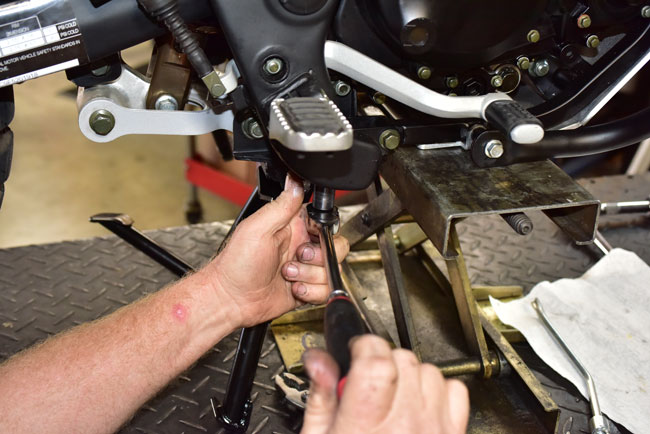
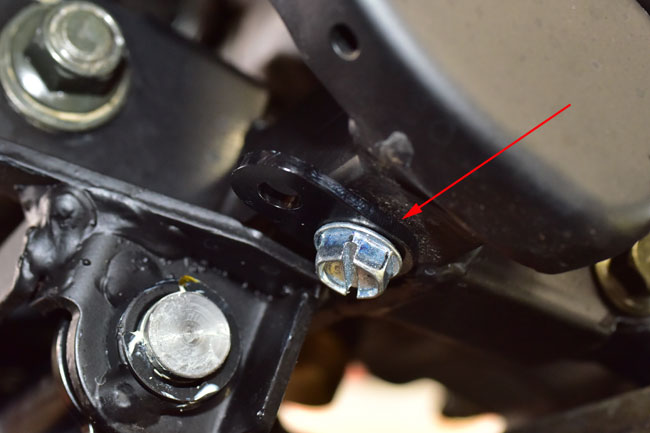
We’re going to screw the shouldered bolt (with the spring tab) into the hole located under the motorcycle.
Tighten the self-tapping bolt with the tab facing rearward. Do not overtighten the self-tapping bolt.
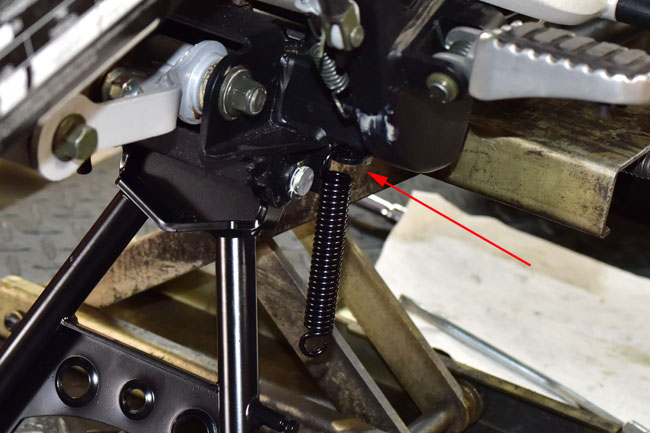
Install one end of the spring on the tab.
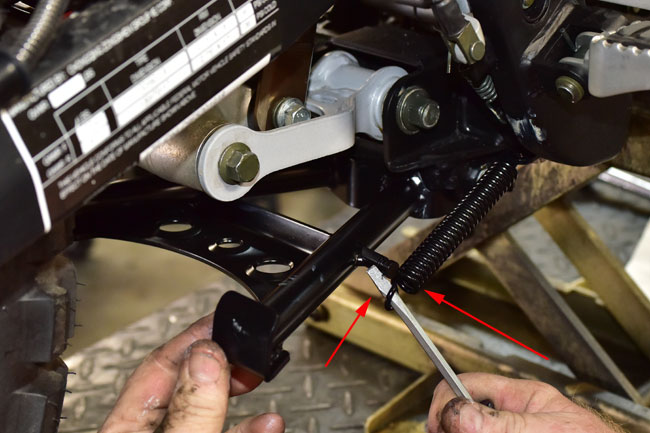
Install the other end of the spring on the centerstand. You’ll need the centerstand in the raised position to do this. It will probably take a couple of attempts to position the spring on the centerstand.
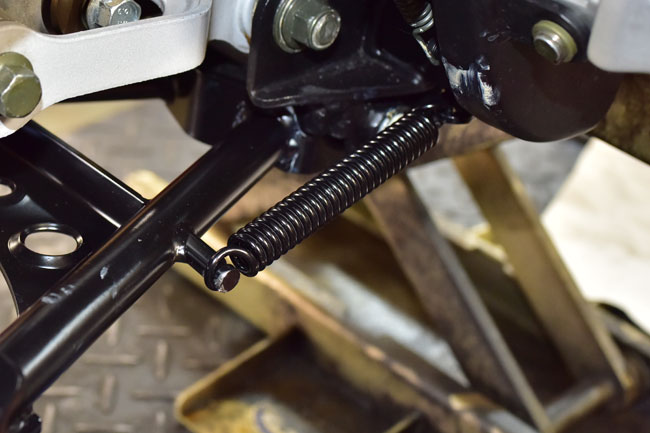
Your finished installation will look like this.
Folks, that’s all there is to this one!



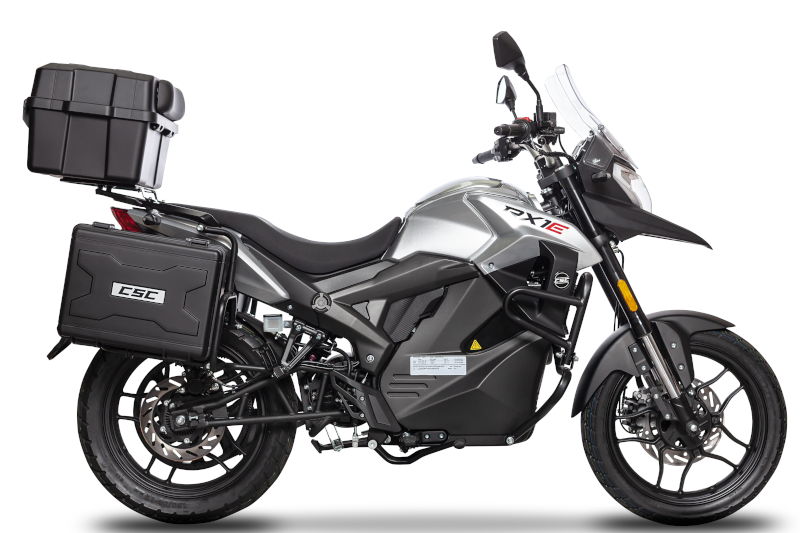 RX1E Electric Motorcycle
 TT250 Enduro
 SG250 San Gabriel Cafe Racer