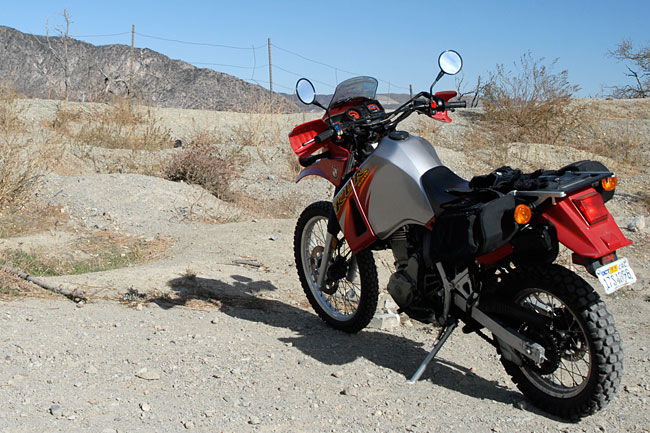
The more we get into these RX-3 Cyclone motorcycles, the more we like them. We changed the oil on our blue RX-3 today, we photo-documented the process, and this is the first tutorial we’re posting in our series of “how to” features to make it easy for you to maintain your Cyclone. Here are a few basic bits of information up front:
- The RX-3 takes 1.7 quarts of 5W-40 or 10W-40 motorcycle oil. That’s one quart and about 24 ounces of oil. Don’t use car oil or any oil with “friction inhibitors” because this will cause the clutch to slip.
- The first oil change should be at 200 miles, the second should be at 1000 miles, and subsequent oil changes should occur every 2000 miles after that.
- We recommend using non-synthetic oil on the first oil change, and then switching to Mobil 4T synthetic motorcycle oil at the 1000-mile mark.
- The RX-3 has two cleanable and reusable oil strainers (one on the left side of the engine and one on the right side of the engine), and one oil filter (you should replace the oil filter with each oil change).
- The RX-3 has two oil fill ports (both on the right side of the engine), but you only need to use one or the other to replace the oil.
- The RX-3 has an oil viewport on the right side of the engine for assessing engine oil level, and the bike needs to be vertical to use it. The engine does not have a dipstick.
- You’ll need a 17mm socket to remove the oil strainer caps and the oil drain plug.
- You’ll need an 8mm socket to remove the oil filter cover nuts.
- The RX-3 tool kit includes a 17mm socket and an 8mm wrench, but we don’t recommend using them for changing the oil.
Let’s first take a look at where the oil strainers and the oil filter are located. The oil filter and the right side oil strainer can be seen in the drawing below.

Here’s what these look like on the engine…the oil strainer is the large 17mm bolt head, and the oil filter cover is held in place by two 8mm nuts…

The left oil strainer is located on the left side of the engine…
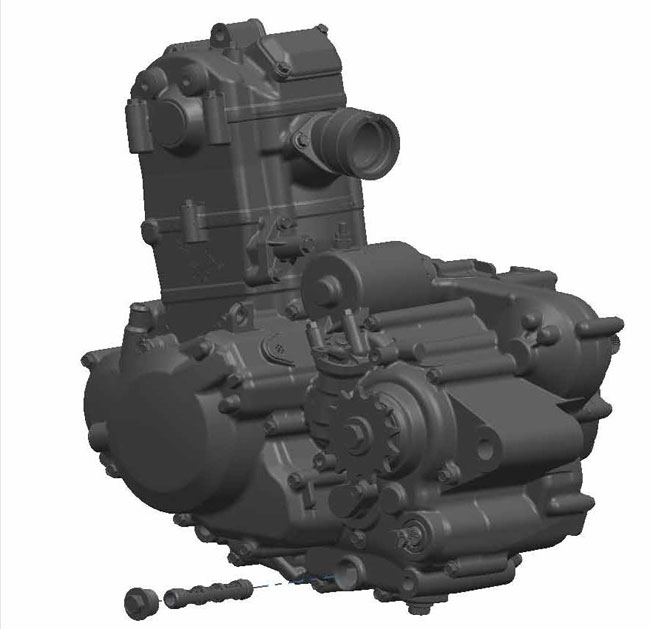
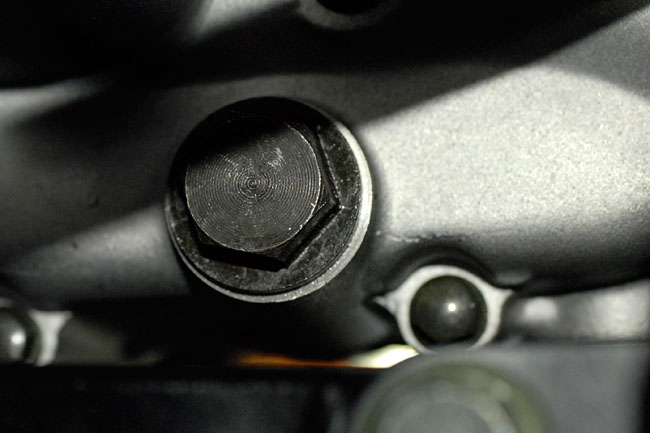
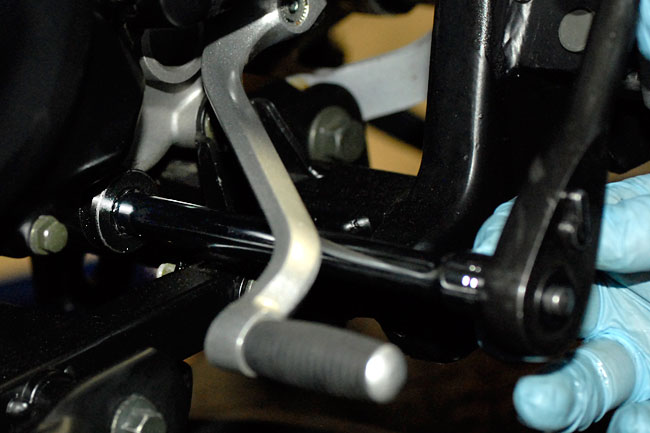
When you look on the left side of the engine, the oil strainer cover is the 17mm bolt head just beneath the shifter.
The RX-3 tool kit is located under the rear seat cushion (you need to unlock the rear seat with the key lock on the left side of the motorcycle beneath the seat to get to it). The tool kit includes the following tools…
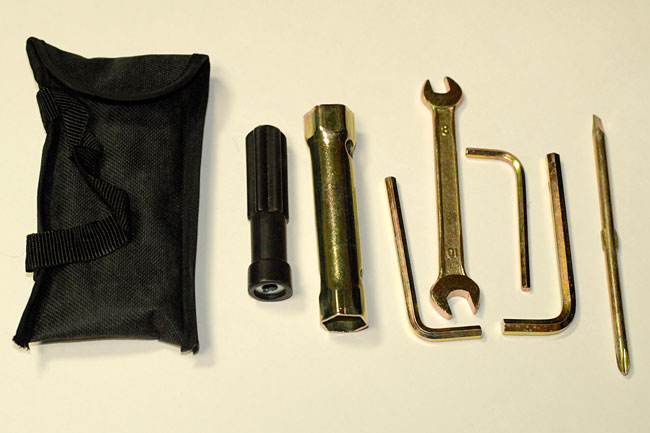
Like most motorcycle tool kits, we consider these to be emergency tools only. As the bikes come from the factory, the 17mm oil strainer caps are tight. You might be able to get them off with the sheet metal sprocket shown in the photo above, but we don’t recommend attempting to do so. Use a 17mm socket with an extension. Similarly, you might be able to remove the oil filter cover with the 8mm wrench provided in the tool kit, but you’d have a much easier go of it using an 8mm socket and an extension. We can provide these tools to you as part of an oil change service pack, and we’ll provide more information on that at the end of this procedure.
So, let’s get on with it!
The first step is run the engine for a few minutes to warm the oil. This will allow it to drain easily from the engine. After the engine has warmed, turn off the motorcycle. Exercise caution after warming the engine because the exhaust pipe will be hot.
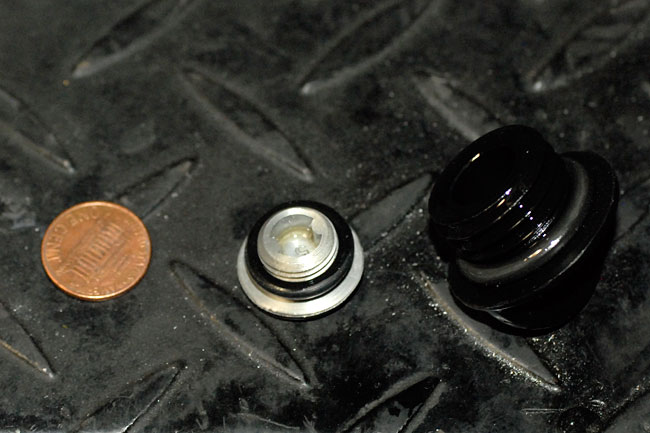
Place an oil pan under the motorcycle and remove either or both of the oil fill ports. The rearmost oil fill plug has a slot. It’s on the right side of the engine. A penny works well for removing it…


There’s another fill port on the right side of the engine just behind the exhaust pipe. You can remove that one by hand…

Like we said earlier, you don’t need to remove both; either one will allow the crankcase to pull in air when you drain the oil. Both access port covers have o-rings, so you want to take care not to lose the covers or the o-rings, or allow the o-rings to pick up dirt…
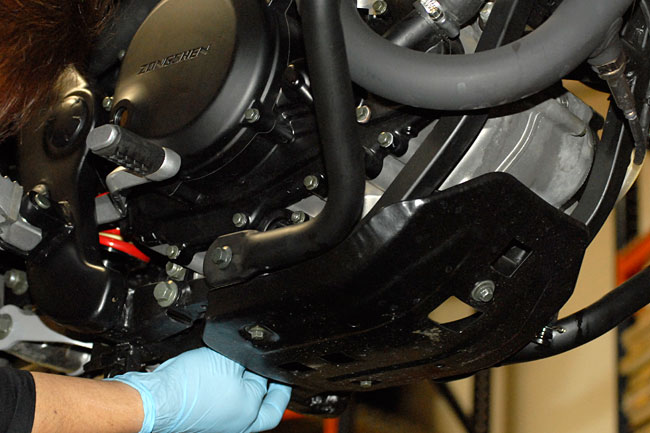
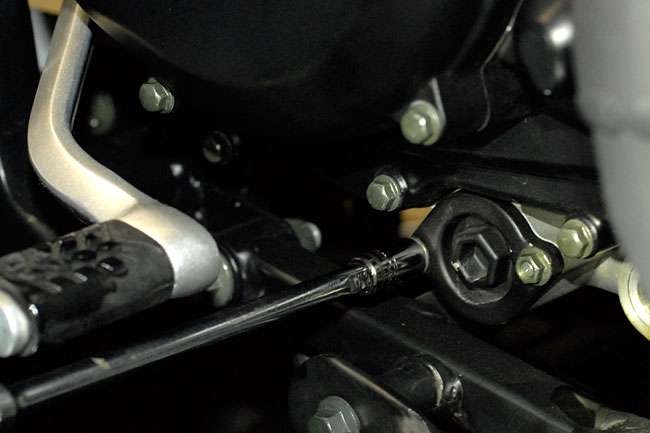
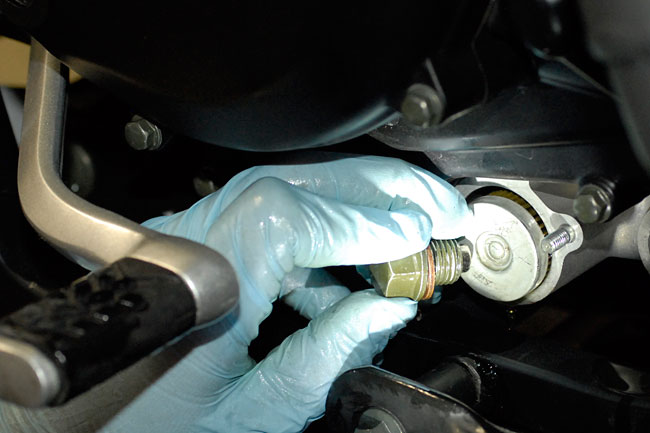
After opening either or both of the oil fill ports, remove the oil drain plug. The oil drain plug is on the bottom of the crankcase. You can get to it without having to remove the motorcycle’s skid plate. It also has a 17mm bolt head.
The photo below shows the socket on the drain plug…
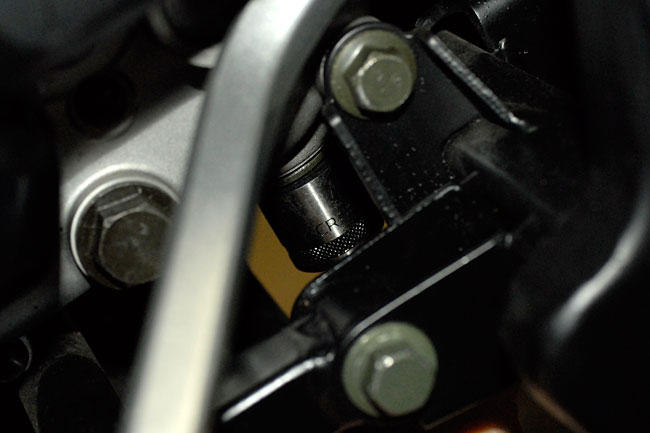
This next photo shows Lupe taking the drain plug out of the crankcase…
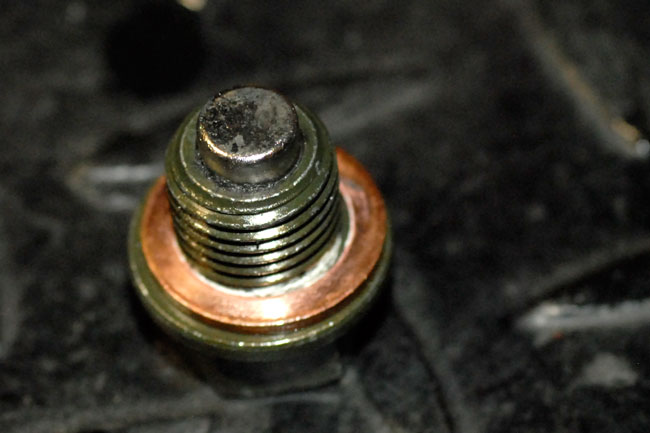
The oil drain plug has a copper gasket. The factory doesn’t recommend replacing this, so you can reuse it. Another cool feature is that the drain plug has a magnetic core to pick up bits of iron in the engine. That magnetic feature will come in handy a bit later (we’ll explain that when we get to it).
Here’s what the drain plug looks like….
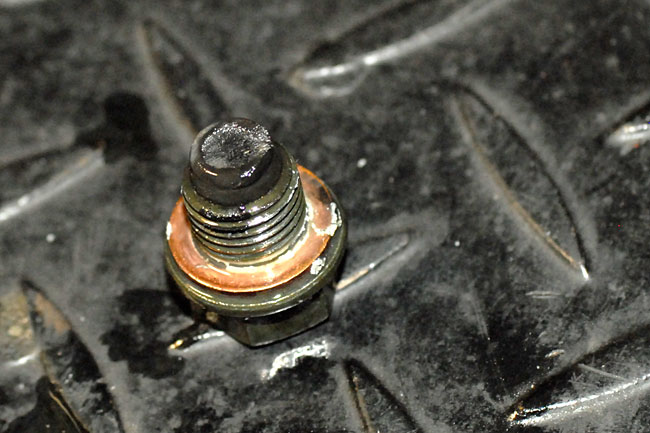
You should wipe it clean, including all of the metal bits sticking to the magnet…
We recommend wearing gloves (like Lupe is in the above photos) so that you don’t get oil all over your hands.
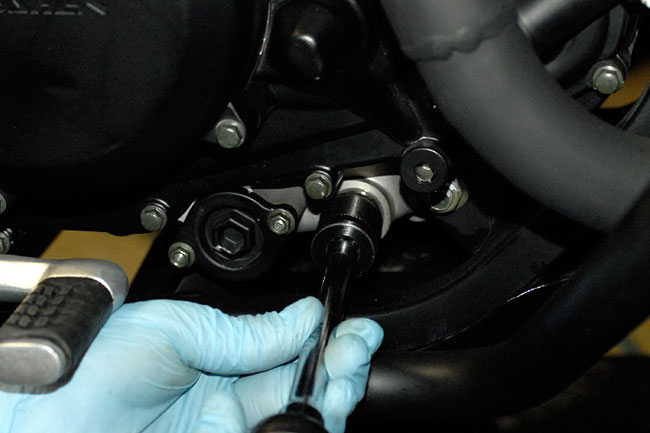
The next step is to remove the oil strainer covers. This requires a 17mm socket and an extension. It will look like this on the left side of the engine…
Here’s what it looks like on the right side of the engine…
Set the oil strainer covers aside, taking care not to lose the o-rings on the inside or put them where they could become dirty.

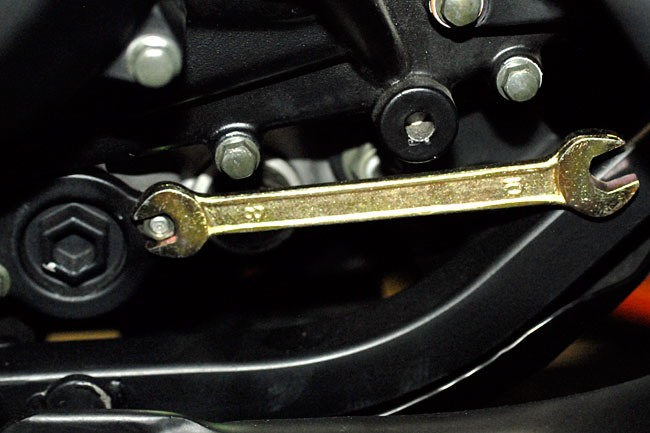
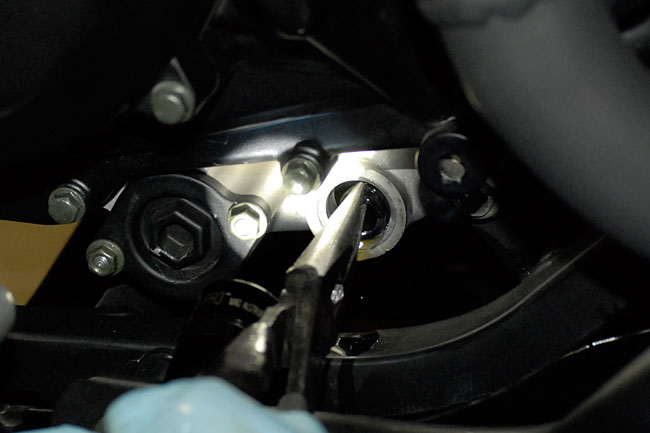
Next, we’ll remove the oil filter cover. It is secured by two 8mm nuts. You can attempt to get these off with the 8mm wrench provided with the RX-3 tool kit…
A much better approach, though, is to use an 8mm socket with an extension…
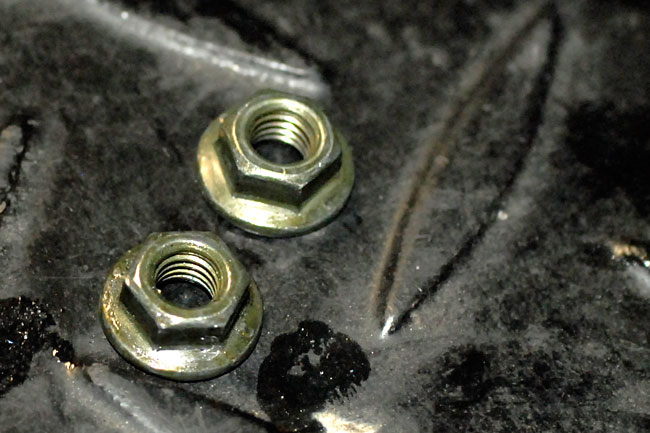
Remove the two 8mm nuts and the access port and set them aside, taking care not to lose the nuts.
The oil filter cover has a spring inside that fits between it and the oil filter. The oil filter cover and its spring look like this….
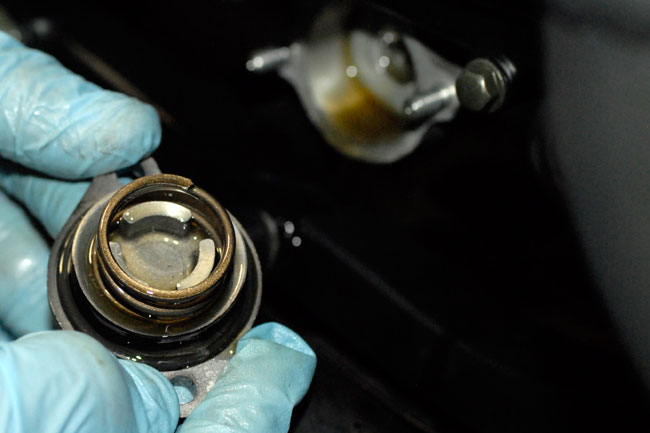
The oil filter cover also has an o-ring. Take care not to get the o-ring dirty or lose it. The spring is orientation insensitive; it can be inserted either way.
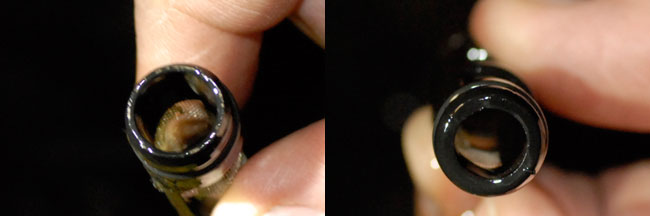
Once you have removed the filter cover, you’ll see the metal end of the oil filter. It will look like this…
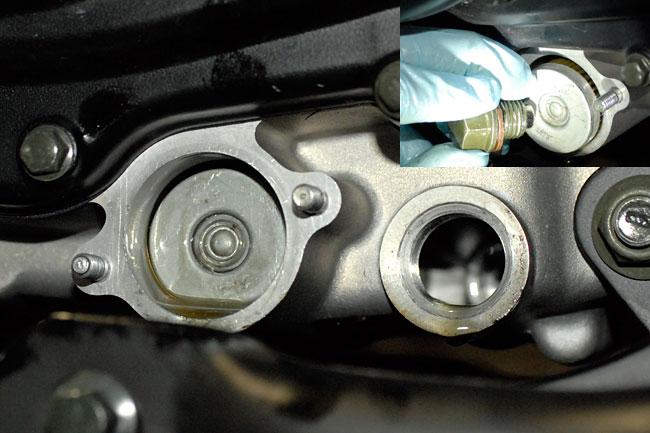
Now the trick is to grab the oil filter and slide it out of the engine. We found that the easiest way to do this is to take the magnetic drain plug, put the magnet end against the oil filter, and slide it out. That’s what the inset in the photo above shows, and the photo below shows it better.
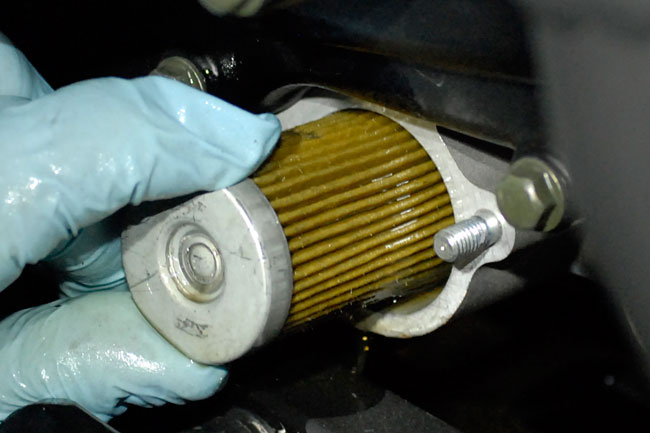
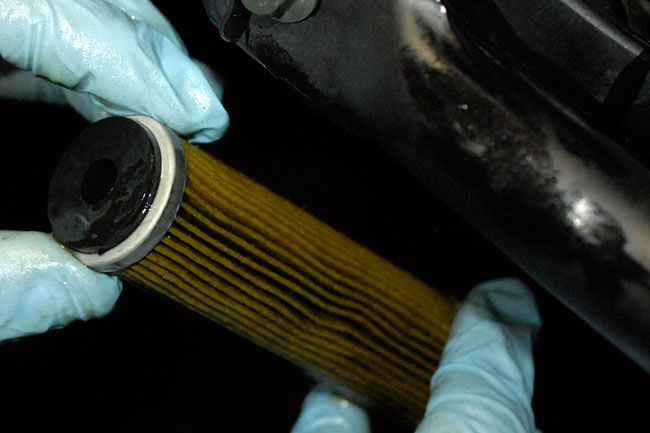
Note that the oil filter is not reversible. The end with the rubber gasket (shown above) goes into the engine first. Do not attempt to clean the oil filter; you should install a new oil filter with each oil change.
We will next remove and clean the oil strainers. Remember that there are two (one on each side of the engine).
You can pull the oil strainers out of the engine using a pair of needle nose pliers…
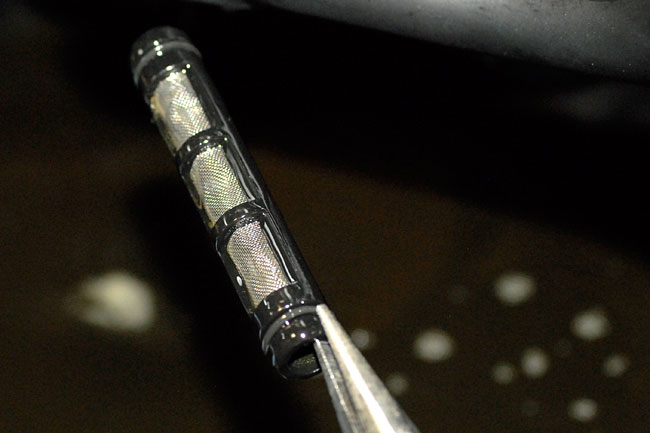
You can clean the oil strainer using WD40 or compressed air.
After removing the oil filter and the oil strainers, additional oil will drain from the engine. If your motorcycle was on the sidestand while you were draining the oil, hold the bike in the vertical position so that any remaining oil will drain from the crankcase.
After all oil has drained from the engine, we now need to reinstall the oil strainers, the oil filter, the oil strainer covers, and the oil filter cover.
The oil strainers are the same on either side of the engine, but they are different on each end. Make sure you install the thin end of the oil strainer first…
The thin end of the oil strainer is shown in the photo on the left (this end should go in first); the thick end of the oil strainer is shown in the photo on the right (it should point out). After installing the oil strainers, install the oil strainer covers on both sides of the engine.
Next, install a new oil filter. Remember that the end with the black rubber gasket goes into the engine first. After inserting the oil filter in the engine, replace the oil filter cover and spring and secure it with the two 8mm nuts.
The next step is to reinstall the oil drain plug.
After the drain plug, the oil filter, the oil filter spring, the oil filter cover, the oil strainers, and the oil strainer covers have been installed, we can now add new oil to the engine.
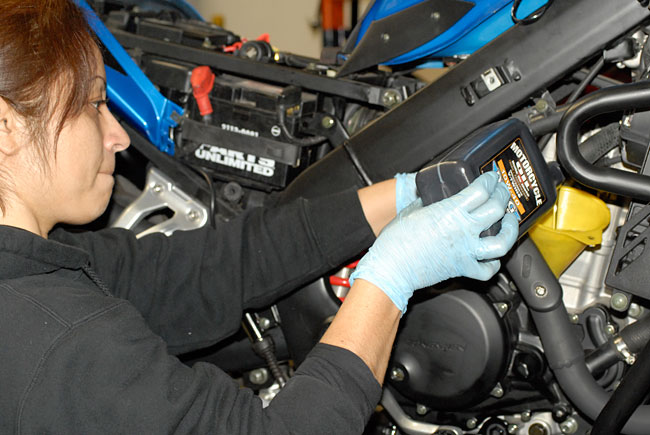
The engine takes 1.7 quarts. Here’s a photo of Lupe adding new oil to the engine. We recommend using a funnel (like you see Lupe doing), and we include a funnel with the oil change service pack we can provide to you.
As mentioned above, you can add oil through either of the two access ports described at the beginning of this procedure.
1.7 quarts is a full quart bottle plus another 24 ounces from the second quart bottle. An easy way to see this is to add the first quart, and then pour enough in from the second bottle so that 8 ounces remain in the second bottle…
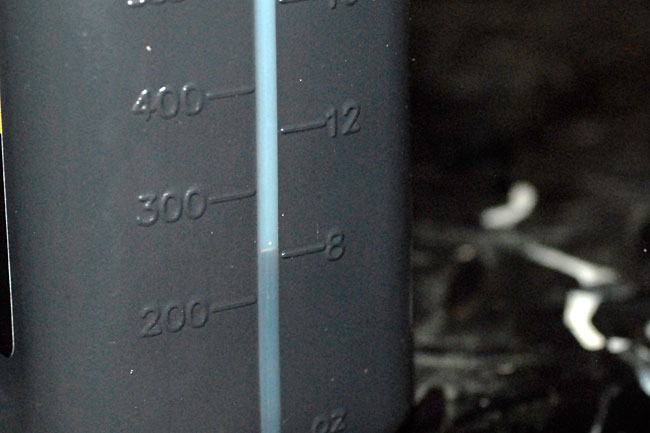
What you want is for the engine to have the oil level even with the upper mark on the viewport when the motorcycle is in the vertical position (straight up and down; not on the sidestand). The viewport is located on the right side of the engine. Here’s what it should look like…
After you’ve finished, reinstall both oil fill caps (the one with the slot and the one with the extension for turning by hand).
Start the motorcycle and let it run for a couple of minutes, and check for leaks.
As mentioned above, we can provide you with everything you need to change your oil. We offer a complete oil change service pack that includes the following items:
- 17mm and 8mm sockets.
- A socket extension.
- A ratchet.
- An oil drain pan.
- An oil funnel.
- Two oil filters (one for the 200-mile oil change and one for the 1000-mile oil change).
- Two pairs of rubber gloves.
- 2 quarts of non-synthetic oil for the first 200-mile oil change.
- 2 quarts of Mobil 1 4T synthetic oil for the 1000-mile oil change.
Just give us a call for the oil change service pack and we’ll have it ready when you pick up your new CSC RX-3 Cyclone.
That’s about it, folks. It’s time to get out and ride!


 SG250 San Gabriel Cafe Racer
 TT250 Enduro