This maintenance tutorial addresses installing heated grips your RX3 motorcycle. This is a pretty nifty accessory, and we pleased to be offering them for the RX3.
We believe the best place to electrically tap in to the RX3’s electrical system for your heated grips is the harness that runs to the headlight. We’re going to show you how to do this so that when you turn the ignition off, power is cut to the heated grips. If you tap in to the RX3 electrical system elsewhere, you run the risk of leaving your heated grips on after you have turned off the motorcycle, which will rapidly run down the battery.
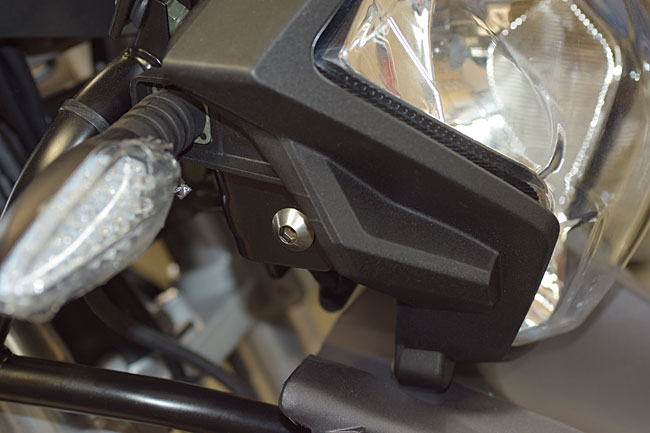
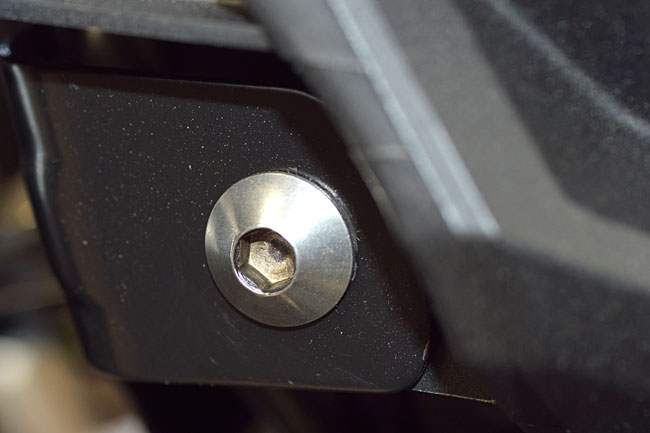
The first step is to remove the headlight be removing the two 6mm Allen bolts that secure it to the motorcycle.

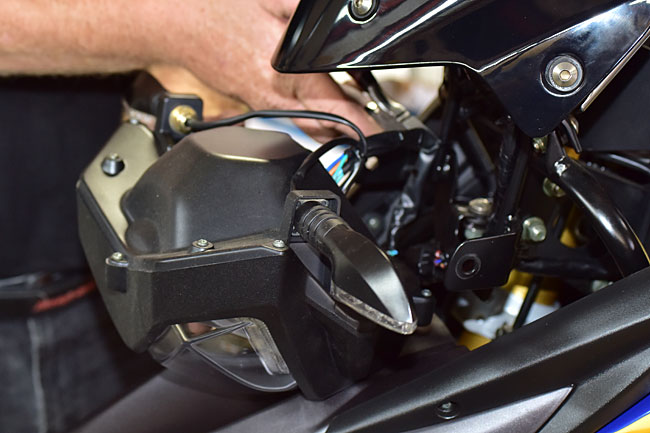
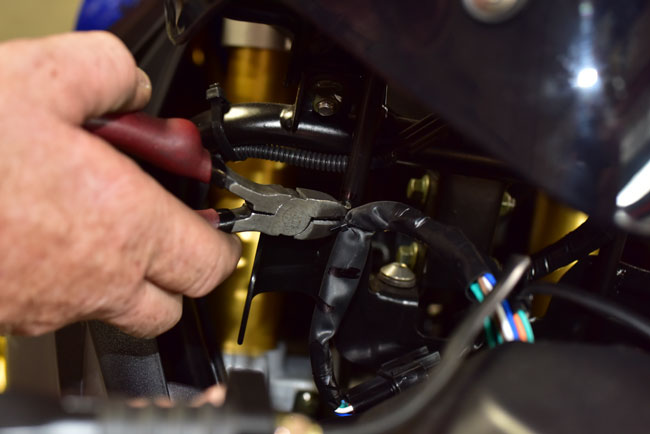
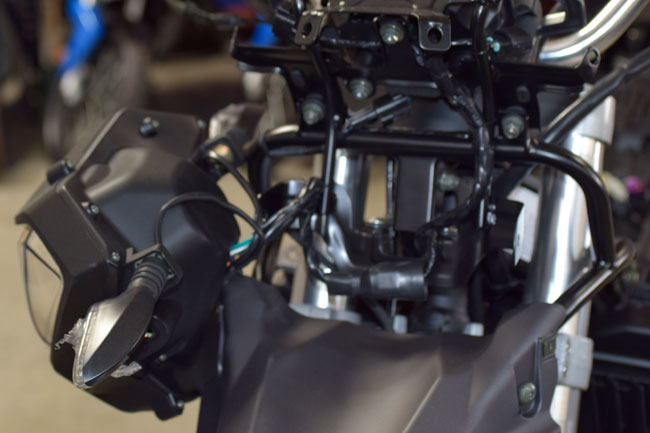
Cut the zip tie that secures the headlight harness to the motorcycle.
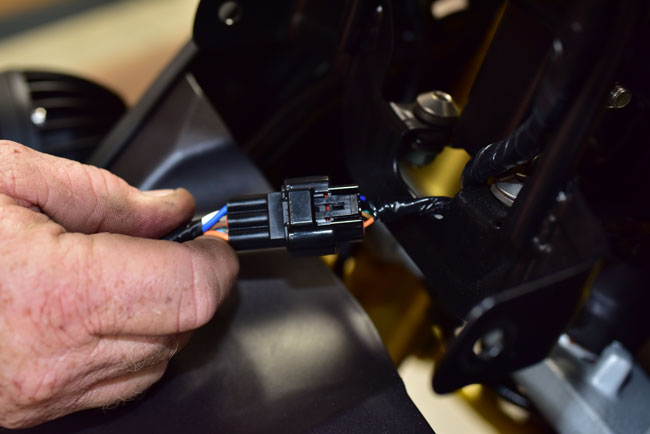
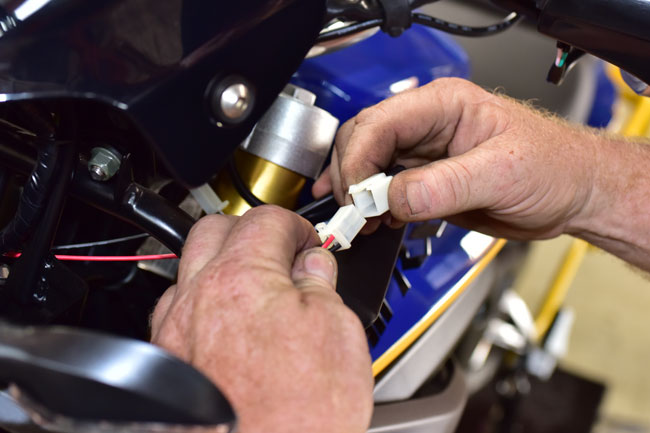
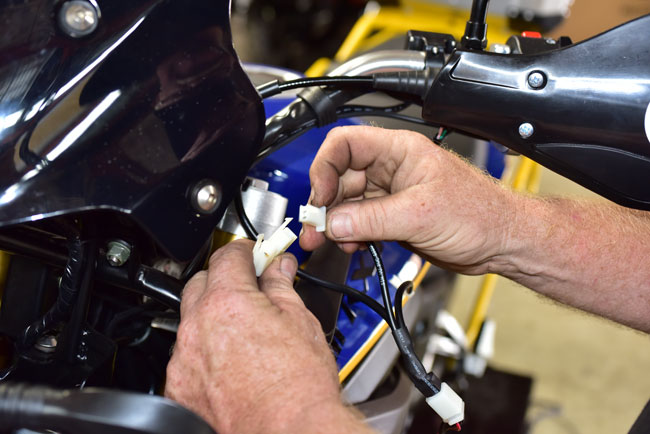
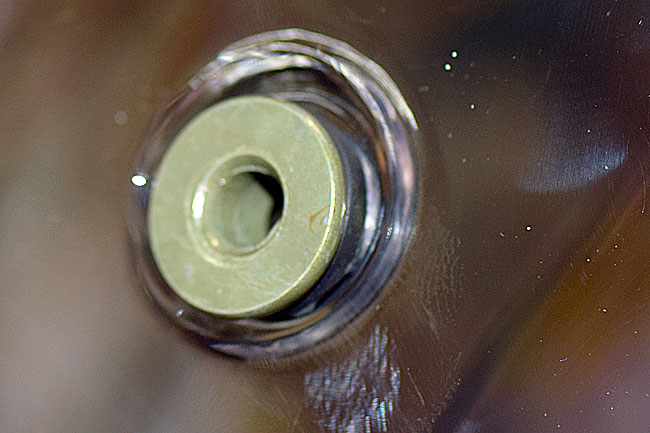
This is the electrical plug that connects the headlight harness to the motorcycle. Unmate it.
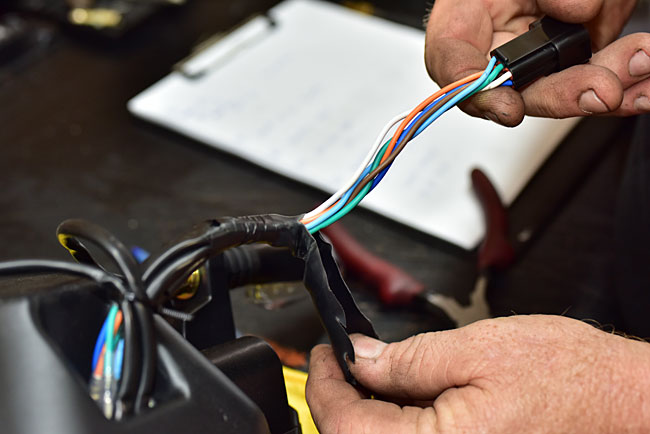
At this point, the headlight and its harness will be electrically and physically disconnected from the motorcycle. Take the headlight assembly to your workbench and cut open the rubber sheath that surrounds the headlight harness wiring.
We’re interested in gaining access to the power wire (that’s the brown wire) and the ground wire (that’s the green wire).
With a wire stripper, expose the copper wiring inside the green wire. This is the ground wire.
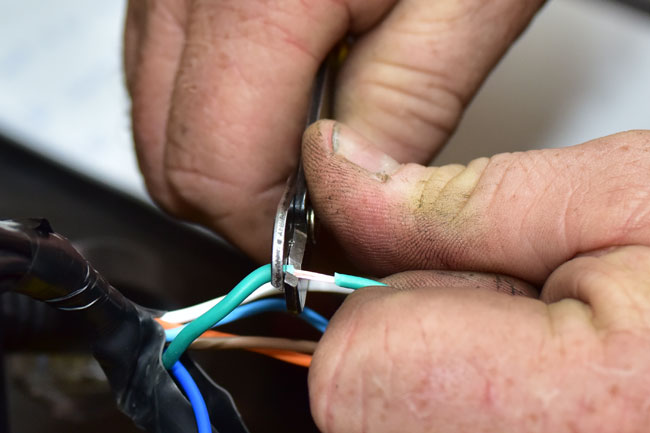
Do the same thing on the brown wire (this is the power wire).
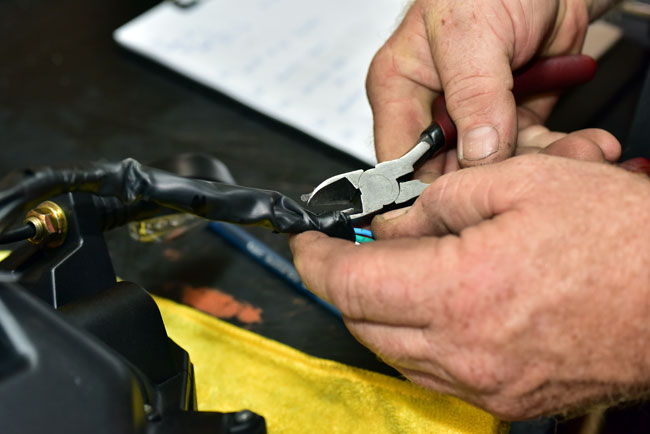
Next, take the long harness provided with the heated grips and strip the lead coming from this harness’s fuse box.
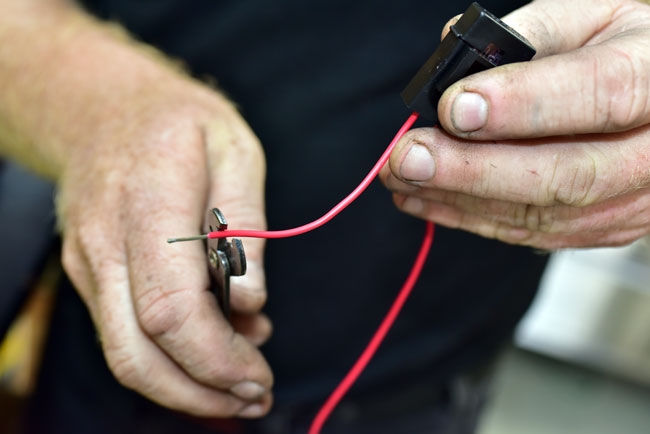
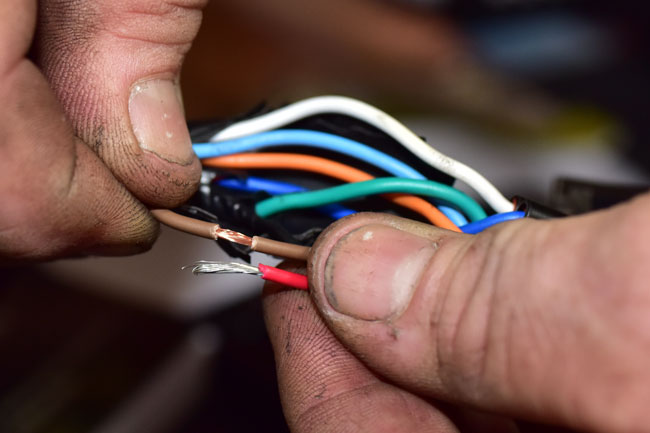
Do the same thing with the black lead on the heated grip harness. After you have done this, solder the heated grip harness’s red wire to the headlight harness’s brown wire.
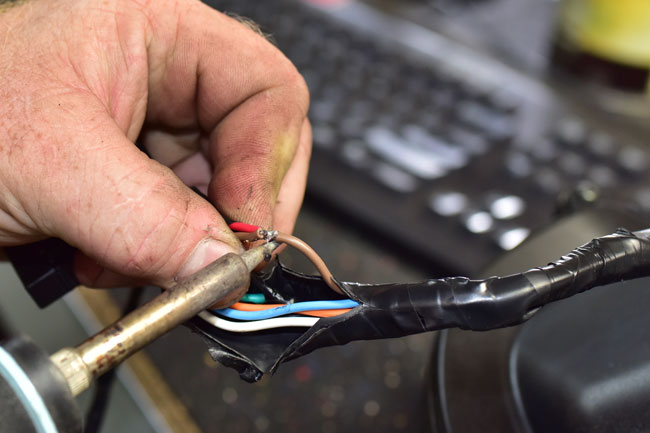
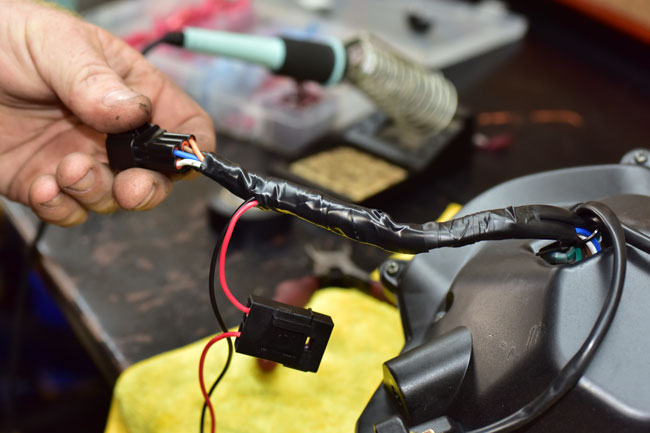
Similarly solder the heated grip harness’s black wire to the headlight harness’s green wire. After making the solder connections, wrap each connection in electrical tape, and then wrap the joined harnesses with electrical tape as you see below.
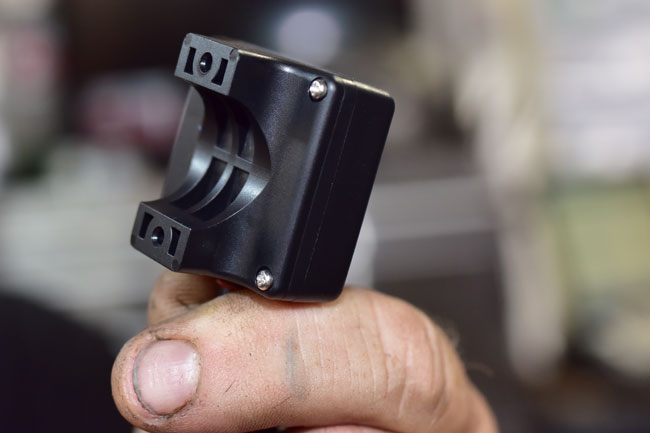
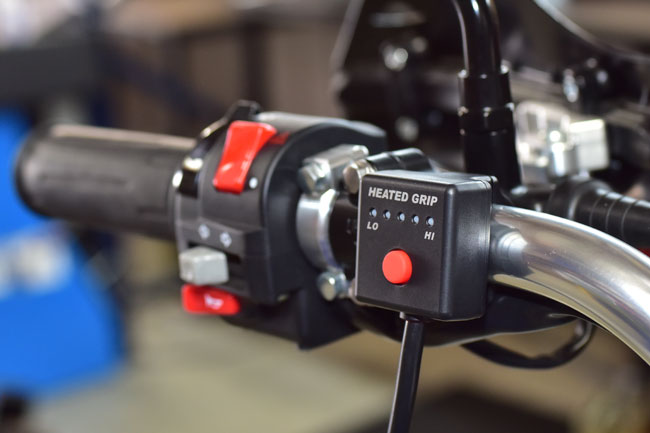
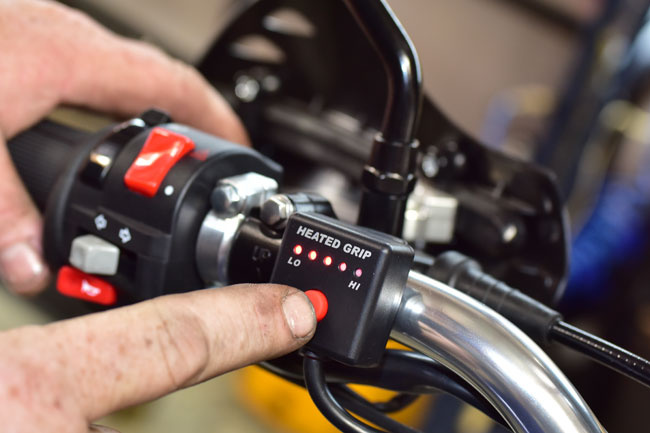
Find the heated grip switch, which is shown below.

The heated grips come with both an adhesive patch for mounting the switch on a flat surface, and a handlebar mount for securing the switch to your handlebars. We’re going to use the handlebar mount, so find the switch side of the handlebar mount and attach it to the switch with the four provided screws, as shown below.
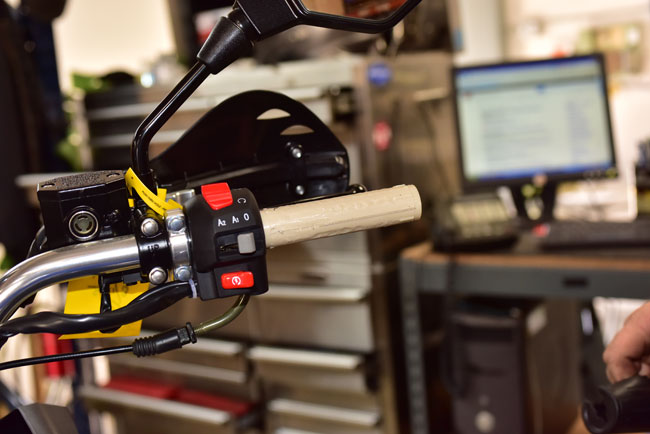
Find the opposite side of the handlebar mount and attach it to the switch, mounting the switch on the left handlebar as shown below.
The handlebar switch harness has three connector plugs. The largest connector plug will attach to the heated grip harness we attached to the headlight harness (as explained above). The other two connectors will attach to the harnesses for each of the heated grips (the left one and the right one).
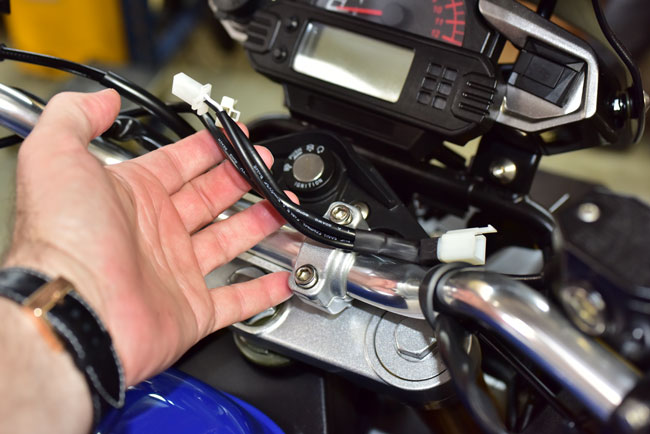
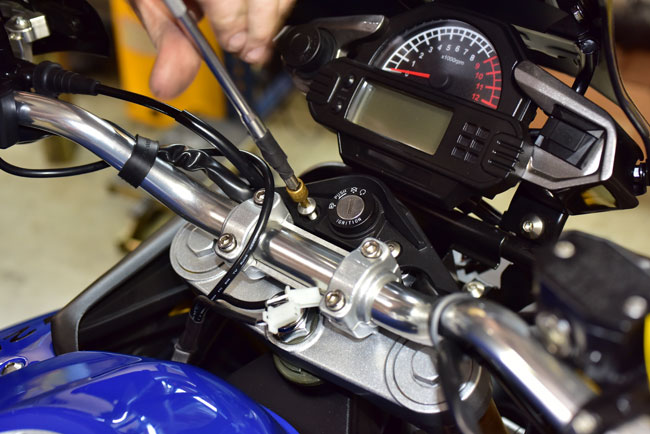
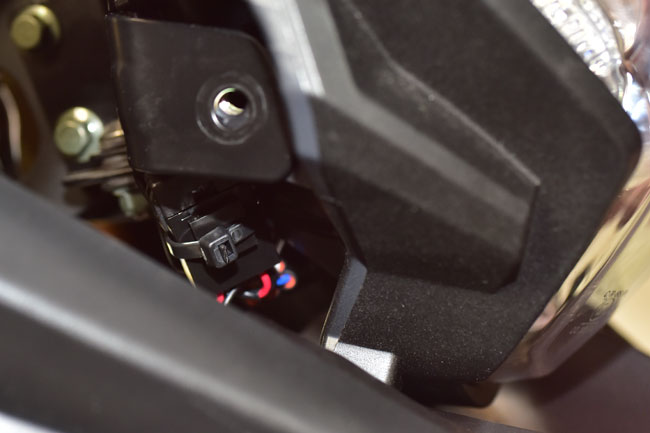
Our approach will secure the connector plugs beneath the ignition switch shroud for a clean installation. Remove the ignition switch shroud be removing the two Allen bolts that secure the shroud, as shown below.
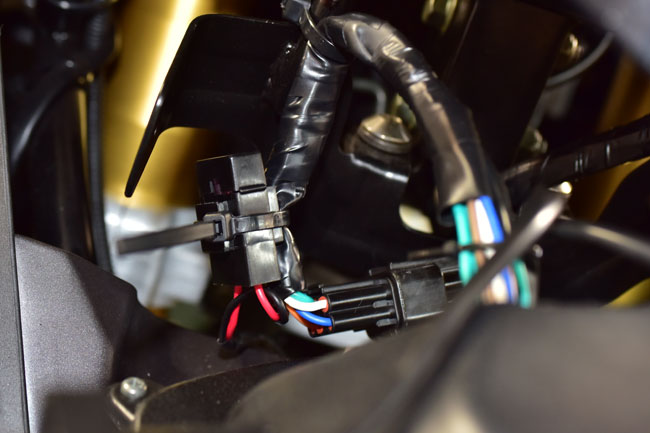
Mate the connector from the heated grip harness (the one with the red and the black wires we installed earlier, which is now connected to the headlight harness) to the heated grip switch harness.
You will find that the heated grip harness is way longer than we need it to be. You can either bundle up this wire and stow it, or remove the excess wire. We recommend doing the latter. To do so, cut off the excess wire and splice the harness. Don’t remove too much wire. You’ll want to remove enough so that the wiring reaches the headlight harness when the headlight is installed.
Remove the existing grip on the left handlebar. We do this by slitting the grip with a box cutter, as shown below.
Remove the grip on the right handlebar in the same manner.
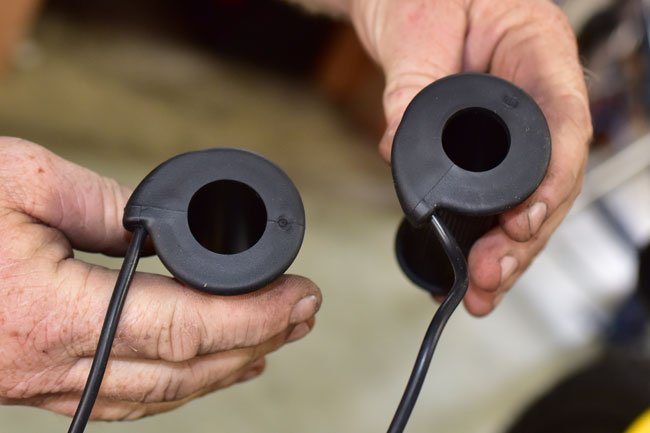
Note that the heated grips have different inside diameters. The smaller diameter grip goes on the left handlebar. The larger diameter grip will go on the right handlebar’s throttle.
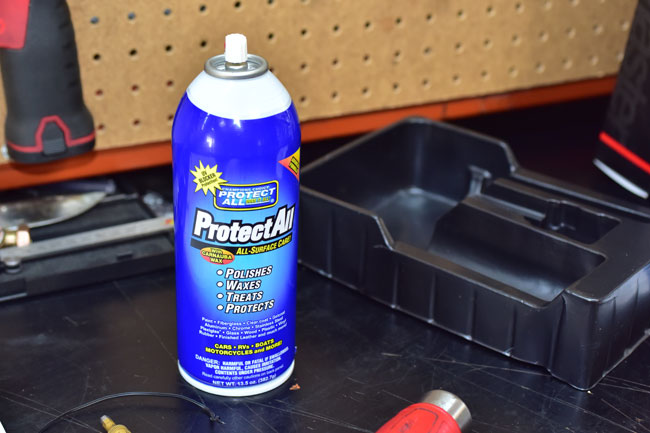
We use ProtectAll to ease the grips’ installation onto the handlebar and the throttle. We sell this; if you wish to order it with your new grips, please let us know.
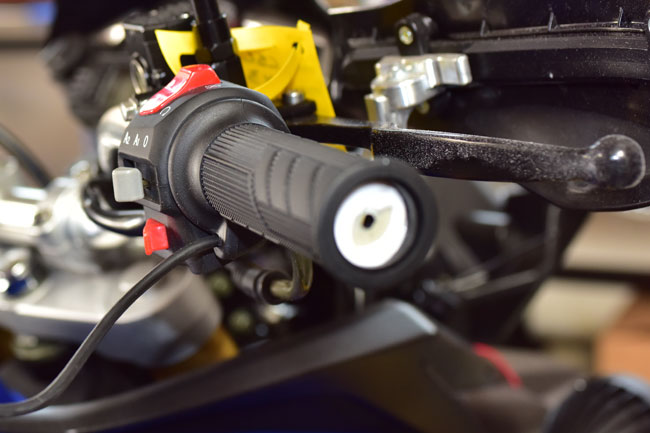
Before you install the left heated grip on the handlebar, note that the harness exits the heated grip. You’ll want to orient the heated grip so that after installation, the harness points down and a little forward.
Lube the inside of the left heated grip and install it on the handlebar.
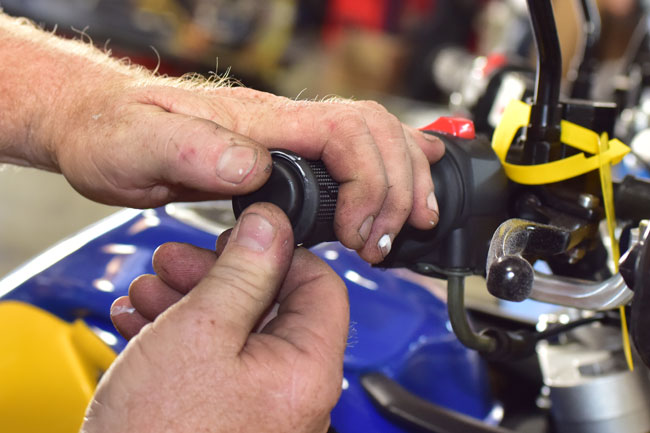
Install the end cap on the left heated grip.
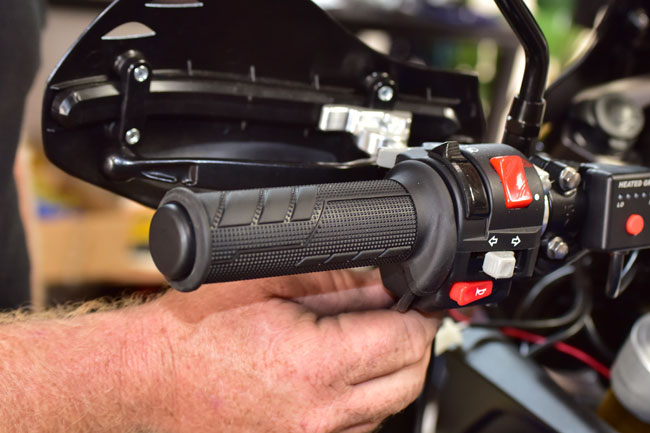
The finished left heated grip installation should look like this. Note the orientation of the heated grip’s harness.
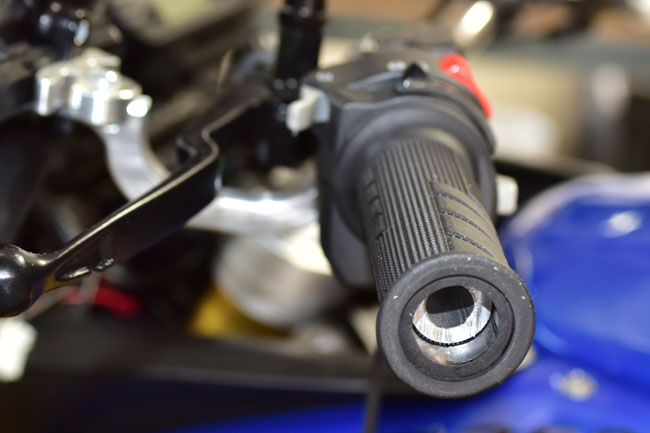
Prior to installing the right heated grip, clean up any injection molding flash on the throttle. We use a box cutter to do this. Don’t get carried away. You just want to remove the big stuff that might interfere with installation of the heated grip.

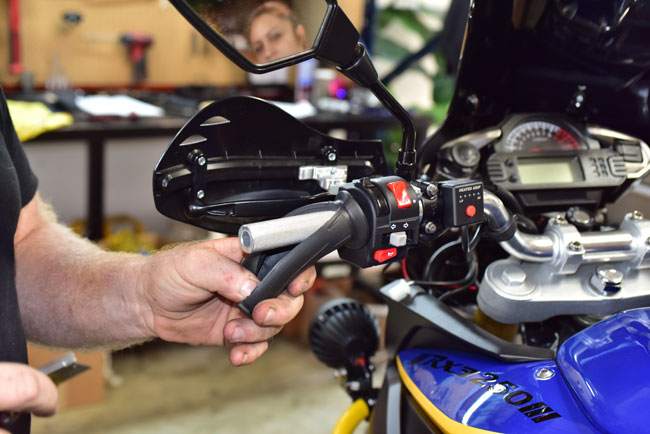
Again, note that the harness exits the right heated grip. You want to install the right heated grip so that the harness points to the rear, as shown in the photo below.
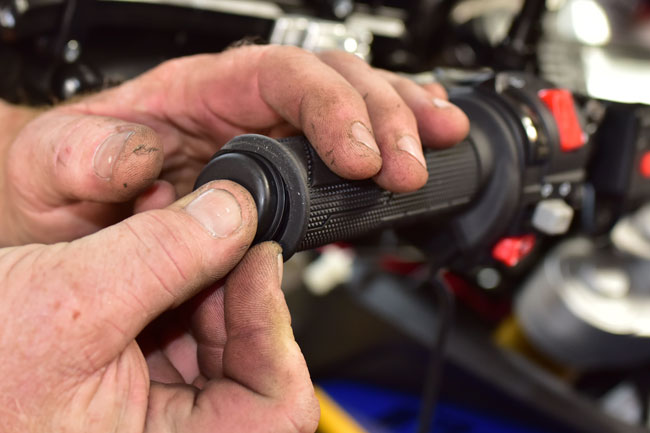
Install the end cap on the right heated grip.
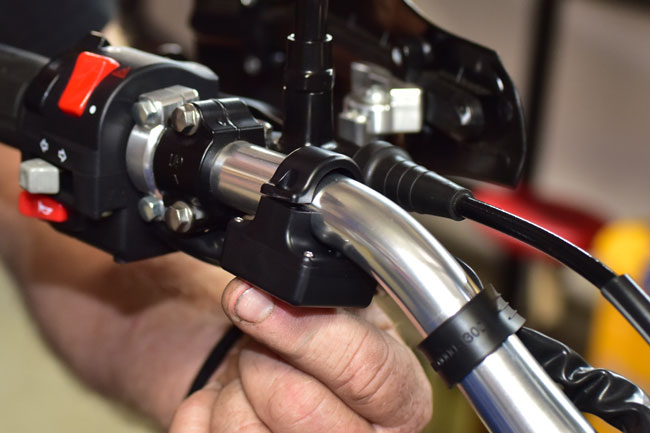
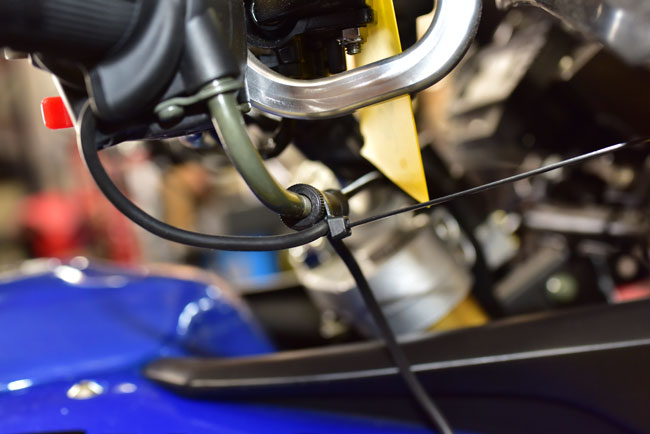
Leaving a little slack in the right heated grip harness (as shown below), zip tie the right heated grip harness to the throttle cable barrel. It’s important that you leave enough slack so that throttle movement is not restricted.
At this point, connect the left and right heated grip harness connector plugs to the heated grip switch harness.
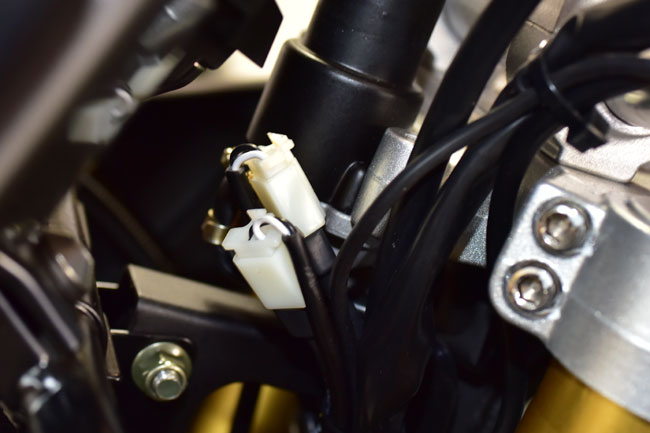
Once this is done, zip tie the connectors near the ignition switch, such that they will be covered when the ignition switch shroud is reinstalled.
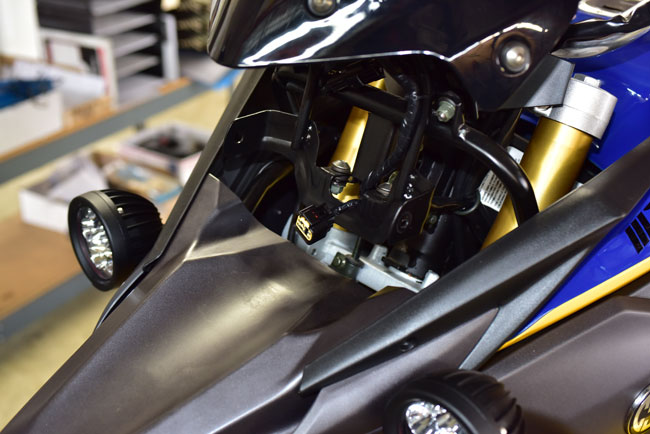
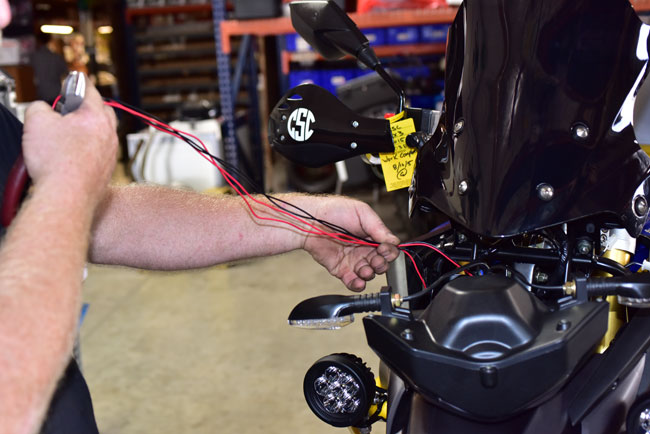
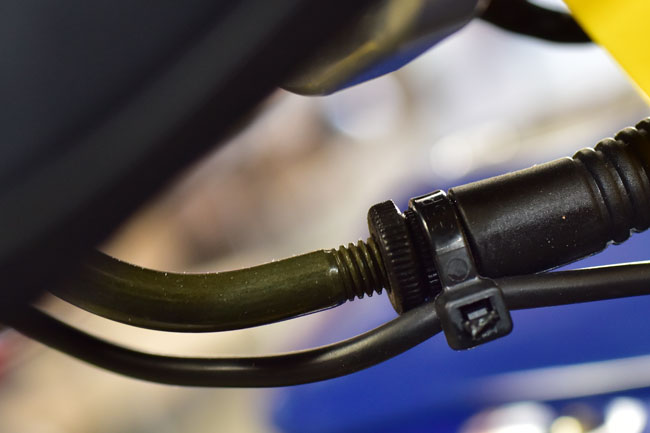
Reinstall the headlight, and zip tie the heated grip harness to the motorcycle. We do this to allow access to the heated grip fuse, as shown below.
After the motorcycle is put back together, you’re almost ready to ride. Before you do so, check the left-to-right travel of the handlebars to make sure your harness installation and tiedown does not restrict the motorcycle’s steering.
The heated grip switch provides for five heating levels. These are accessed by repeatedly pressing the heated grip switch.
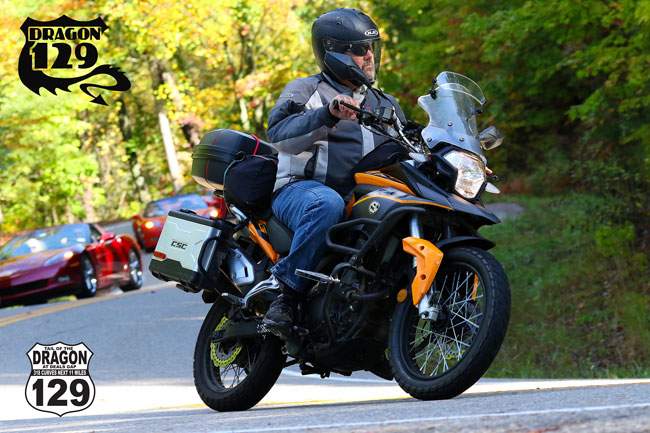
And folks, that’s it! Time to get out and ride!


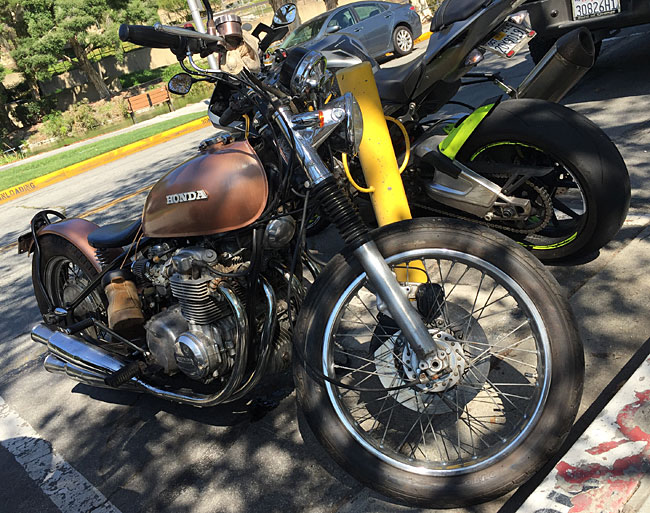

 SG250 San Gabriel Cafe Racer
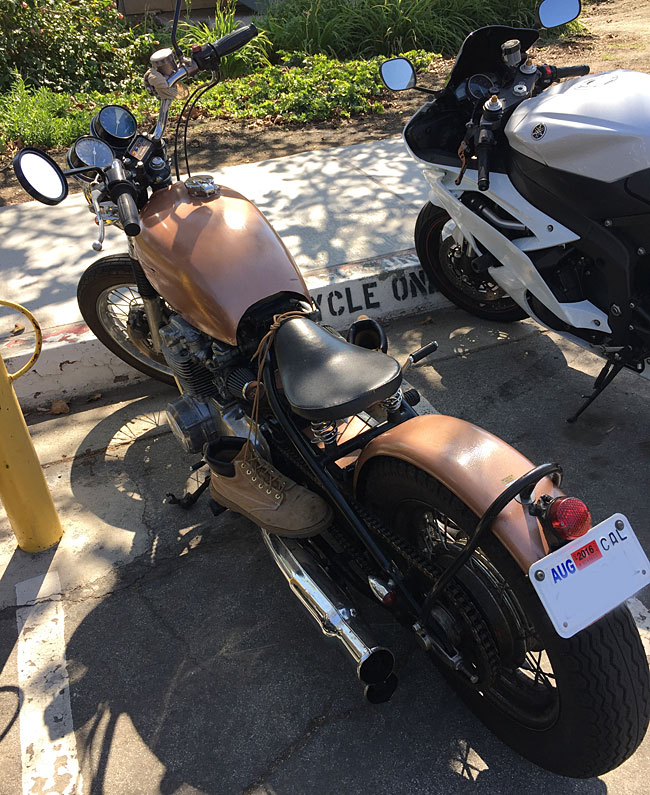
 TT250 Enduro