


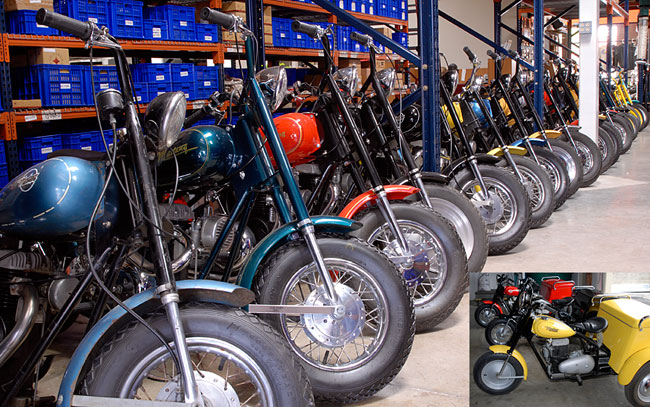
We sure have a lot going on, boys and girls. For starters, Gerry had Steve’s DeliverCycles out today, and they sure are cool. The rarest of the rare, and the most collectible of a very collectible marque. But hey, don’t just read about it…watch this!
 More good news…we’re going to be at the Long Beach, Sacramento, and Phoenix International Motorcycle Shows. Sacramento will be November 6-8, Long Beach will be November 20-22, and Phoenix will be February 20-21. We’ll have the RX3 on display and a few other goodies. It would be a good chance to pick up a signed copy of 5000 Miles At 8000 RPM, too, or bring your copy if you’ve already bought one and I’d be happy to sign it for you.
I love going to the IMS shows. We get to meet lots of new people, you get to the see the RX3 in person, and we always have a grand time. You may not have realized this, but I like taking pictures of motorcycles and pretty girls, and the IMS shows are a great place to do that. You can bet I’ll post more than a few photos from all three of these shows.
Tomorrow (Saturday) is another one of our famous Dual Sports and Donuts days, and we’re riding from the plant up to Newcomb’s on the Angeles Crest Highway. We have a bunch of guys who are riding with us, and I’d sure like to see you out there, too. You don’t have to show up on an RX3…whatever you ride, you’re more than welcome to ride with us. Just be at the plant at 9:00 a.m. (we’re at 1331 West Foothill Boulevard in Azusa) and join the fun. The photo ops at Newcomb’s are awesome, and the riding on ACH is beyond awesome. You’ll have a good time!
I bought a new toy today. I’ll have to wait the obligatory Peoples Republik of Kalifornia 10-day waiting period, but I pulled the trigger on a new .45 ACP Springfield Armory 1911. I already have one of these in 9mm, and I thought hey, why not get the same pistol in .45? I reload for both rounds, and I enjoy shooting both. The 9mm Springfield I bought a couple of years ago sure shoots well…
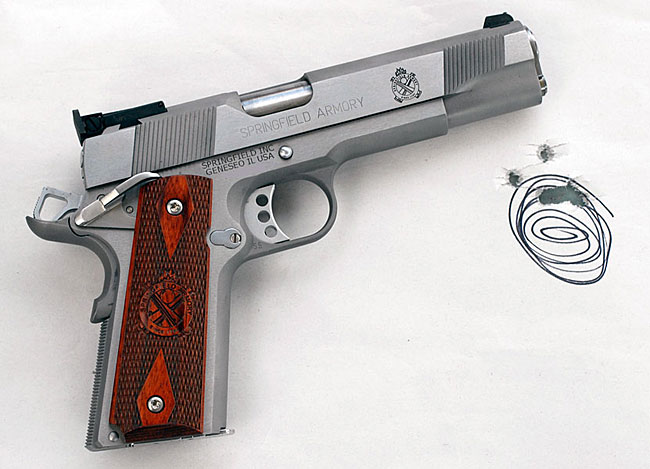
The Springfield Armory .45 ACP Target model looks exactly like the one in the photo above, except it’s chambered for the .45 ACP round. That’s a big old slow-moving bullet that’s surprisingly accurate.
I was trained to shoot the 1911 by one of the best. Command Sergeant Major Emory L. Hickman, a US Army Marksmanship Training Unit NCO, taught me the basics when I was in the Army (but that’s another story for another time). I’ve been shooting the .45 since 1973, and I’ve been reloading ammo for it for about that long, too. I used to be pretty good, but I’ve slowed down a bit. Hey, speaking of that…here’s a video of me playing around at the range with a .45 auto a year or so ago…
The video above is real time…it’s not been modified from the video that came straight out of the camera. But I couldn’t leave it alone. My choices were to spend about a zillion hours on the range and maybe shoot up another zillion dollars of ammo to get really good, or to just use my video editing software to have a little fun with my friends. I went for Door No. 2…
That’s about it for now, folks. Ride safe, ride often, keep the shiny side up, and keep your powder dry.

 TT250 Enduro
 SG250 San Gabriel Cafe Racer