Uh oh…

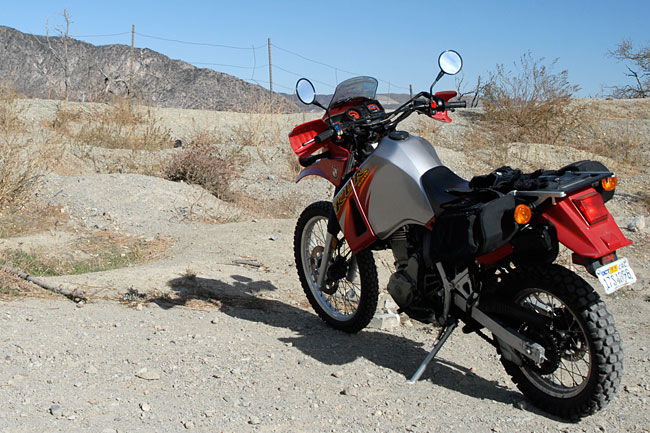
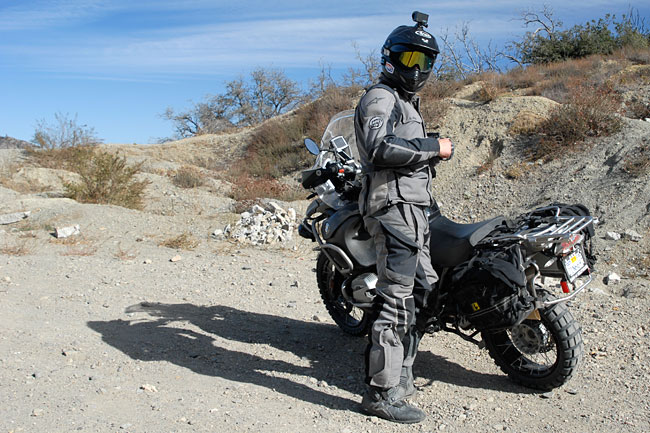
Great day yesterday, with the guys from ADV Moto and ADV Pulse.   They gave the CSC Cyclone a thorough eval on dirt, on the freeway, and up in the twisties along Angeles Crest Highway.   I rode my KLR 650 because we wanted the experts to ride the RX-3.

_DSC0053-65-=650

My old KLR 650

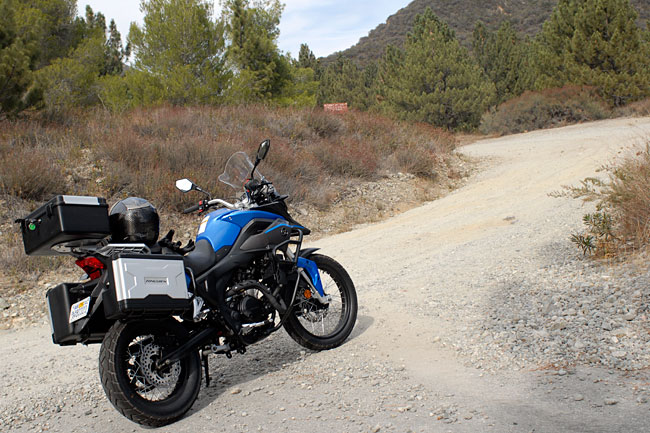
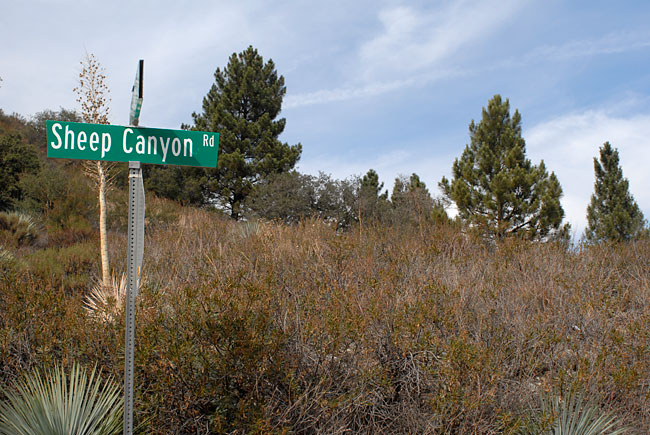
Things were going well.   We ran a cool 28 miles on the 210 and 15 freeways (in super windy conditions) to get to Sheep Canyon Road, a very technical and steeply-downhill dirt road.    I followed the guys down the mountain on my KLR, enjoying the brisk mountain air and sunshine, and watching the CSC Cyclone lead a procession of guys on KLRs, GS 1200s, and the other bikes the magazine pros were riding.

After Sheep Canyon Road, we were back on asphalt on Lone Pine Road, a long uphill climb into Wrightwood on the northern slope of the San Gabriel Mountains.   Wrightwood is a cool little mountain village and my plan was to stop there for lunch.   On this particular portion of our ride, I was the lead dog, mostly because I knew the way to the Grizzly Café.

Funny thing happened on the way into Wrightwood.  I  tapped the KLR’s rear brake as I rolled into town, and it felt very weak (as in not there at all).   Steve and I had lubed the KLR’s chain before the group left the plant, and my first thought was that some of the chain lube had found its way onto the rear disk.   Then I realized…there was no braking at all!

When I applied the rear brake rolling into town, I thought I heard and felt something, but I didn’t realize what had actually happened…

_DSC0218-650-650

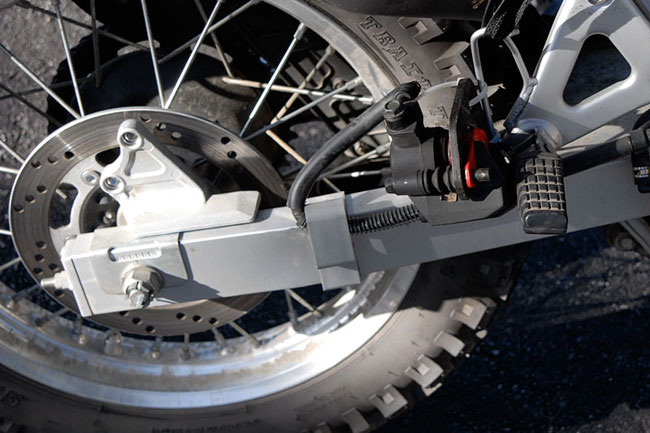
The KLR’s caliper zip tied to the passenger peg.

Whoa!   Or perhaps more to the point, no Whoa!  Both bolts securing the KLR’s rear caliper to the swing arm had vibrated out, and that’s what I had heard!

Wowee!  I had never seen this happen before on any motorcycle, nor had any of the five guys we rode with yesterday.   I sure didn’t have any spare bolts, and I didn’t even have any zip ties or duct tape (the 21st century equivalent of the baling wire riders of an earlier generation routinely carried).   Fortunately for me, one of the magazine photogs had some zip ties, and I secured the caliper to the rear foot peg bracket.

I always told folks I hardly ever use the rear brake, but let me tell you, when you don’t have one, it really makes a difference.   I rode the next 100 miles on my KLR (including all of the Angeles Crest Highway) with the front brake only, and it was not a relaxing experience.   I had to really concentrate on not using the rear brake.   Not a lot of fun there, folks.

I was lucky…that caliper could have just as easily fallen into the wheel and locked it up.    I’ve had my KLR for 8 years now, and I just ride the heck out of it.    I learned a few lessons from yesterday’s adventure, though…

  • Always check your bike’s nuts and bolts for presence and for tightness.
  • Always carry tools.
  • Always carry zipties.
  • Always carry duct tape.
  • Always carry a mix of spare fasteners, just in case.

It could have been a lot worse.   Like I said above, my inattentiveness could have locked up the KLR’s rear wheel.  I could have lost the rear brake on the sharp Sheep Canyon Road descent in the dirt (that would have almost certainly resulted in dropping the bike).   It could have happened on the front brake.   I’ve been riding (and writing about riding) for too long to make a bush league dumb-butt move like this.   I’m embarrassed.

I was lucky.  My message to you, my friends, is this:  Give your bike (whatever you ride) a good inspection on a regular basis.  I’m sure going to every time I go out.


Posted in CSC Motorcycles | Comments Off on Uh oh…

You talkin’ to me?

_DSC0051-650-650

A great day yesterday…we took the CSC Cyclone up in the mountains through some pretty rough dirt and we rode the length of Angeles Crest Highway, all with the crews of ADV Pulse and ADV Moto magazines.   Good times!

_DSC0236-65-650

More to follow, folks!


Posted in CSC Motorcycles | Comments Off on You talkin’ to me?

Canada, eh!

We’ve completed the emissions and shed testing for the US EPA and CARB, and we’re now doing the testing necessary to secure approval in Canada.   I thought I would share a few photos with you of our test bike to give you an idea of what this consists of…

_DSC0059-650

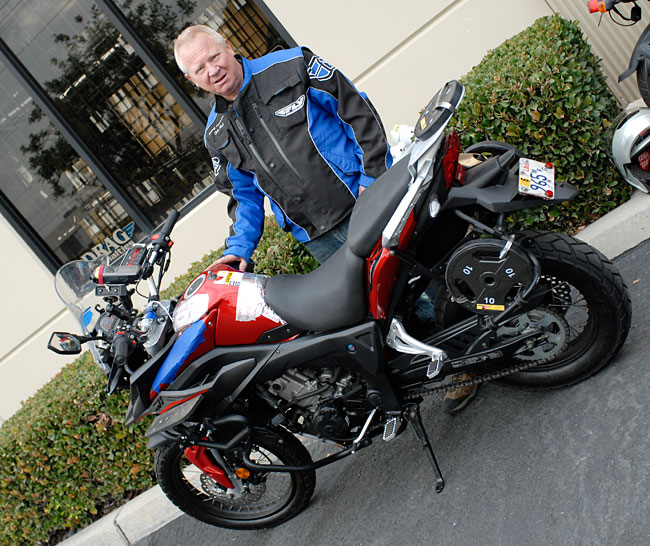
That’s Chris in the photo above, our consultant who is handling testing and collection of the data required for RX-3 approval in Canada.    Chris is a real heavyweight in the motorcycle industry, but that’s speaking figuratively.   He’s a bit lighter than what Canada sees as a standard-sized rider, and that’s why you see the barbell weights mounted on the RX-3.

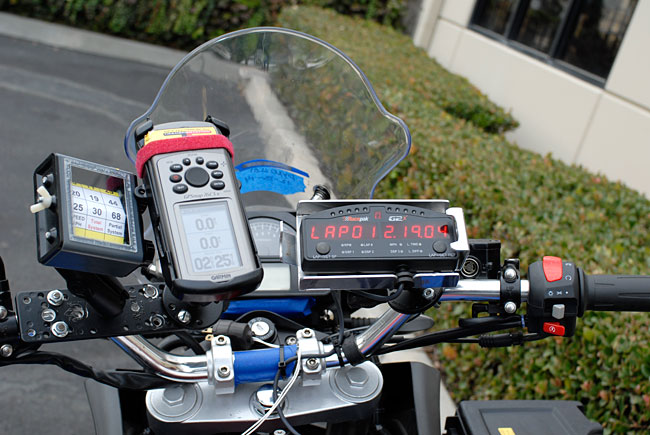
There’s lots of instrumentation to collect all of the required data…here’s a look at some of the data collection devices Chris uses…

_DSC0051-650

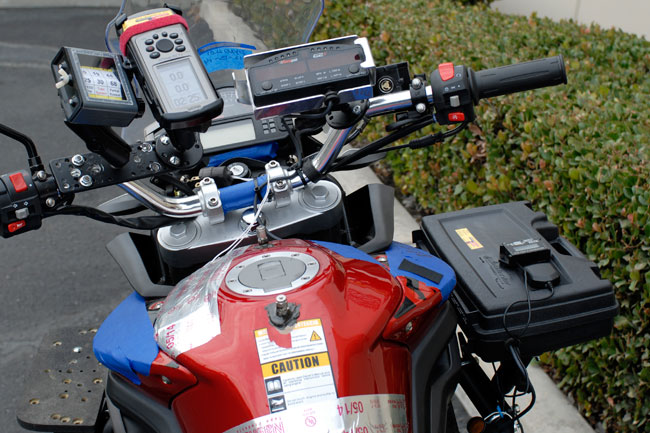
And one last shot showing both the instrumentation and the thermocouple points mounted on the fuel tank…those are the shiny fittings drilled through and epoxied into the fuel tank.

_DSC0049-650

You can see them in front of and behind the fuel cap.   These are actually used for the US testing we just completed…we have to record the fuel temperature as the motorcycle is being tested.   And all that blue tape?   It’s there to provide a spot for Chris to make notes while he is riding.

All cool stuff.   All moving along sharply.   But that’s enough for now.   I’m going riding with two of my favorite motojournalists early tomorrow, and it’s time for me to grab some shuteye.

Like I always say…stay tuned!


Posted in CSC Motorcycles | Comments Off on Canada, eh!

Baja beckons, boys and girls…

More tempting twisties on our terrific 250, folks…the CSC RX-3 Cyclone!

The buzz into Baja is going to be a blast…we’ll have a thousand miles of roads just like this, and you’re invited!


Posted in CSC Motorcycles | Comments Off on Baja beckons, boys and girls…

The Cyclone gets dirty….

You asked to hear the engine, and you wanted to see the Cyclone get dirty…

_DSC0048-650

Yep, it was a 30-mile freeway blast to Lytle Creek, and I found myself at the start of Sheep Canyon Road…

_DSC0047-650

Good riding, a bit of technical gnarly stuff (for an old geezer like me, anyway) and some great scenery…

No music on this one, per your request (that’s for you, MotoMapper!).    And you wanted me to get the bike dirty (that’s for you, Lance), and I sure did!

The downhill portion at the three-way fork was super steep…it’s hard to see in the video, but trust me, it was an invigorating ride.    And just in case you were wondering, the Baja ride won’t be anything like this (it will be 99+% asphalt).

More to follow, my friends…


Posted in CSC Motorcycles | Comments Off on The Cyclone gets dirty….

Selling like hotcakes…

You’ve heard that expression when business is really, really good:  “They’re selling like hotcakes!”

_DSC0029-650

That’s what’s been happening with the CSC Cyclone.   We started by counting motorcycles, and now we’re counting shipping containers.    The Cyclone sells for $3495 here.   The exact same bike in the UK goes for $4699.   It’s a heck of deal, and I’m here to tell you that the $3495 price won’t last too much longer.   I’m not giving you the old “impending doom” sales close; I’m telling you what’s going to happen.   If you’re thinking about the dotted line, dudes and dudettes, don’t dilly dally.   In the motorcycle world, this is the deal of the decade.

Today was a fun day.   We did the first of our maintenance tutorials.  We’re empowering our riders with a new path to market that includes what has to be the best deal in motorcycling with what I honestly believe is the world’s best motorcycle.   So do a lot of other people, judging by our sales.   We even include the shop manual and our online maintenance tutorials, the first of which appears immediately below this blog.

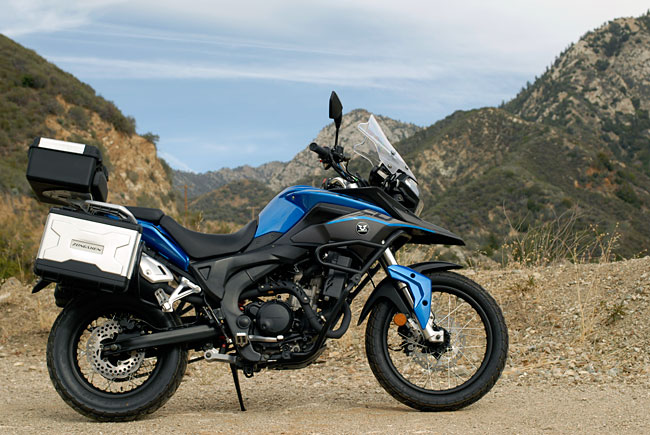
After Lupe and I changed the Blue Bandit’s oil, I lit her up.  Like the song goes, it was “head out on the highway” time.   The 210 freeway, that is, for a cool speed run at 75-80 mph for 25 miles to the Mt. Baldy exit.  Don’t tell anyone, but at one point on the freeway I actually touched an indicated 94 mph.  The bike is fast, folks…way faster than any 250 has a right to be.   I had no problem keeping up with and passing other vehicles.   The Cyclone was running great.

After taking the Mt. Baldy exit, it was a speed run into the San Gabriels, listening to the sweet symphony of a strong single burbling through the pipe.   She sounded great.  Six speeds, a torquey little thumper, and 250-tight handling through the twisties.    Just awesome.   Climbing up into the mountains was great.   This is one hell of a motorcycle!

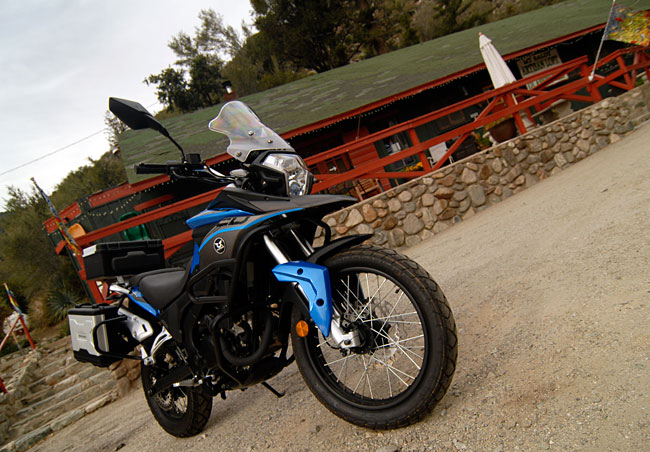
I stopped for a couple of quick photos…and then it was quick run back home for a 4:00 p.m. class at the University…

_DSC0003-650

_DSC0016-650

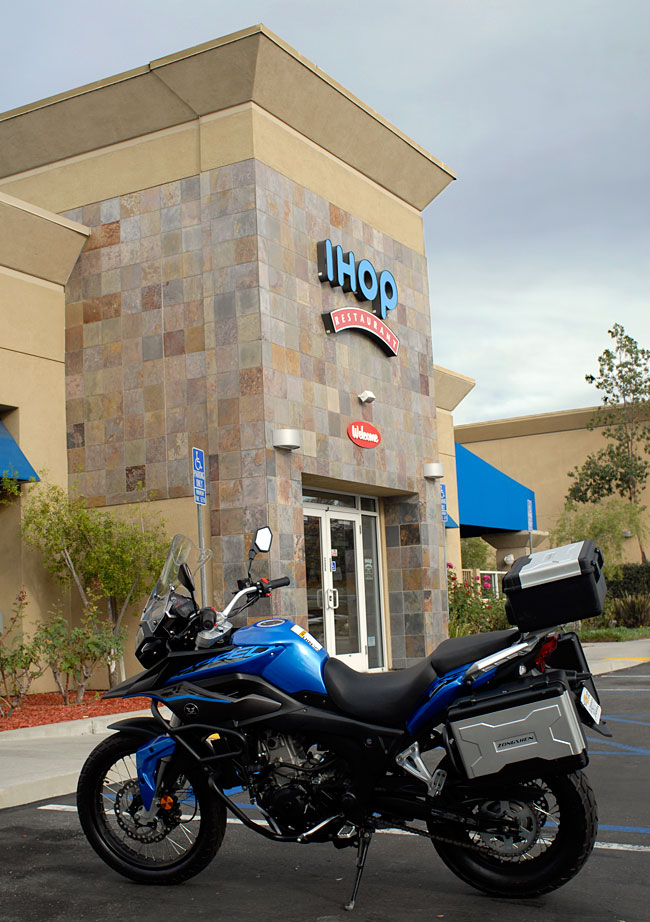
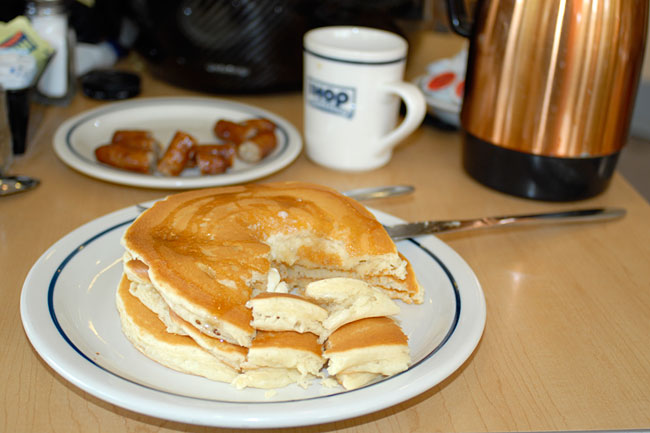
I had just enough time to stop for some hotcakes and sausage at my favorite pancake palace.   Folks, meet my new buddy Isis…

_DSC0026-650

That late lunch sure hit the spot, especially after my brisk run down the mountain.   Isis asked about the bike (she knew a good thing when she saw it), and I told her all about the success we’ve been enjoying bringing this great new motorcycle to America.

_DSC0028-650

After wolfing down a short stack, I asked Isis how the hotcake business was going these days.   She smiled.

“It’s good,” Isis said.   “They’re selling like CSC Cyclones…”


Posted in CSC Motorcycles | Comments Off on Selling like hotcakes…

Changing the RX-3 Cyclone Oil

The more we get into these RX-3 Cyclone motorcycles, the more we like them.  We changed the oil on our blue RX-3 today, we photo-documented the process, and this is the first tutorial we’re posting in our series of “how to” features to make it easy for you to maintain your Cyclone.    Here are a few basic bits of information up front:

  • The RX-3 takes 1.7 quarts of 5W-40 or 10W-40 motorcycle oil.  That’s one quart and about 24 ounces of oil.   Don’t use car oil or any oil with “friction inhibitors” because this will cause the clutch to slip.
  • The first oil change should be at 200 miles, the second should be at 1000 miles, and subsequent oil changes should occur every 2000 miles after that.
  • We recommend using non-synthetic oil on the first oil change, and then switching to Mobil 4T synthetic motorcycle oil at the 1000-mile mark.
  • The RX-3 has two cleanable and reusable oil strainers (one on the left side of the engine and one on the right side of the engine), and one oil filter (you should replace the oil filter with each oil change).
  • The RX-3 has two oil fill ports (both on the right side of the engine), but you only need to use one or the other to replace the oil.
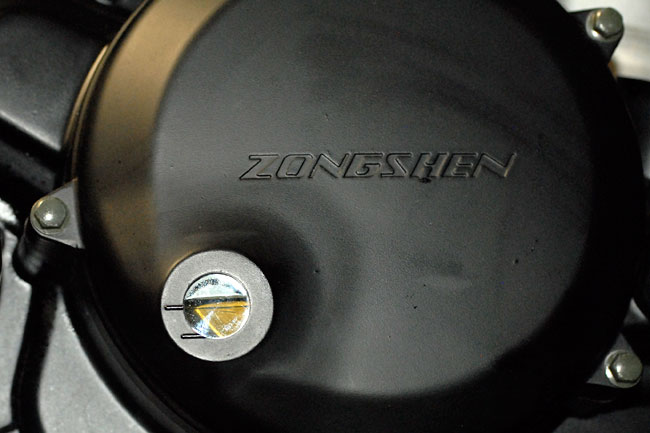
  • The RX-3 has an oil viewport on the right side of the engine for assessing engine oil level, and the bike needs to be vertical to use it.   The engine does not have a dipstick.
  • You’ll need a 17mm socket to remove the oil strainer caps and the oil drain plug.
  • You’ll need an 8mm socket to remove the oil filter cover nuts.
  • The RX-3 tool kit includes a 17mm socket and an 8mm wrench, but we don’t recommend using them for changing the oil.

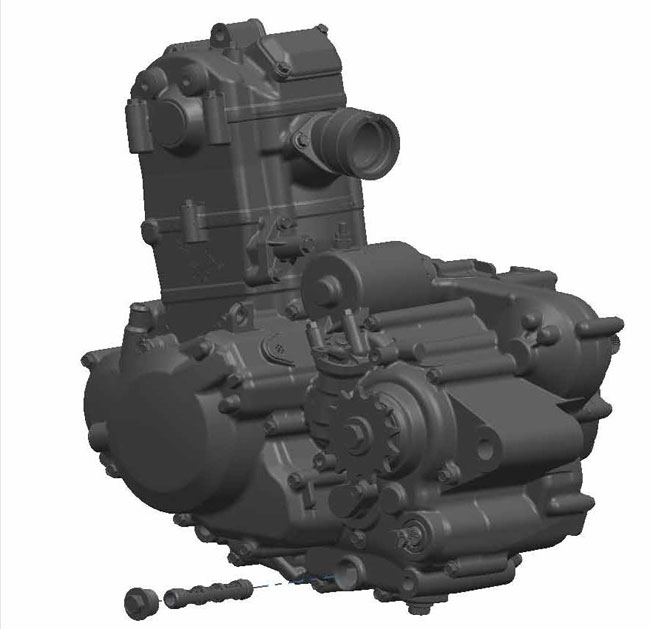
Let’s  first take a look at where the oil strainers and the oil filter are located.  The oil filter and the right side oil strainer can be seen in the drawing below.

EngineRight-650

Here’s what these look like on the engine…the oil strainer is the large 17mm bolt head, and the oil filter cover is held in place by two 8mm nuts…

_DSC0006-Rt

The left oil strainer is located on the left side of the engine…
Engine-Left-650

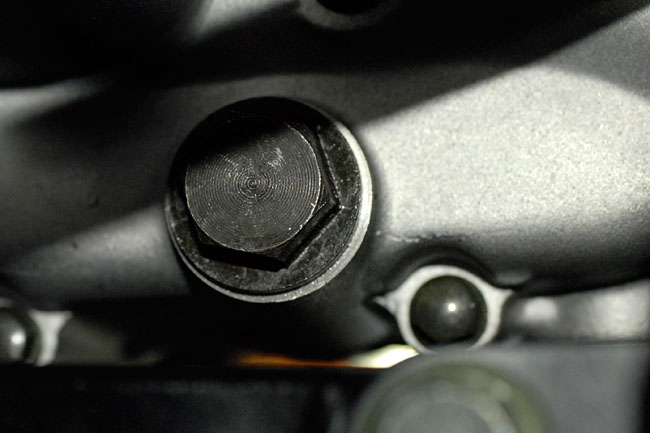
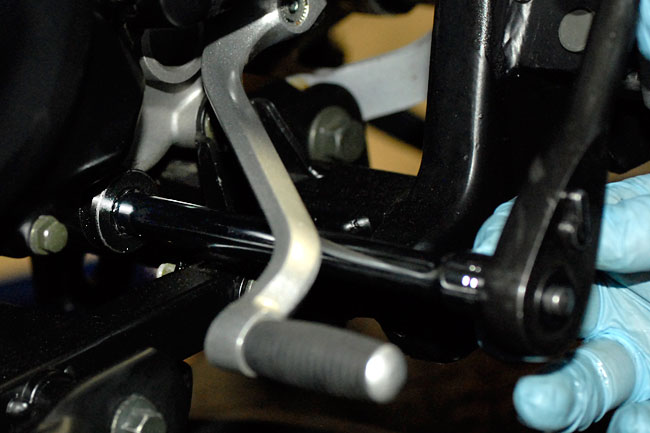
When you look on the left side of the engine, the oil strainer cover is the 17mm bolt head just beneath the shifter.
_DSC0002-650-Lt

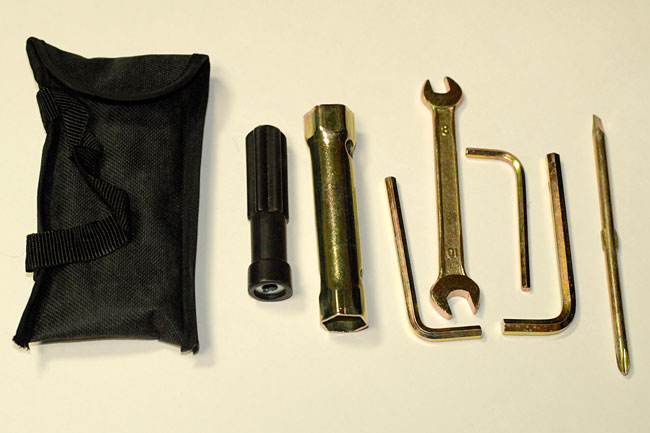
The RX-3 tool kit is located under the rear seat cushion (you need to unlock the rear seat with the key lock on the left side of the motorcycle beneath the seat to get to it).   The tool kit includes the following tools…
_DSC0008-650

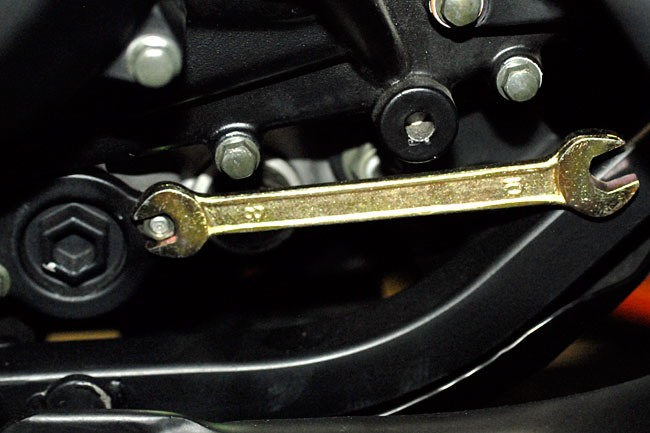
Like most motorcycle tool kits, we consider these to be emergency tools only.  As the bikes come from the factory, the 17mm oil strainer caps are tight.   You might be able to get them off with the sheet metal sprocket shown in the photo above, but we don’t recommend attempting to do so.   Use a 17mm socket with an extension.   Similarly, you might be able to remove the oil filter cover with the 8mm wrench provided in the tool kit, but you’d have a much easier go of it using an 8mm socket and an extension.   We can provide these tools to you as part of an oil change service pack, and we’ll provide more information on that at the end of this procedure.

So, let’s get on with it!

The first step is run the engine for a few minutes to warm the oil.   This will allow it to drain easily from the engine.   After the engine has warmed, turn off the motorcycle.  Exercise caution after warming the engine because the exhaust pipe will be hot.

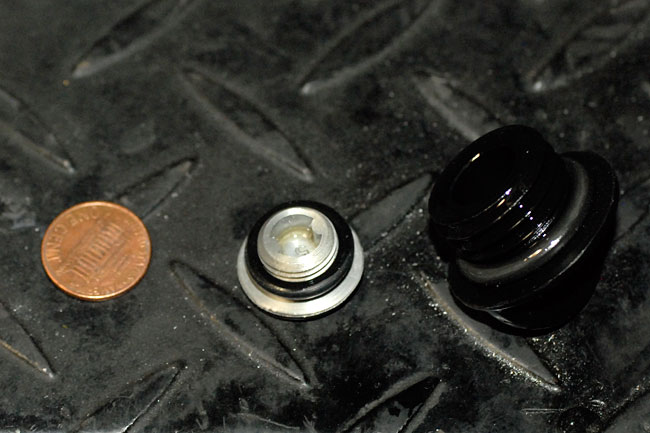
Place an oil pan under the motorcycle and remove either or both of the oil fill ports.  The rearmost oil fill plug has a slot.   It’s on the right side of the engine.  A penny works well for removing it…

_DSC0013-650

_DSC0022-650

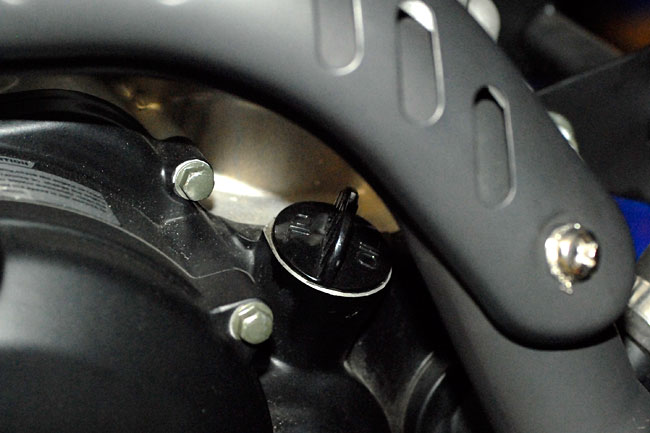
There’s another fill port on the right side of the engine just behind the exhaust pipe.  You can remove that one by hand…
_DSC0014-650

Like we said earlier, you don’t need to remove both; either one will allow the crankcase to pull in air when you drain the oil.   Both access port covers have o-rings, so you want to take care not to lose the covers or the o-rings, or allow the o-rings to pick up dirt…
_DSC0023-650

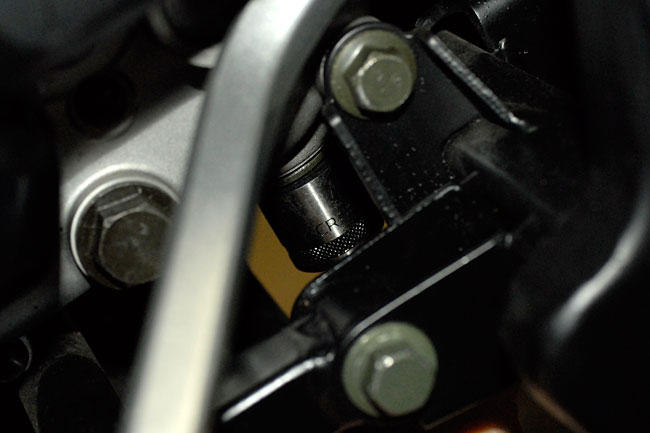
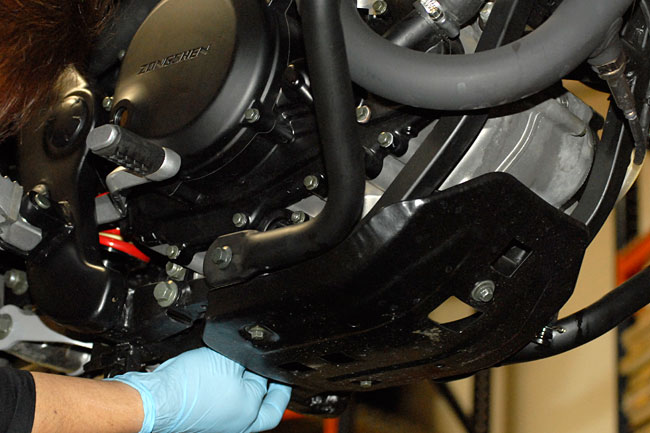
After opening either or both of the oil fill ports, remove the oil drain plug.    The oil drain plug is on the bottom of the crankcase.   You can get to it without having to remove the motorcycle’s skid plate.   It also has a 17mm bolt head.

The photo below shows the socket on the drain plug…
_DSC0012-650

This next photo shows Lupe taking the drain plug out of the crankcase…
_DSC0026-650

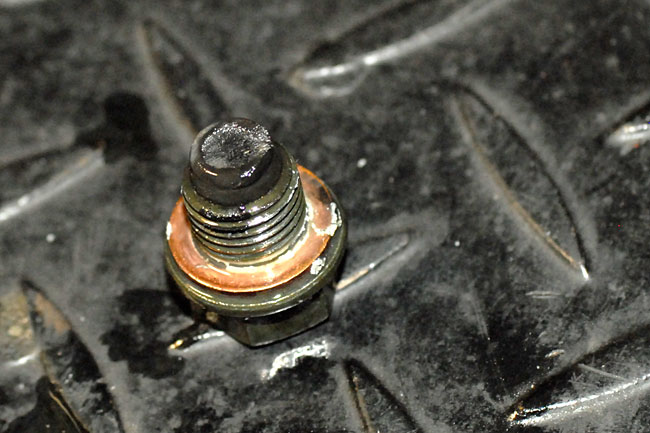
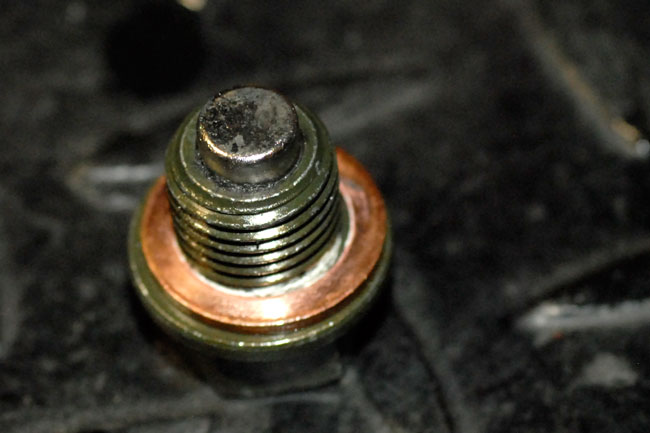
The oil drain plug has a copper gasket.   The factory doesn’t recommend replacing this, so you can reuse it.   Another cool feature is that the drain plug has a magnetic core to pick up bits of iron in the engine.   That magnetic feature  will come in handy a bit later (we’ll explain that when we get to it).

Here’s what the drain plug looks like….
_DSC0040650

You should wipe it clean, including all of the metal bits sticking to the magnet…
_DSC0041-650

We recommend wearing gloves (like Lupe is in the above photos) so that you don’t get oil all over your hands.

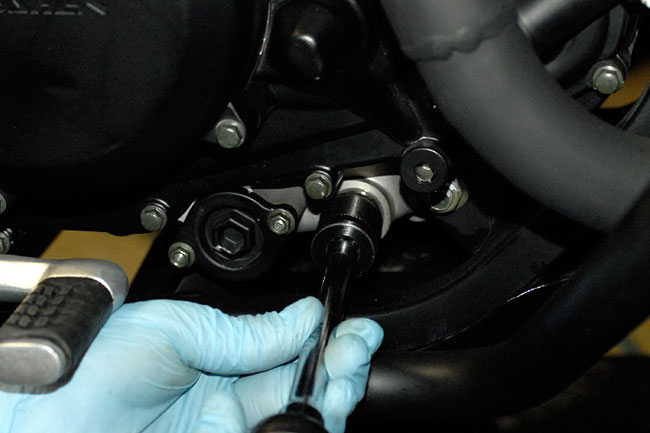
The next step is to remove the oil strainer covers.   This requires a 17mm socket and an extension.   It will look like this on the left side of the engine…
_DSC0033-650

Here’s what it looks like on the right side of the engine…
_DSC0029-650

Set the oil strainer covers aside, taking care not to lose the o-rings on the inside or put them where they could become dirty.

_DSC0030-650

Next, we’ll remove the oil filter cover.  It is secured by two 8mm nuts.    You can attempt to get  these off with the 8mm wrench provided with the RX-3 tool kit…
_DSC0007-650

A much better approach, though, is to use an 8mm socket with an extension…
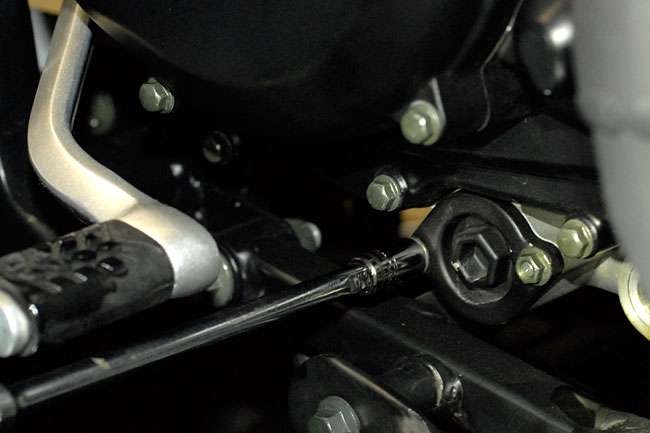
_DSC0043-650

Remove the two 8mm nuts and the access port and set them aside, taking care not to lose the nuts.
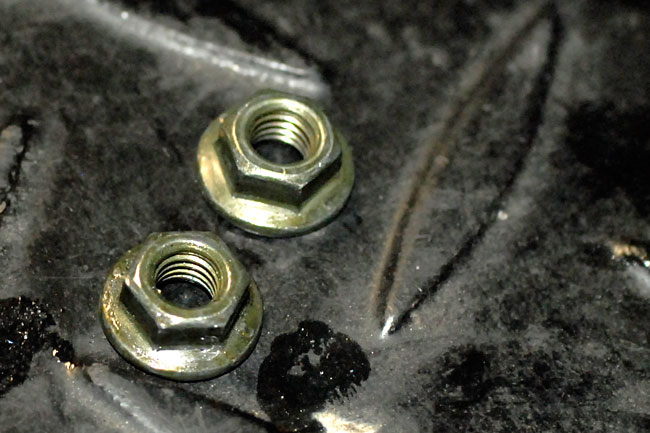
_DSC0060-650

The oil filter cover has a spring inside that fits between it and the oil filter.   The oil filter cover and its spring look like this….
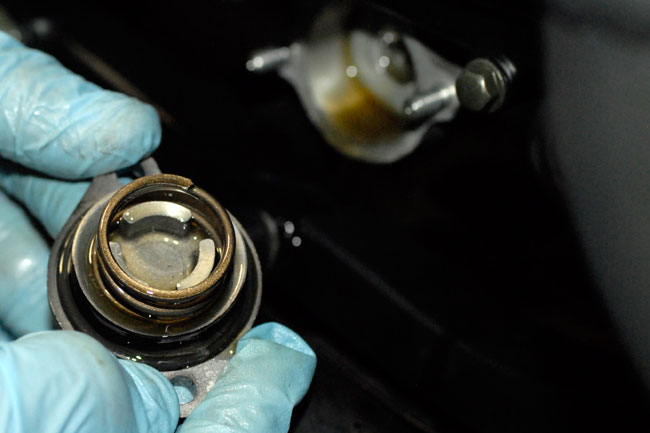
_DSC0044-650

The oil filter cover also has an o-ring.   Take care not to get the o-ring dirty or lose it.   The spring is orientation insensitive; it can be inserted either way.

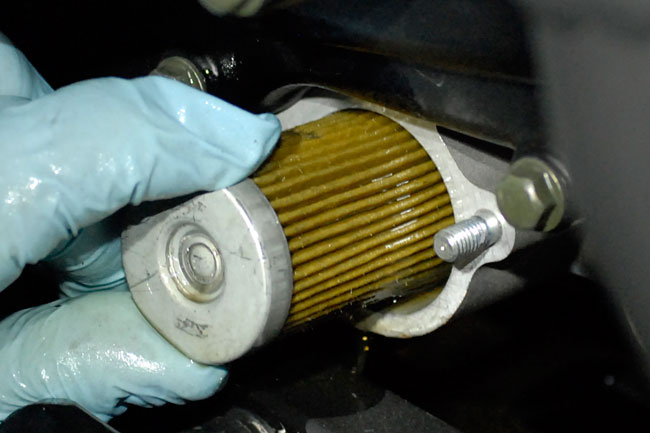
Once you have removed the filter cover, you’ll see the metal end of the oil filter.  It will look like this…
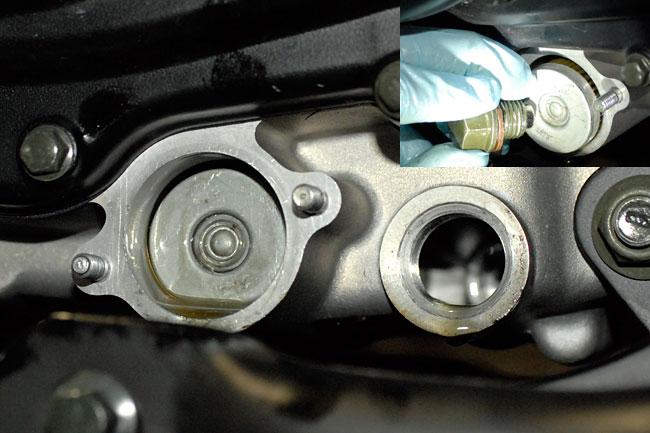
_DSC0050-650

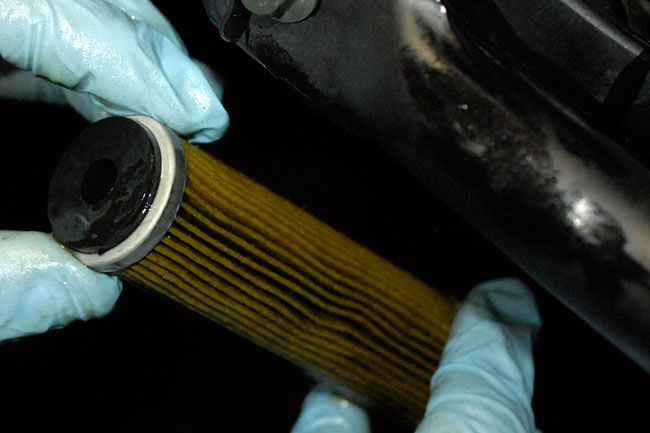
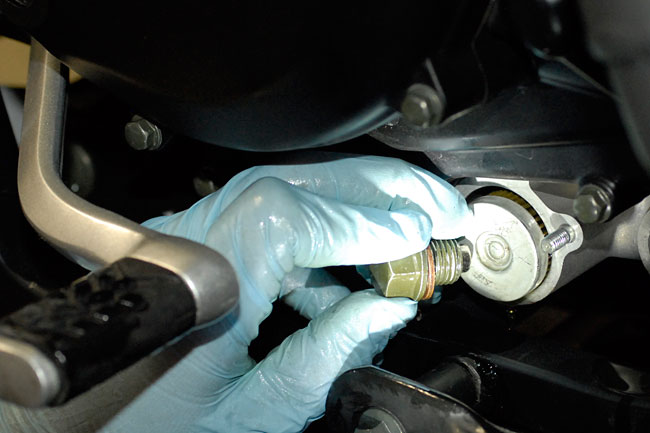
Now the trick is to grab the oil filter and slide it out of the engine.   We found that the easiest way to do this is to take the magnetic drain plug, put the magnet end against the oil filter, and slide it out.   That’s what the inset in the photo above shows, and the photo below shows it better.
_DSC0054-650

_DSC0055-650

_DSC0057-650

Note that the oil filter is not reversible.   The end with the rubber gasket (shown above) goes into the engine first.   Do not attempt to clean the oil filter; you should install a new oil filter with each oil change.

We will next remove and clean the oil strainers.   Remember that there are two (one on each side of the engine).

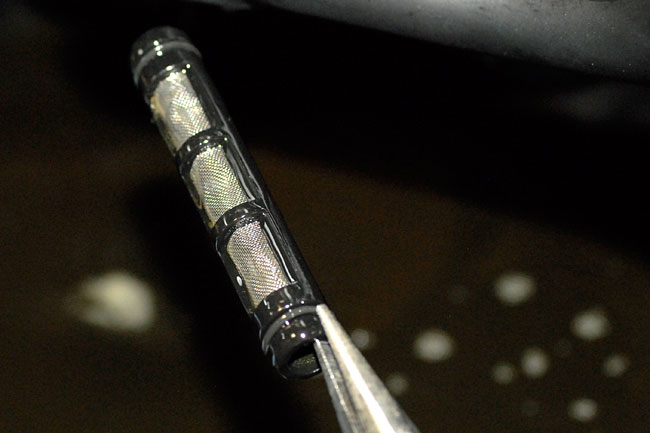
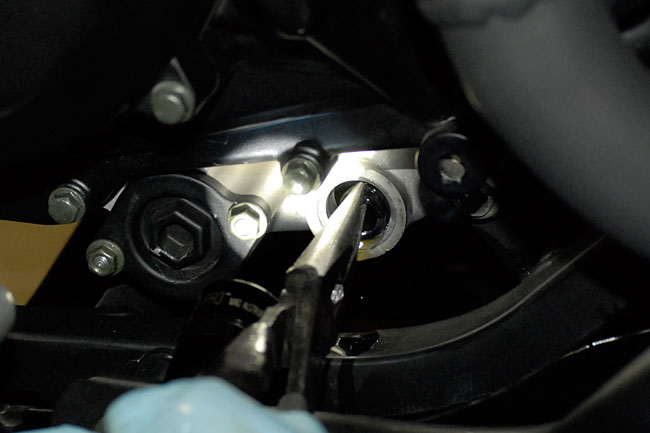
You can pull the oil strainers out of the engine using a pair of needle nose pliers…
_DSC0035-650

_DSC0036-650

_DSC0039-650

You can clean the oil strainer using WD40 or compressed air.

After removing the oil filter and the oil strainers, additional oil will drain from the engine.  If your motorcycle was on the sidestand while you were draining the oil, hold the bike in the vertical position so that any remaining oil will drain from the crankcase.

After all oil has drained from the engine, we now need to reinstall the oil strainers, the oil filter, the oil strainer covers, and the oil filter cover.

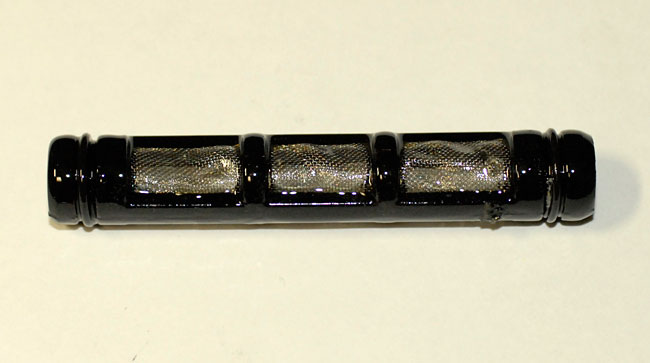
The oil strainers are the same on either side of the engine, but they are different on each end.   Make sure you install the thin end of the oil strainer first…

OilStrainerEnds

The thin end of the oil strainer is shown in the photo on the left (this end should go in first); the thick end of the oil strainer is shown in the photo on the right (it should point out).  After installing the oil strainers, install the oil strainer covers on both sides of the engine.

Next, install a new oil filter.  Remember that the end with the black rubber gasket goes into the engine first.   After inserting the oil filter in the engine, replace the oil filter cover and spring and secure it with the two 8mm nuts.

The next step is to reinstall the oil drain plug.

After the drain plug, the oil filter, the oil filter spring, the oil filter cover, the oil strainers, and the oil strainer covers have been installed, we can now add new oil to the engine.

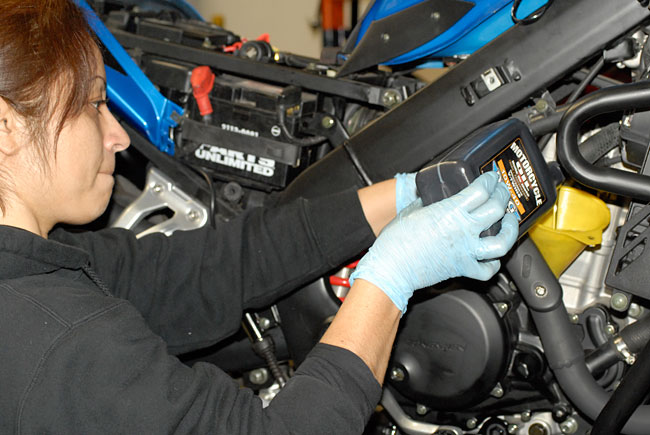
The engine takes 1.7 quarts.   Here’s a photo of Lupe adding new oil to the engine.   We recommend using a funnel (like you see Lupe doing), and we include a funnel with the oil change service pack we can provide to you.
_DSC0061-650

As mentioned above, you can add oil through either of the two access ports described at the beginning of this procedure.

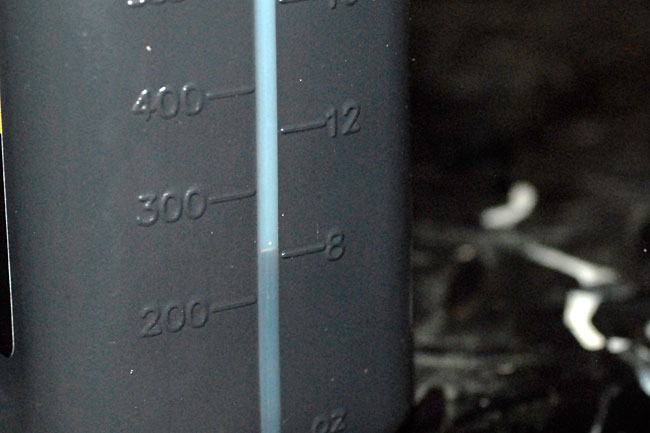
1.7 quarts is a full quart bottle plus another 24 ounces from the second quart bottle.   An easy way to see this is to add the first quart, and then pour enough in from the second bottle so that 8 ounces remain in the second bottle…
_DSC0066-650

What you want is for the engine to have the oil level even with the upper mark on the viewport when the motorcycle is in the vertical position (straight up and down; not on the sidestand).  The viewport is located on the right side of the engine.   Here’s what it should look like…
_DSC0065-650

After you’ve finished, reinstall both oil fill caps (the one with the slot and the one with the extension for turning by hand).

Start the motorcycle and let it run for a couple of minutes, and check for leaks.

As mentioned above, we can provide you with everything you need to change your oil.   We offer a complete oil change service pack that includes the following items:

  • 17mm and 8mm sockets.
  • A socket extension.
  • A ratchet.
  • An oil drain pan.
  • An oil funnel.
  • Two oil filters (one for the 200-mile oil change and one for the 1000-mile oil change).
  • Two pairs of rubber gloves.
  • 2 quarts of non-synthetic oil for the first 200-mile oil change.
  • 2 quarts of Mobil 1 4T synthetic oil for the 1000-mile oil change.

Just give us a call for the oil change service pack and we’ll have it ready when you pick up your new CSC RX-3 Cyclone.

That’s about it, folks.   It’s time to get out and ride!

 

Posted in CSC Motorcycles | Comments Off on Changing the RX-3 Cyclone Oil

More beautiful women…

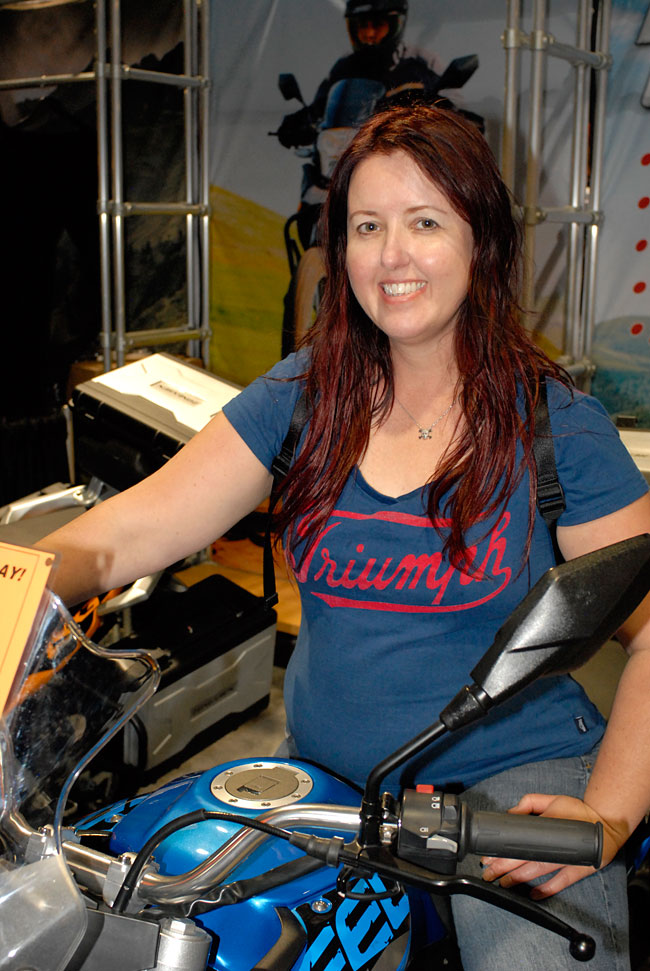
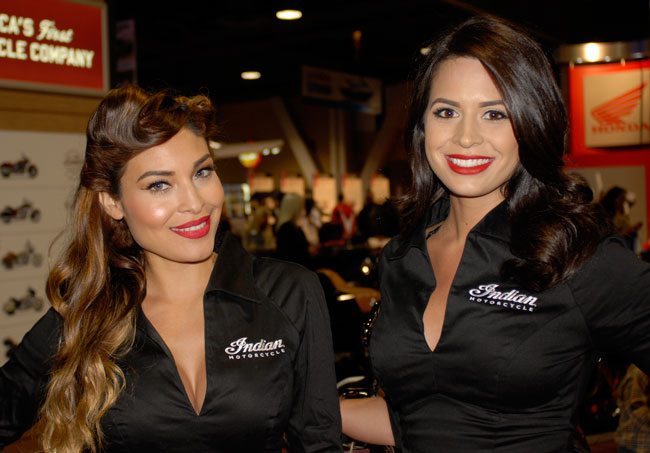
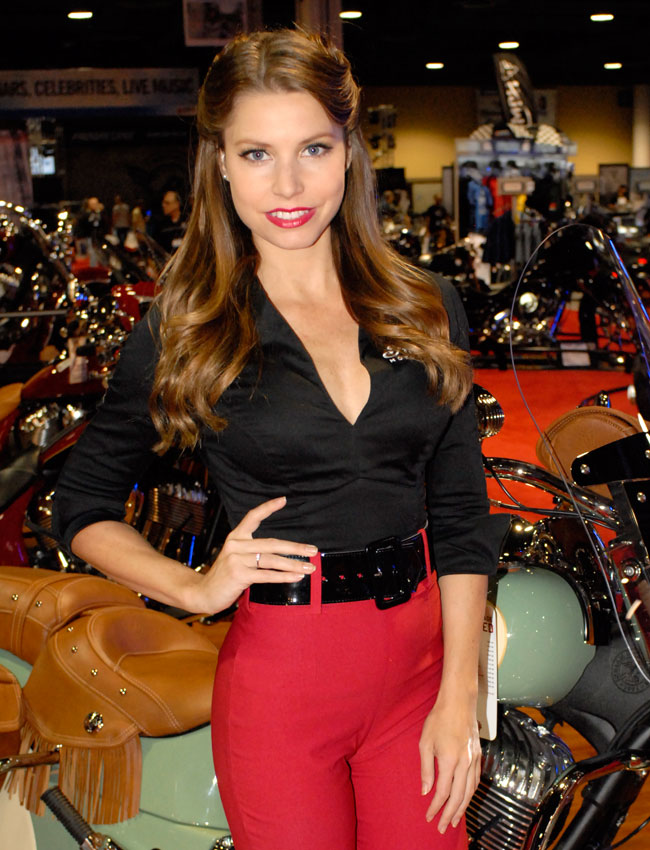
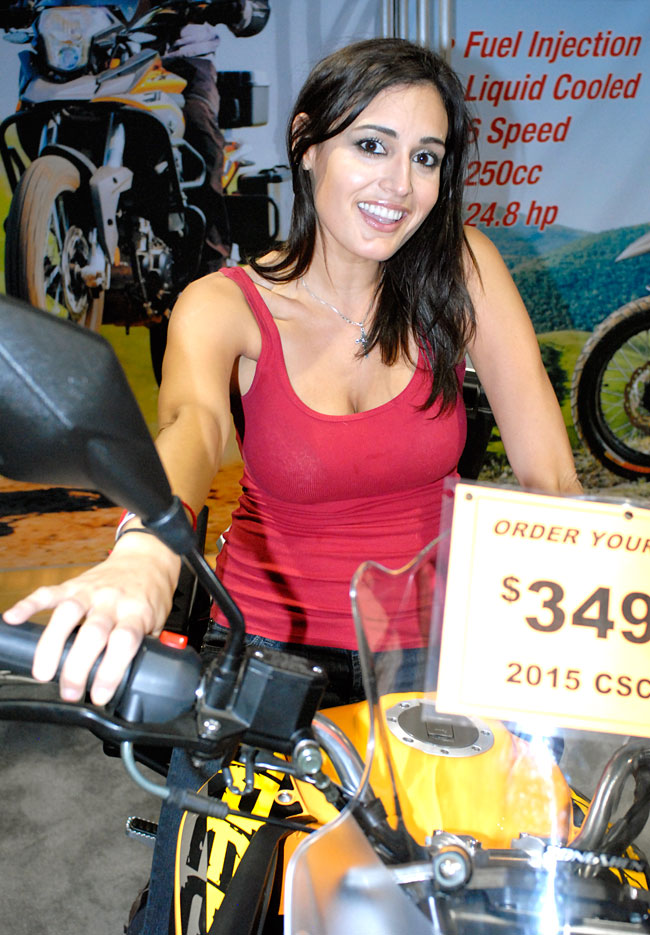
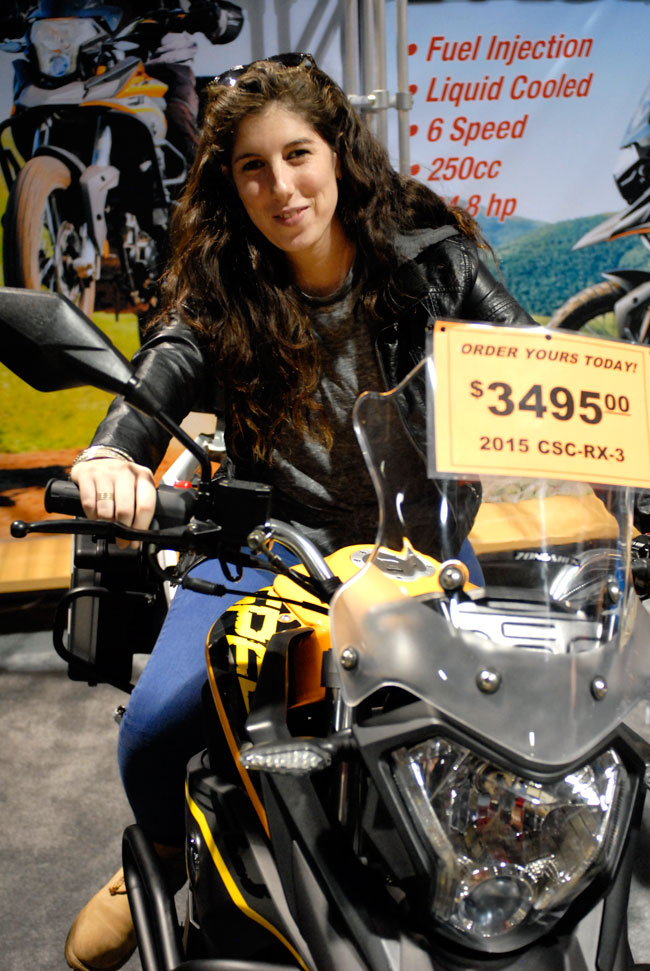
Ah, the things I get to do in this job.   It’s hard to say which part is the most fun…being around the CSC motorcycles, working with the good people at CSC, riding, writing the blog, chatting up the pretty ladies who visit our booth, or photographing the show models for Brands X, Y, Z, and all the rest.   The models are pretty and they are great conversationalists, but I enjoy talking to the ladies who have an interest in our bikes a lot more.   But it’s all good, and yes, I know I have a dream job.

Here are just a few of the folks I met at the Long Beach show…

_DSC0079-650

_DSC0041-650

_DSC0078-650

_DSC0046a-650

650

_DSC0075-650

_DSC0047-650

I’ll be in the factory tomorrow.  We’re starting our series of “how to” features on RX-3 maintenance, and those blogs will be posted here in advance of your receiving your new Cyclone.  And don’t forget…we’re providing a free shop manual with each Cyclone, too!


Posted in CSC Motorcycles | Comments Off on More beautiful women…

Police Motors

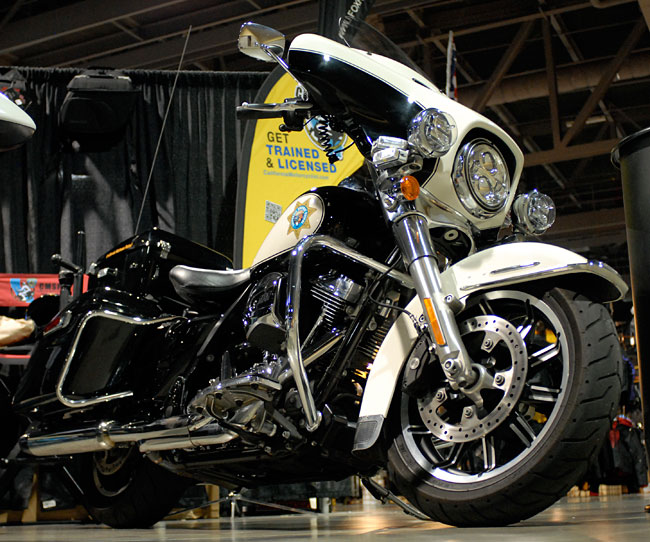
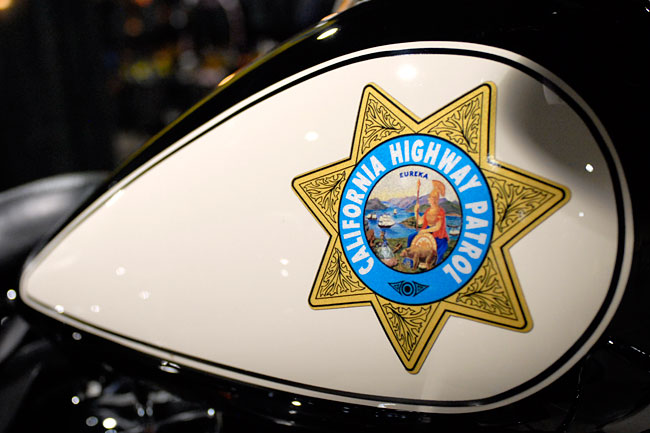
The California Highway Patrol had a cool booth at the Long Beach Motorcycle Show this past weekend, including two of their latest motorcycles – the Kawasaki Concours police version and the  tried and true Harley Davidson.   Cool bikes.   First, a shot of the mighty 103 cubic inch Harley…

_DSC0024-650

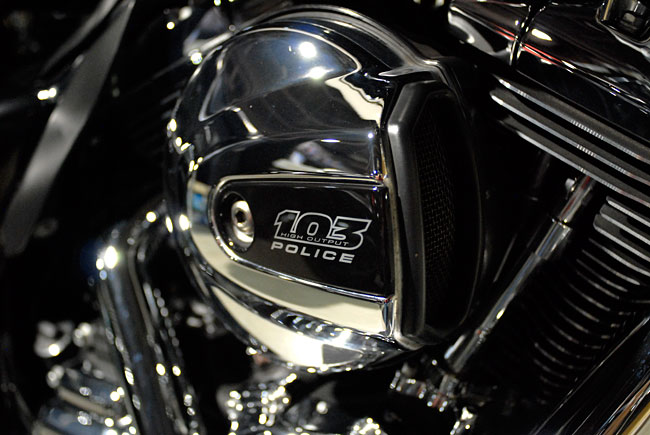
The Harley is a cool bike, and I was able to hear it run when the CHP motor officer rode it past our booth.    It sounds like you would expect a big-inch V-twin to sound (which is cool).    It’s a 103 cubic inch engine…

_DSC0012-650

103 cubic inches.   Wow!   That’s just under 1700cc, which means the engine in this Harley is just a little bit smaller than the engine in my Subaru.  Or, stated differently, it’s more than 11 times the size of the engine in my Baja Blaster CSC 150.

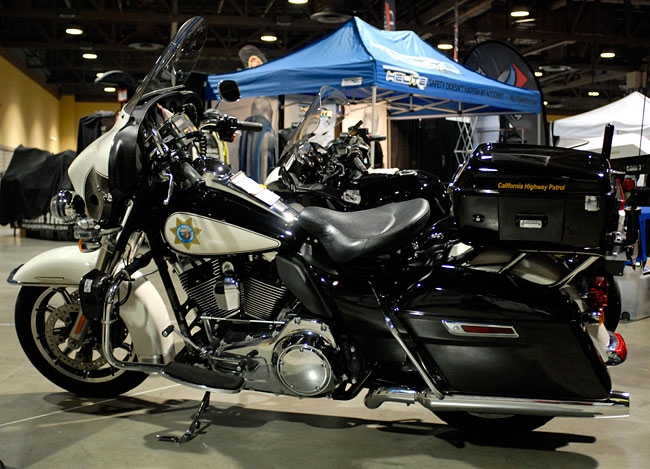
Here’s another shot of the Harley…

_DSC0005-650

And here’s a photo of the cockpit gadgetry this bike carries, including what I’m guessing is a personal reminder of some sort…

_DSC0006-650

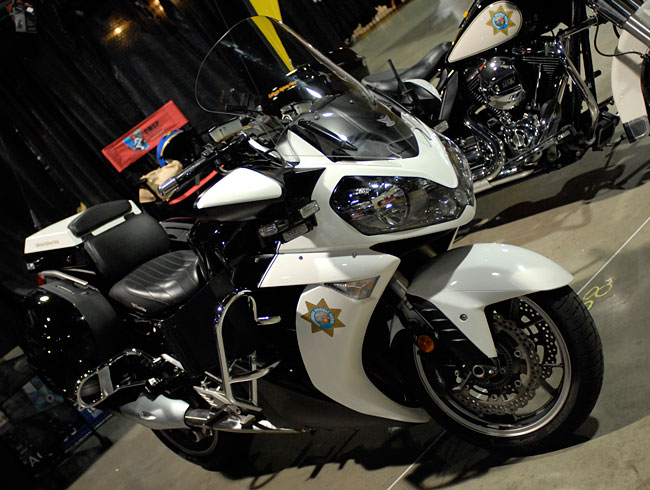
One of the CHP motor officers told me that the CHP is also using the Kawasaki 1400 Concours as a police motorcycle.   The one at the show is the first Kawasaki Concours CHP bike I’ve ever seen.    1400cc…that’s still a lot of motor.   1400cc is about 85 cubic inches.    They used the KZ1000P Kawasaki for years, and of course, that’s the motorcycle that starred in the TV “CHiPs” series.   Jon and Ponch were in it, too, but I think they played bit roles compared to the Kawi police bikes.

I think the Kawasaki Concours makes for a good-looking police motorcycle…

_DSC0034=650

My guess is that the Kawasaki would probably outperform the Harley.   That notwithstanding, the CHP is phasing out the Kawasaki police bike and they will exclusively use Harleys once the Kawasakis are retired.   It’s all based on meeting the CHP specification at the lowest cost (and not which bike offers the best performance).

_DSC0020-650

When I wrote the The Complete Book of Police and Military Motorcycles a few years ago, virtually every motor officer I interviewed also rode recreationally.  It’s kind of funny…a few years ago, every officer felt that the BMW was unquestionably the best police bike, and every one of them said the reason they felt that way was BMW was the only motorcycle offering an anti-skid braking system (bear in mind this was more than a decade ago).   Even with their feelings about BMW having the best police motorcycle, nearly all of the motor officers owned Harleys as their personal bikes.   The motor officer in charge of the Ontario, California police motor officer squad was the only exception:   His personal ride was a Triumph Speed Triple.

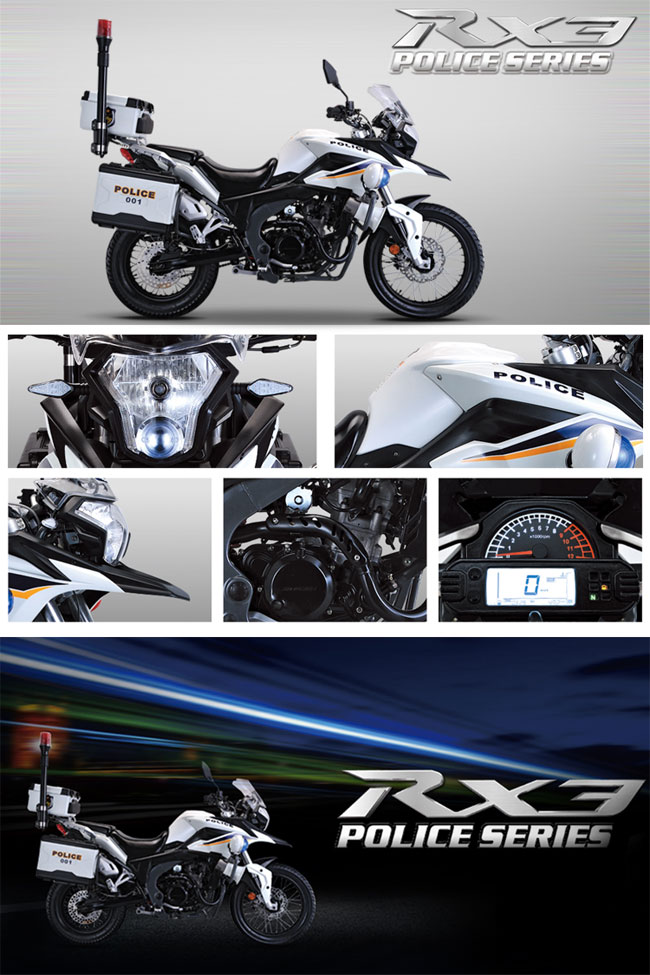
Well, with all this business about police motorcycles at the Long Beach show, you’re probably wondering why we have such an interest.   Funny you should ask…

Rx-3Police

Hey, you never know…you might just be seeing Jon and Ponch on RX-3 motorcycles next year!


Posted in CSC Motorcycles | Comments Off on Police Motors

A good show…

We finished the Long Beach International Motorcycle Show today.   It was a good show.   We had a bunch of people pre-order the Cyclone, we met a bunch of new friends, and I picked up a bunch of cool photos.   We’ll start and finish this blog with the Cyclone and the CSC-250, with cool stuff in between.

First, one of the newest enlistees in the CSC squadron…

_DSC0072-650

The California Highway Patrol had a couple of bikes on display.   I’ll post more on that later this week.  For now, here’s a teaser shot…

_DSC0009-650

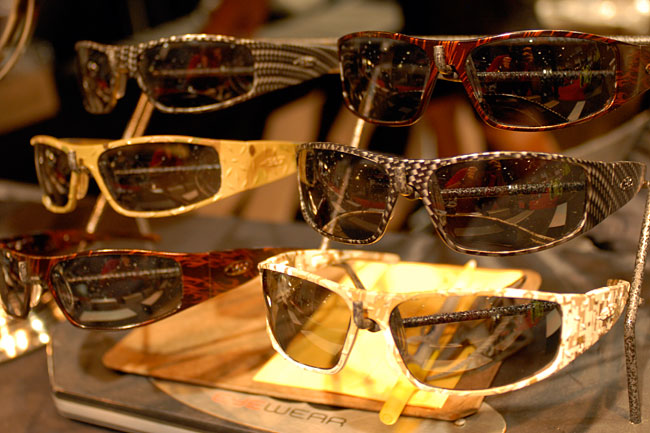
And there were cool macro photos to capture…a couple of teasers on those….

_DSC0064-650

Bet you can’t guess what this is…but you won’t have to.   I’ll share more on this shot later in the week, too…

_DSC0046-650

As always, the people were the most fun.     Take a look…

_DSC0073-650

_DSC0076-650

_DSC0055-650

And the wild bikes, like this Bonneville speedster…

_DSC0001-650

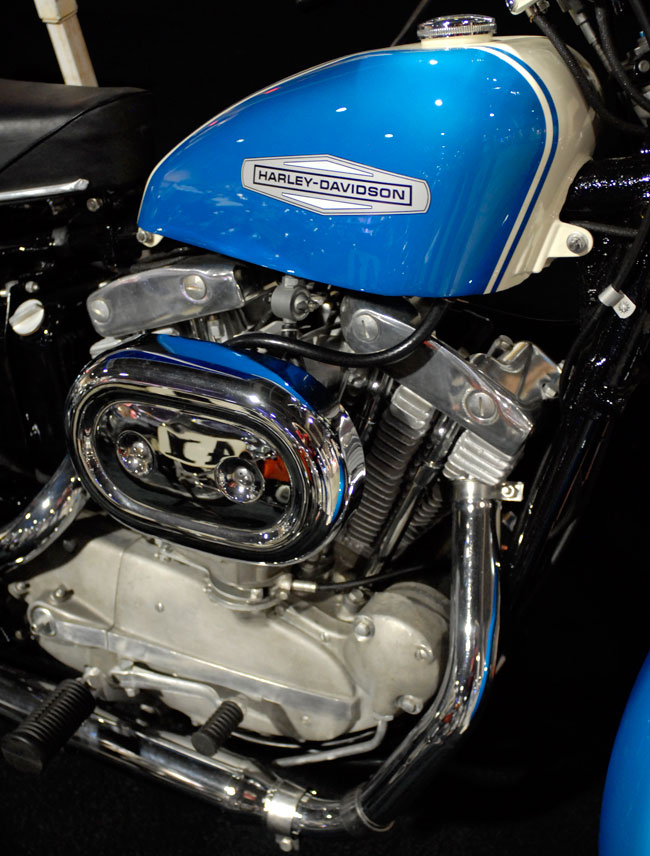
Remember that ’67 XLCH I fell in love with yesterday?

I met the owner today, and what do you know, it is for sale.   And here’s the answer to the question you want to ask:  It’s $21,000.   That’s actually a pretty fair price for a bike like the one in the photo above.   It’s too rich for my blood, but I can dream.   I asked the owner if I could sit on it, he said yes, and it was heavy.   Way heavy.   I’m too used to the Baja Blaster and the new Cyclone.    Still, like I said, I can dream…

Here’s one last shot for tonight…a family of three totally taken with the CSC-250…

_DSC0066-650

More to follow, my friends.   I shot hundreds of photos this weekend, and you’ll see the best of them right here!


Posted in CSC Motorcycles | Comments Off on A good show…