We’re getting lots of questions on the Baja Cyclone trip, with the two most frequent being:
- When are we going?
- What’s it going to cost?
When we go on the first trip depends on when the bikes arrive, and at this point, all indications point to sometime in January. For planning purposes, we’re thinking sometime in February or March for the first trip. That can move in or out, though, depending on when the bikes actually arrive, when you all want to leave, and maybe a few other factors. As we know more, we’ll let you know.
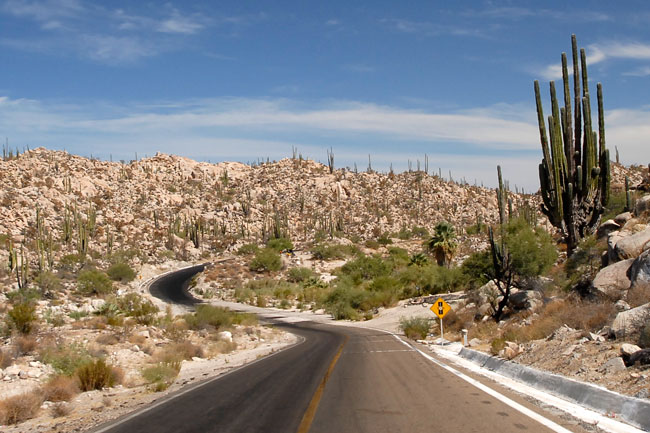
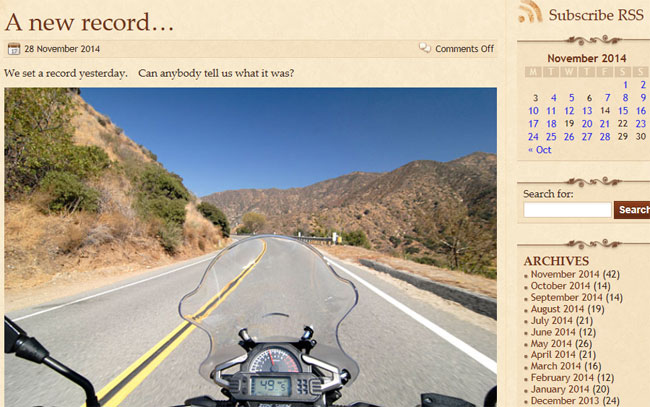
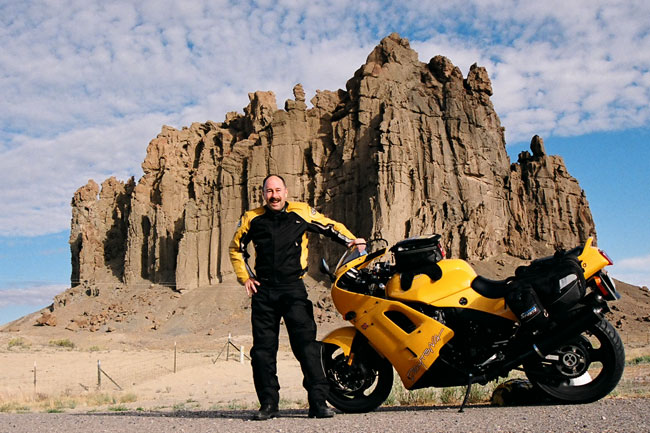
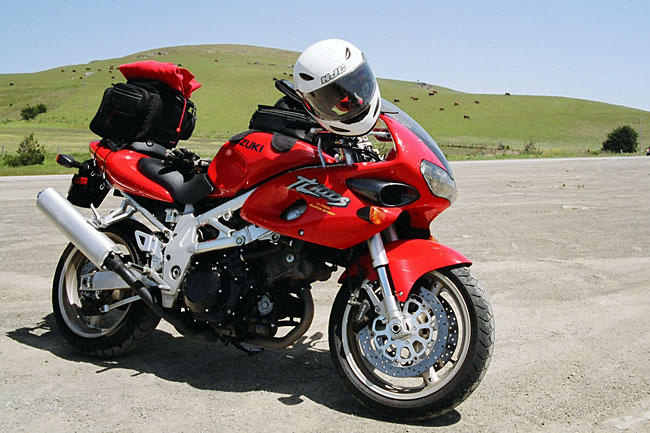
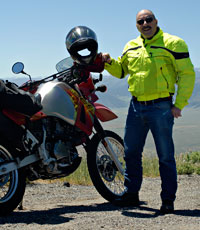
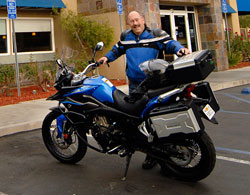
Put yourself in this picture on your CSC Cyclone!
On to the next question: What’s it going to cost? On this first trip only, we’re not going to charge you anything. That doesn’t mean it’s going to be free; it only means that we’re providing the travel planning, booking, and guide service at no cost to you. You’ll be on your own for fuel, insurance, lodging, meals, and the $35 travel fee the Mexican immigration service might hit us up for at the border between Baja California and Baja California Sur (the states of northern Baja and southern Baja). Sometimes the Mexican immigration guy is there and charges the fee, sometimes they just wave us through with a big hello, and sometimes they are on siesta. Things are kind of laid back down there.
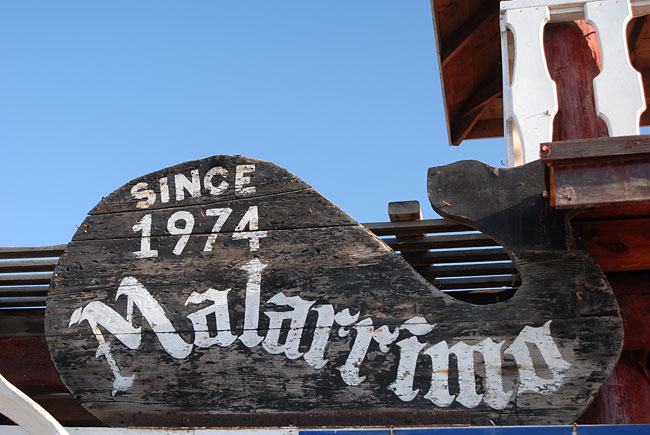
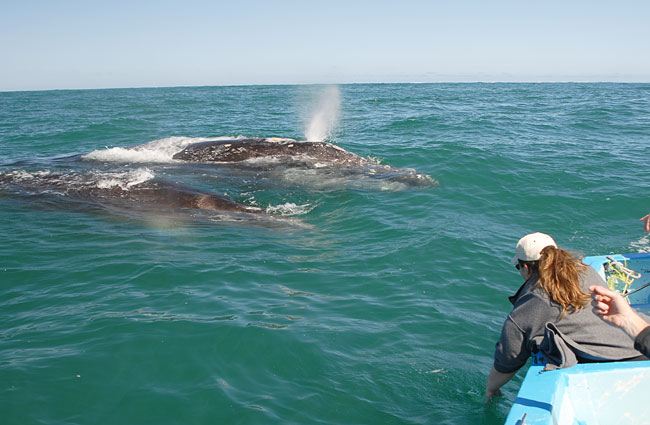
We’ll stay at Malarrimo’s in Guerrero Negro…where they have the best whale tours

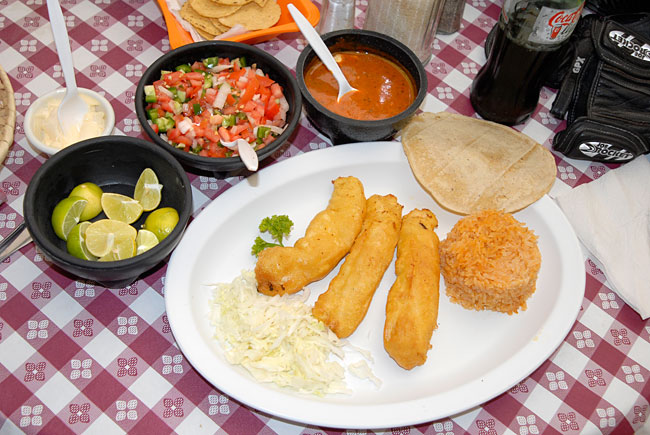
Lobster…pineapple…lime…it all works
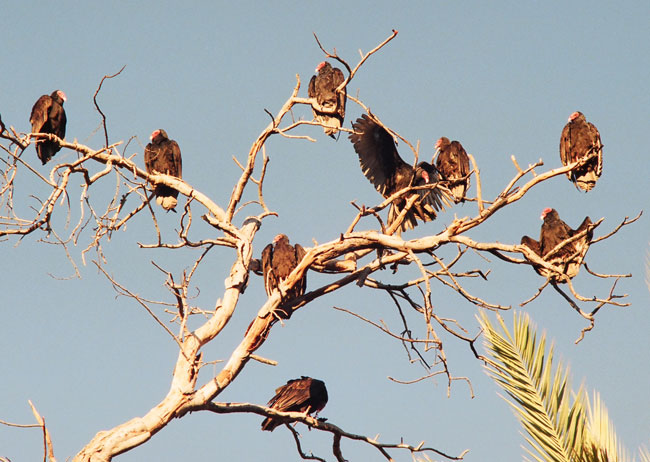
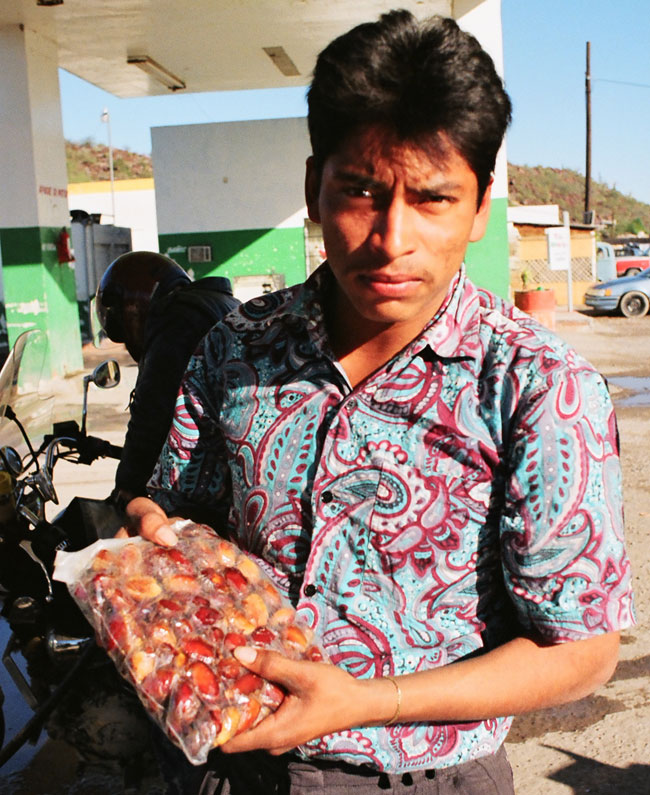
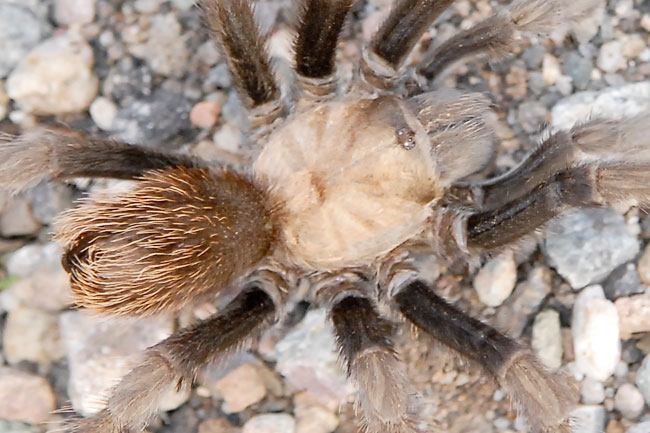
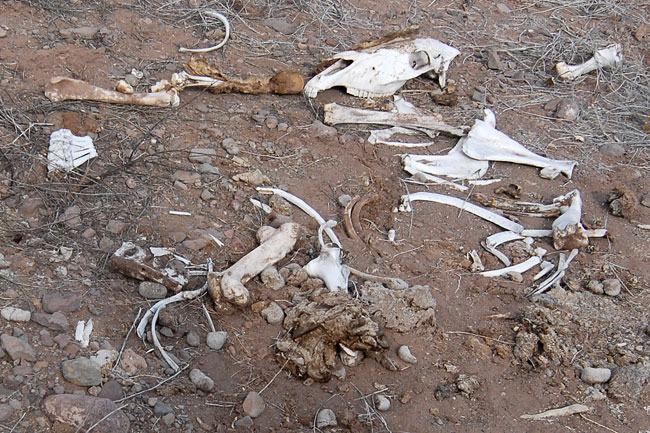
The Baja sanitation crew
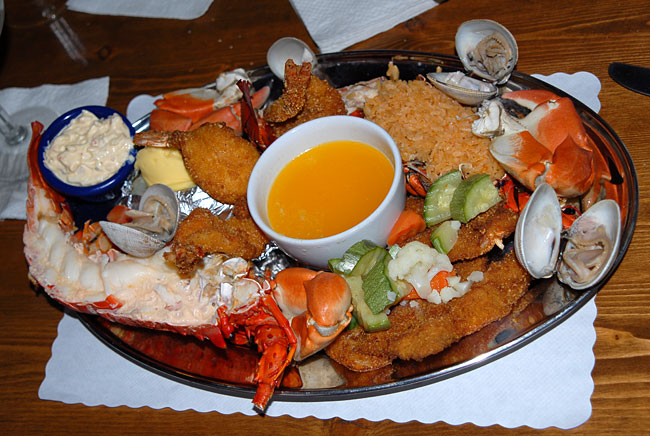
More lobster…the food in Baja is incredible
You will need insurance. Or, stated differently, we hope you won’t need it, but you should have it. It’s the law in Mexico. I always buy a policy just for the time I’m down there from Baja Bound (a good insurance company; the one I always use when I visit Baja). I’ve never had to use it. The problem is if you get pulled over or have an accident and you don’t have insurance, you’re going to jail. It’s not like it is up here where you can talk your way out of things.

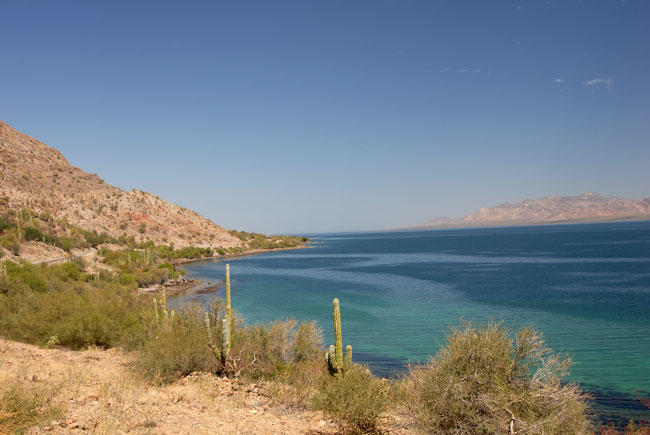
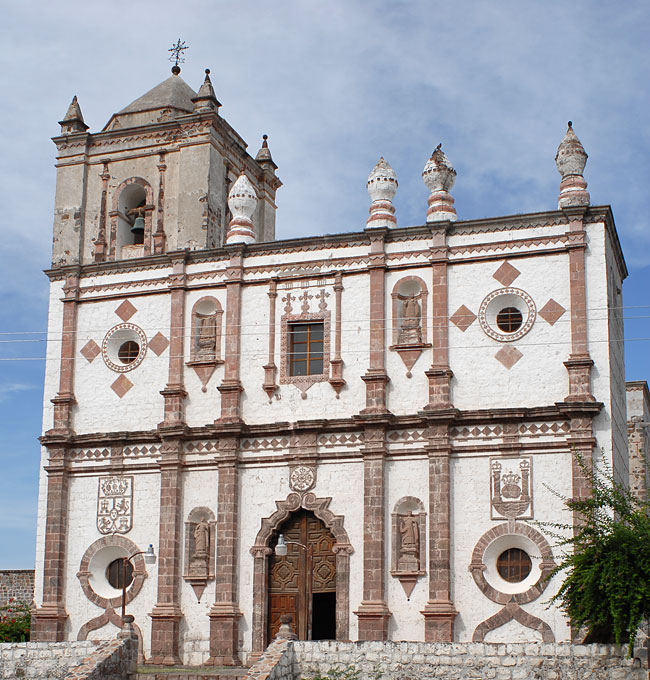
The oasis in San Ignacio…that, my friends, is a real volcano in the background
The Jesuits introduced date farming to the San Ignacio oasis (one of our stops) in the 1700s
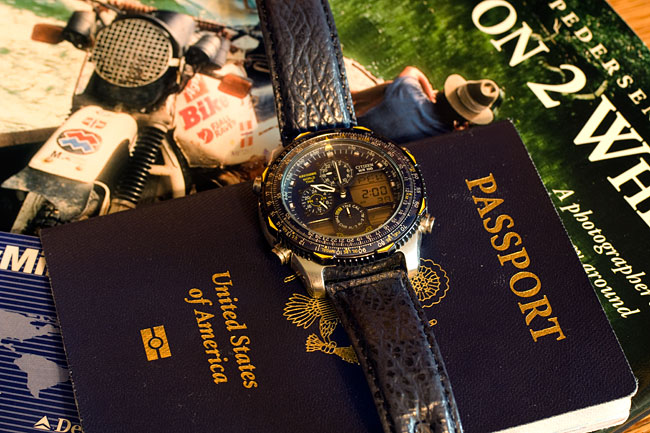
You’ll need a passport, too. Not to get into Mexico, but if you want to get back into the Estados Unidos, you’ll need it.
There are a couple of other things I should tell you about: Drugs and guns. Bring either one into Mexico and the above admonitions about insurance and a passport become peripheral to our discussion because you’re going to jail. I don’t want to scare you away (I’ve always found the Mexican folks and the Mexican public safety officials to be real nice people), but I need you to understand this isn’t a topic for debate. They take these things very seriously.
With the above in mind, I did a rough estimate based on being in country for 6 days with lodging for 5 nights. I think that’s one more day than we’ll actually need, but I estimated everything on the high side just to be sure. My good buddy J is going to go with us, and he’ll work his magic like he did on the CSC-150 Baja ride a few years ago. That means he’ll probably be able to negotiate lower hotel fees in advance, lower insurance fees, and maybe a few other discounts (those predicted lower rates are not included here, though; I estimated everything on the high side). I did the estimate two ways: One figuring on everybody having their own room, and another based on you and your buddy doubling up. That’s up to you.
Here’s what I’m predicting…
| Single Occupancy |
| Item |
Cost |
Total |
| Lodging |
$80.00 |
$400.00 |
| Insurance |
$125.00 |
$125.00 |
| Food |
$60.00 |
$360.00 |
| Gasoline |
$3.25 |
$55.00 |
| Whale Tour |
$50.00 |
$50.00 |
| Immigration Fee |
$35.00 |
$35.00 |
| Total |
$1,025.00 |
| Double Occupancy |
| Item |
Cost |
Total |
| Lodging |
$40.00 |
$200.00 |
| Insurance |
$125.00 |
$125.00 |
| Food |
$60.00 |
$360.00 |
| Gasoline |
$3.25 |
$55.00 |
| Whale Tour |
$50.00 |
$50.00 |
| Immigration Fee |
$35.00 |
$35.00 |
| Total |
$825.00 |
The above doesn’t include an oil change in Guerrero Negro; you might want to include those costs in your computations. We’ll be bringing along everything you’ll need in the support vehicle.
I can’t over-emphasize the importance of bringing a camera with you, too. You might want to factor that into your planning. These trips are epic, and for me the photos make the adventure last.
If you’re even remotely thinking about going, my advice is to do it. I’ll show you a whale of a time.
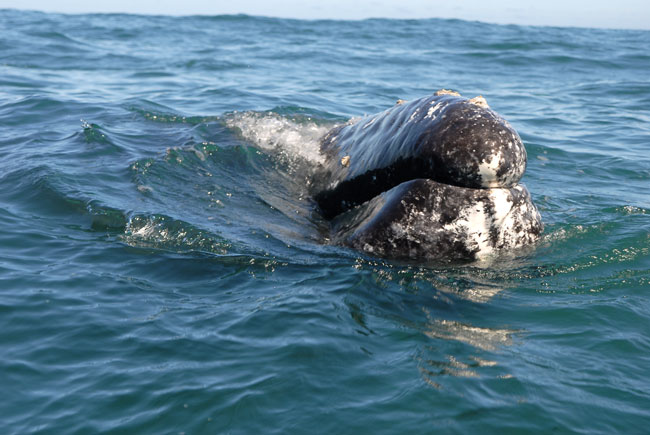
A whale of a time…
I’ll keep you posted as we get closer.


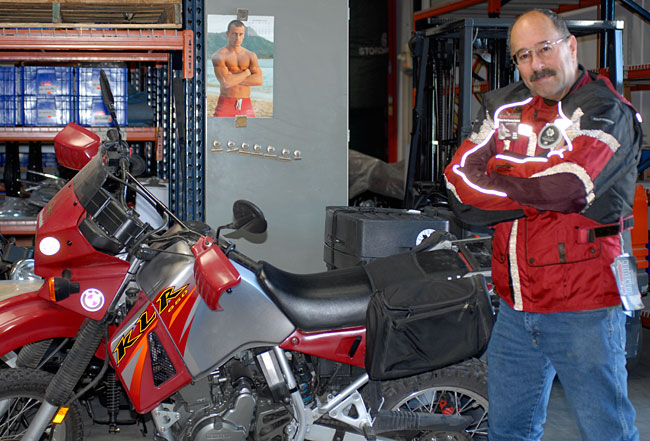


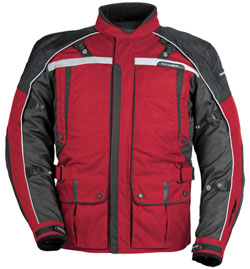
 The delinquent delivery of the Kawasaki bolts notwithstanding, this was turning out to be a good day. I like hardware stores, and the specialty store I visited this morning was no exception. But things got even better. I have this Olympia motorcycle jacket in fluorescent yellow I really like. Well, that’s not quite true. I like the look and fit of it. I don’t like the jacket because it started to fall apart the first time I washed it.
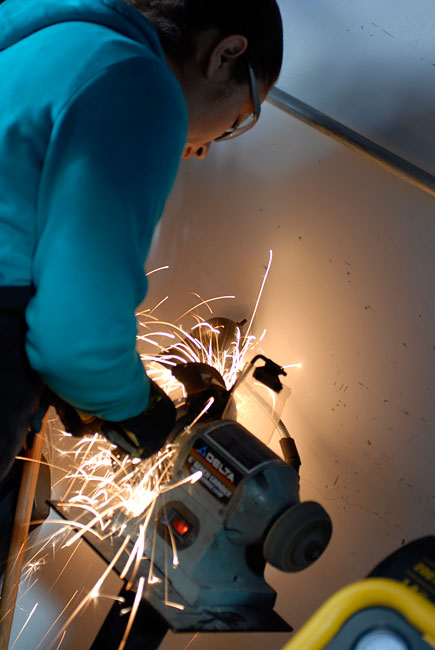


 TT250 Enduro
 SG250 San Gabriel Cafe Racer