


Ah, that is the question. I decided to go with Door No. 1. I haven’t washed my RX3 since I purchased it. I’m taking good care of it mechanically (I’ve already adjusted the valves, I changed the oil twice, I check my tire pressure religiously, and I’ve adjusted the chain). But I haven’t washed it.
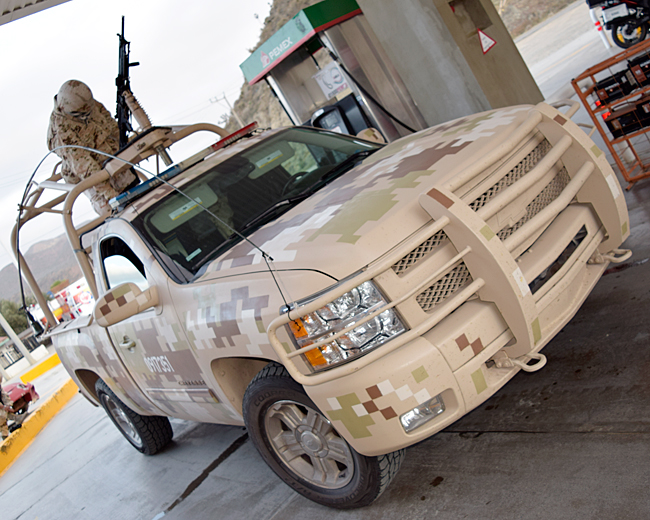
Part of it is the Baja thing. I just feel a little better knowing that a part of Mexico is still rolling around with me every time I get on the RX3. Steve calls it the Baja patina, and I like that description.
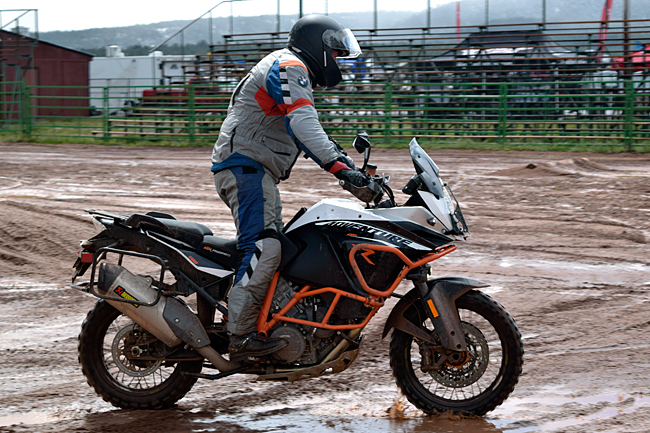
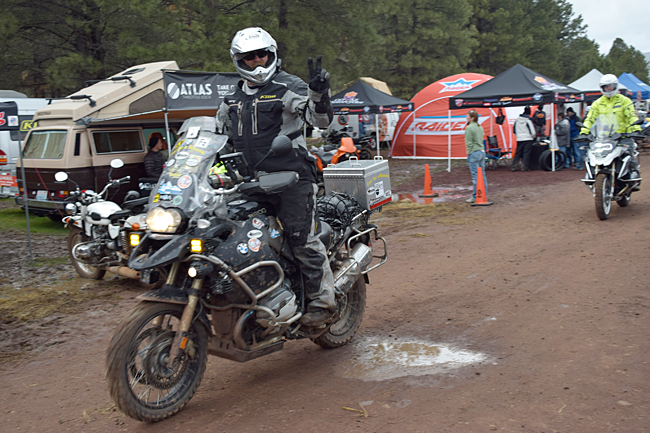
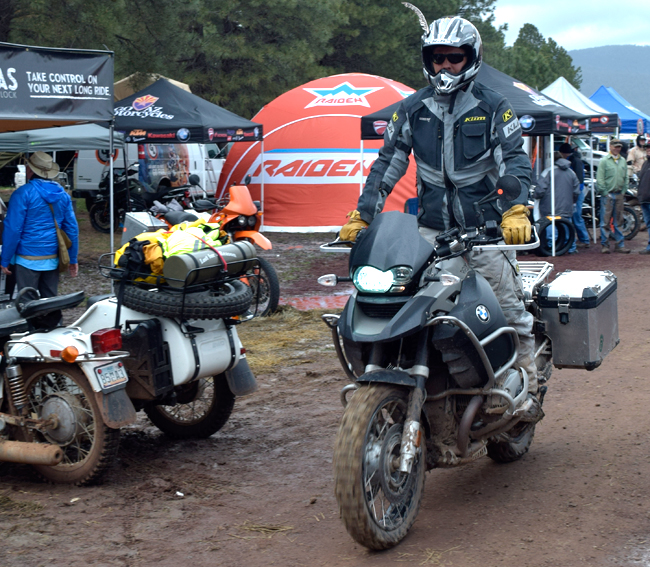
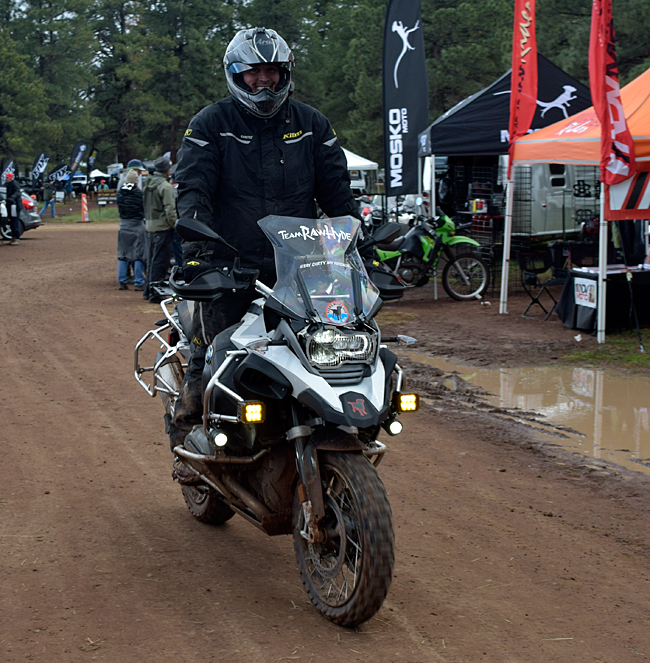
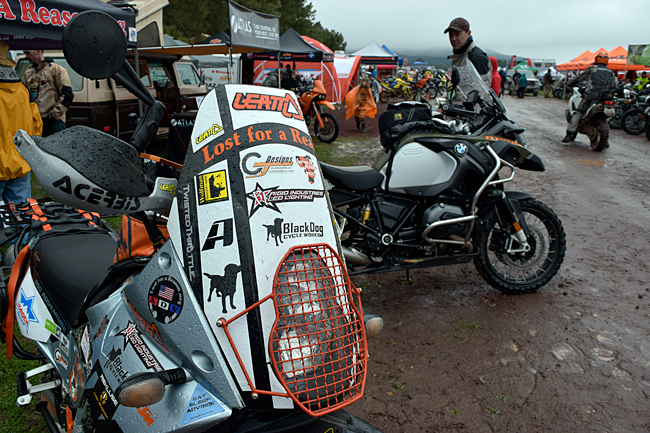
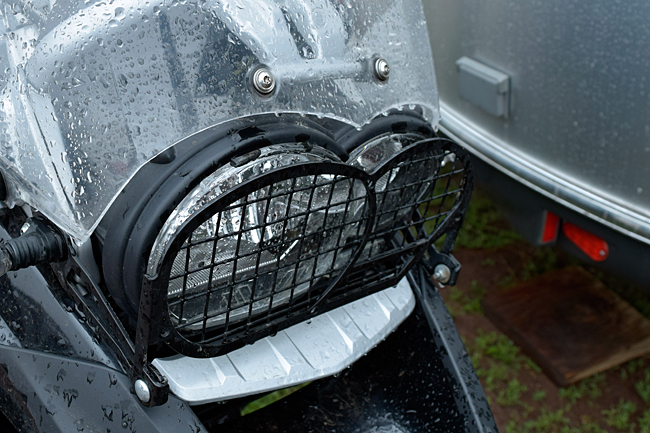
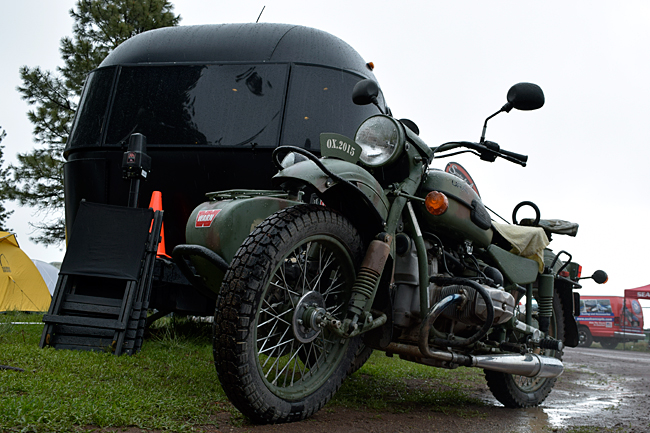
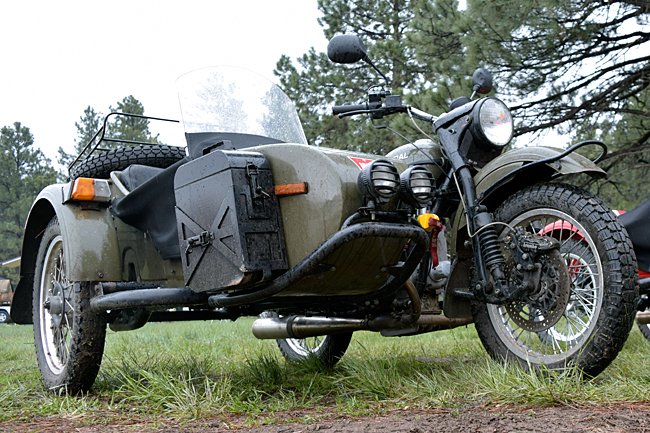
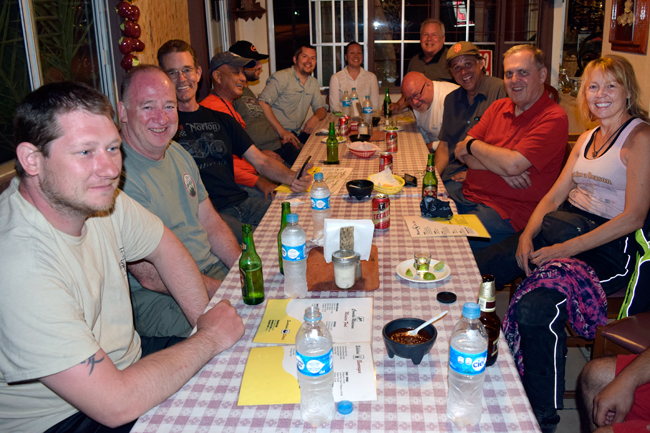
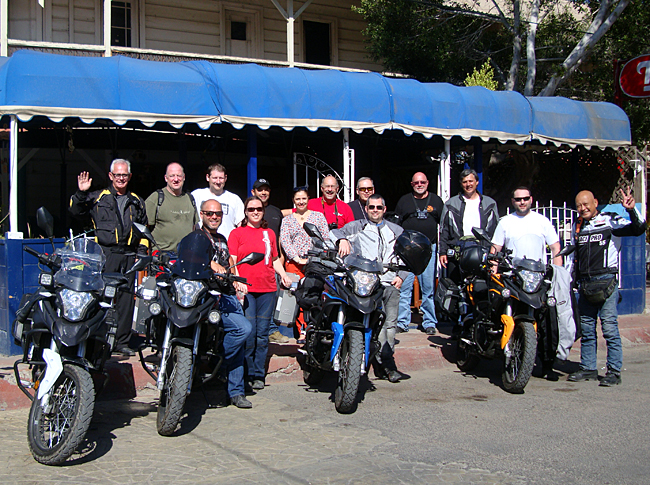
Part of it is the nature of the motorcycle…it’s not intended to be a piece of driveway jewelry (no “ride to live” silliness here, folks). It’s designed to go long distances, and some of that is in the dirt. Maybe not to the same extent as that BMW I showed sliding around in the mud at Overland Expo, but still, it’s off-road capable and it’s seen some serious off road miles. You’ve seen that in some of the videos I’ve previously posted, and I have no doubt many of you have been off road on your RX3s. I know Juddy, Greg, Pete, Abe, Fernando, and a bunch of the other guys from the Baja trip have said adios to the asphalt on more than a few occasions. That’s a good thing. It’s what this bike does.
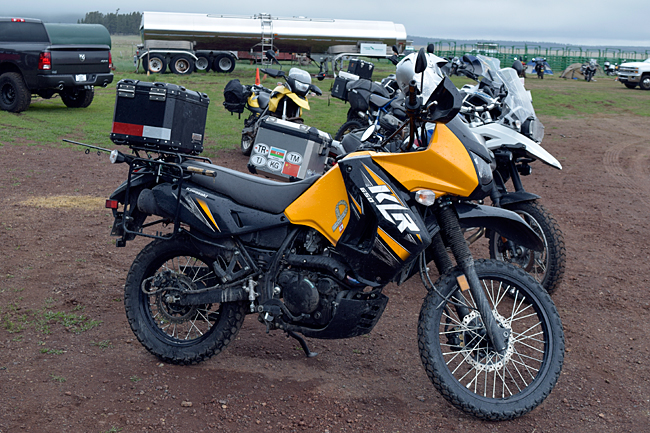
And part of it is my KLR experience. When I first bought the KLR, I kept it pretty much spotless. Until my first tech day, that is. A tech day is where a group of enthusiasts get together and one or two super knowledgeable guys walks you through adjusting the valves, installing the doohickey (a KLR-unique fix to a perceived Kawi design deficiency), and similar things. I showed up on my immaculate KLR, thinking the reaction would be about the same as it was when I used to go places on my Harley or my CBX Honda. One guy finally said something to me, and he said it in a clearly derisive manner: “I think that’s the cleanest KLR I’ve ever seen.” It was not intended to be a compliment.
So, I got the message. I haven’t washed my KLR since then, and I’m going the same route on the RX3.
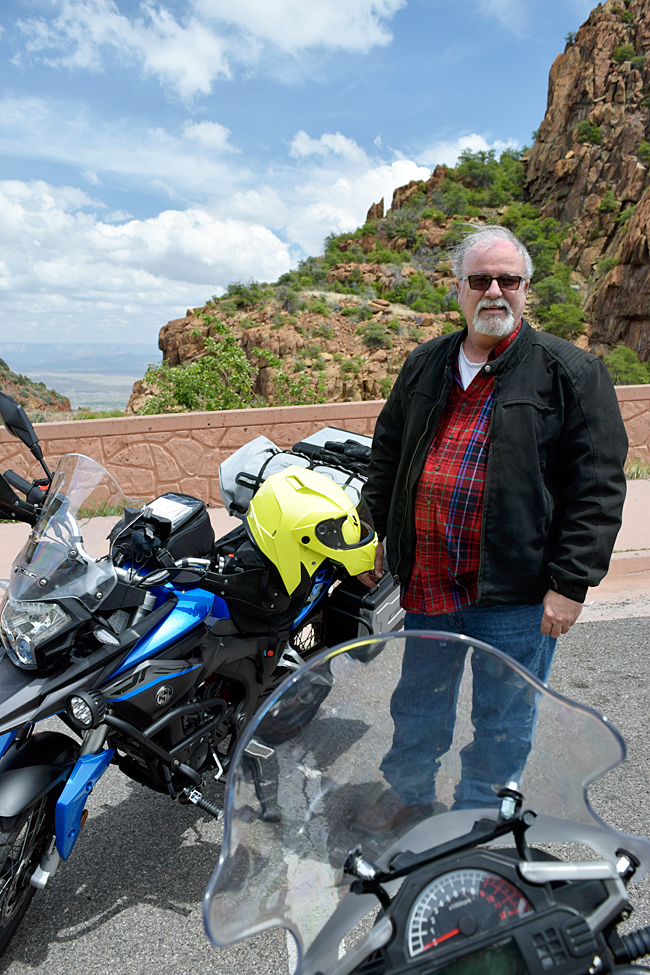
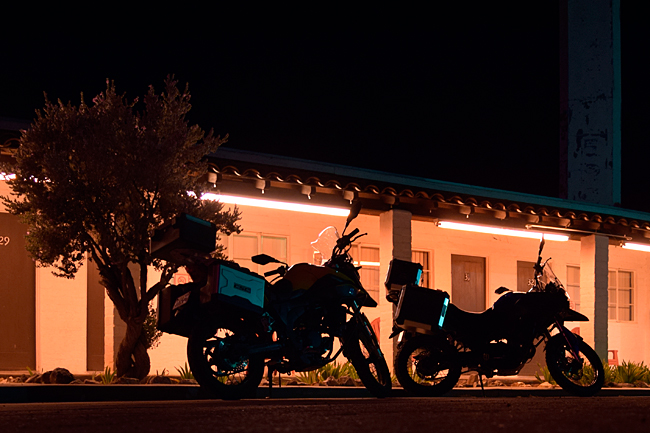
I sure love my RX3. It sat outside in the snow and the rain in Flagstaff for 4 days, and when I tapped the starter on Sunday morning, it fired before the engine completed half a revolution. Awesome stuff.
More on the RX3…the ride home from Flagstaff was exhilarating. It was cold when we left, and we rode about 130 miles descending from Flagstaff to the Arizona desert floor before it started to warm up. Freeway all the way, we ran at 65 to 75 mph the entire way on I-40 to I-15, and then down to the 210. Most of it was between 70 and 75 mph, and we were passing a lot of cars and trucks. I was surprised at how strong the bike felt (I sometimes forget it’s “just” a 250, and apparently, so does the bike). On my first tank of fuel after filling up in Flagstaff, I recorded 72.2 mpg. To be fair, that’s a long downhill ride and the cold dense air helped, but the bike was fully loaded and we were smoking right along.
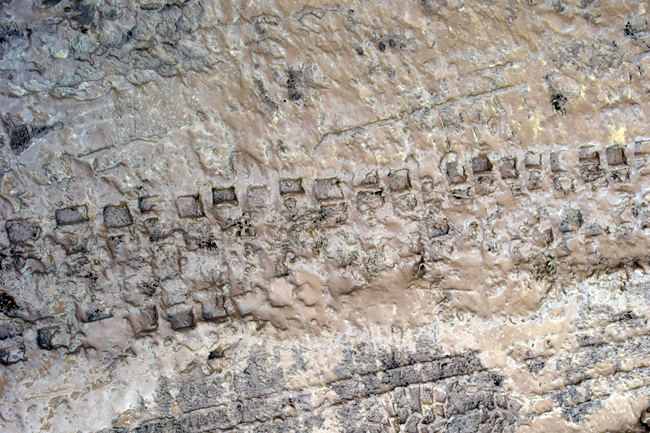
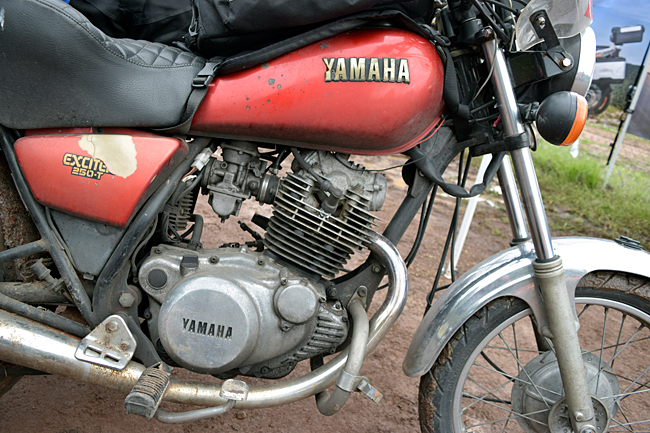
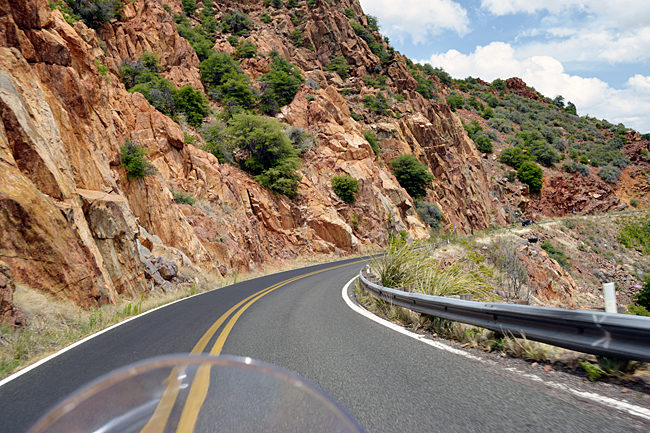
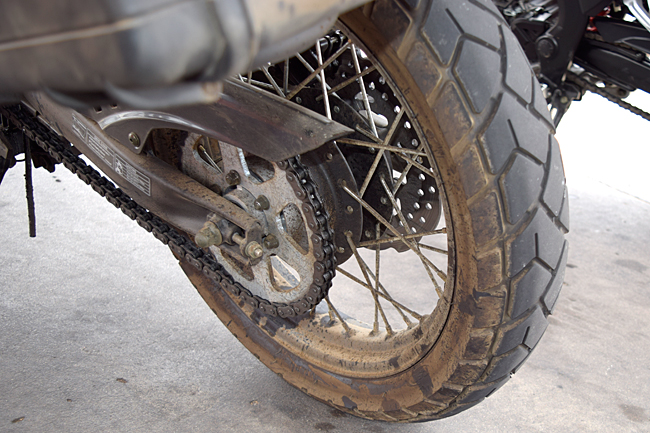
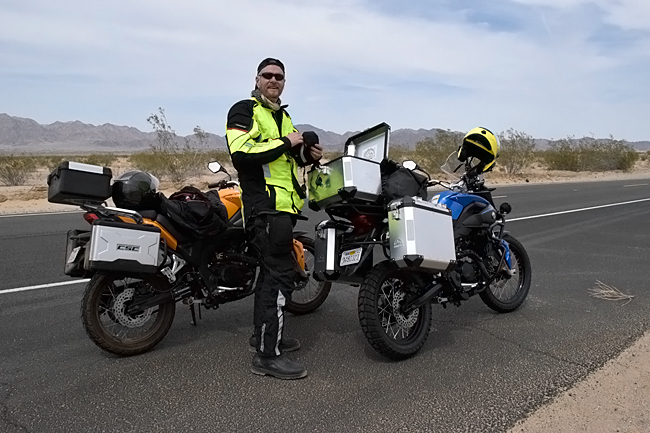
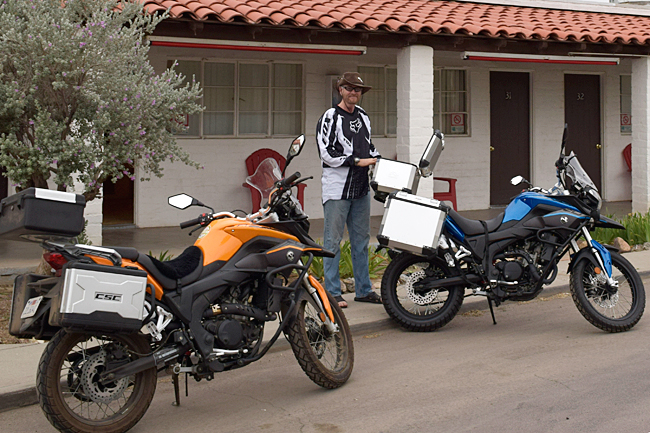
My rear tire is doing well. That photo you see above is with about 2500 miles on the tire, and it’s still showing no wear at all with over 3000 miles on the bike. I think the tire is going to go 5000 miles before I need to replace it.
You guys are probably starting to accumulate the miles on your bike, too. Don’t forget to inspect the valves, folks. You may not need to adjust them, but you should check to make sure they are not running tight. The exhaust valves are more likely to need adjustment than are the intakes, but you need to check both the intake and the exhaust.
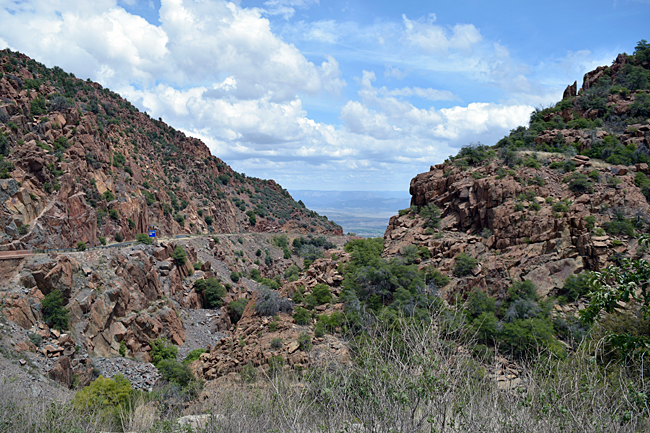
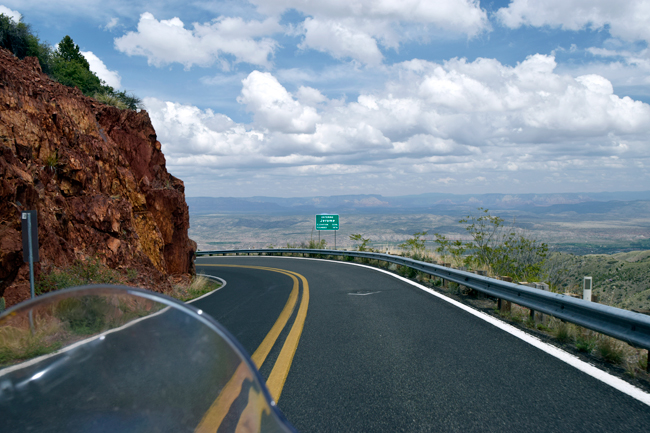
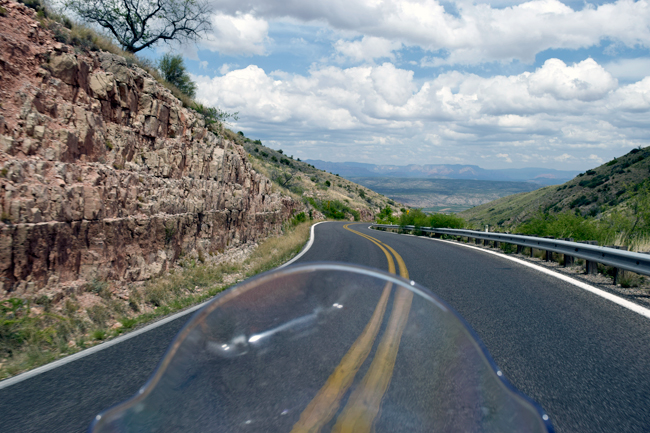
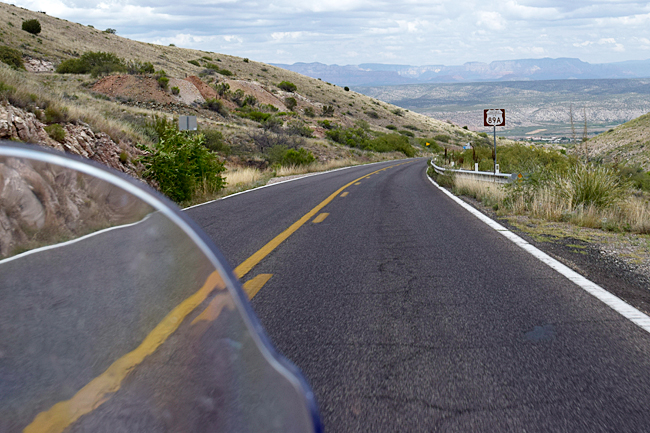
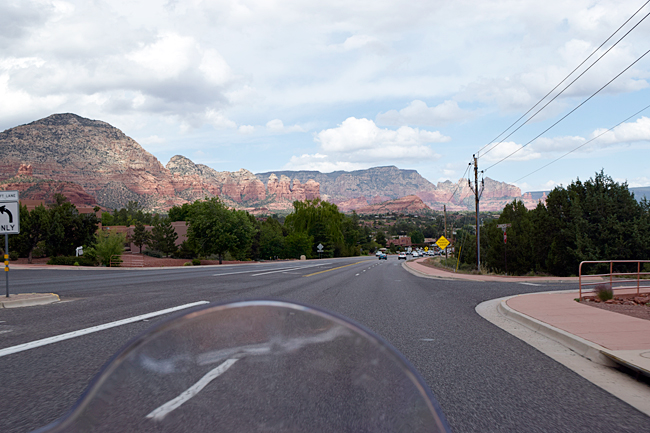
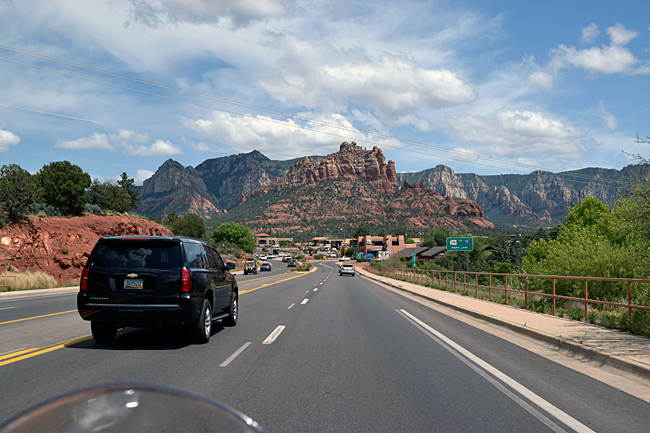
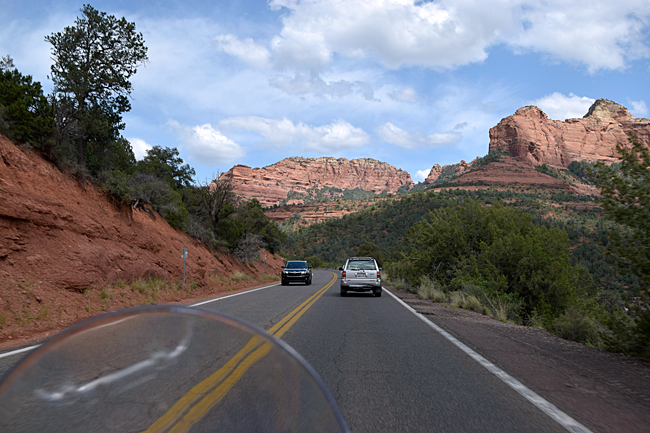
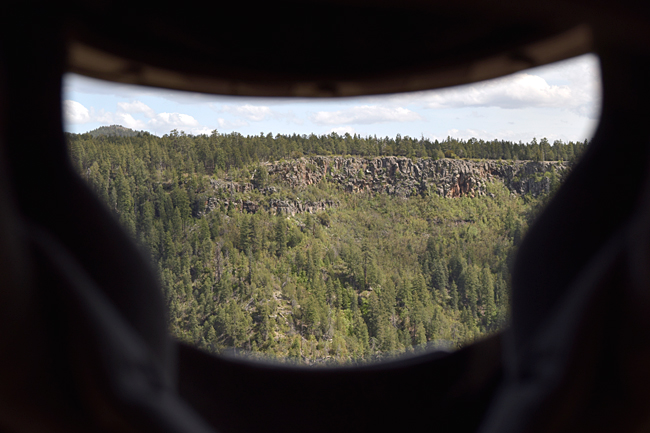
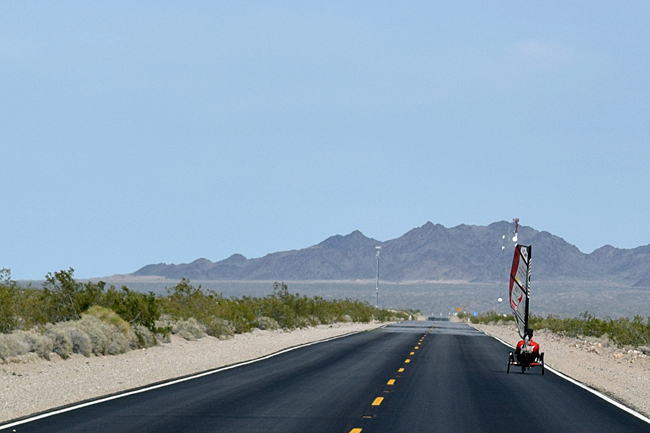
Arizona was a nice ride. We had a great time rolling across the Mojave on CA Hwy 62 and crossing the border at Parker, we had a nice stay in Salome, and then the run up to Flagstaff on 89A through Prescott and Sedona was spectacular. I’m thinking I want to go back and do it again, maybe as a 3-day, 1200-mile, long weekend adventure ride with a few other guys on CSC RX3s.
Anybody else wanna go?


 TT250 Enduro
 SG250 San Gabriel Cafe Racer