If you enjoyed the photos this morning, you’ll like these, too!
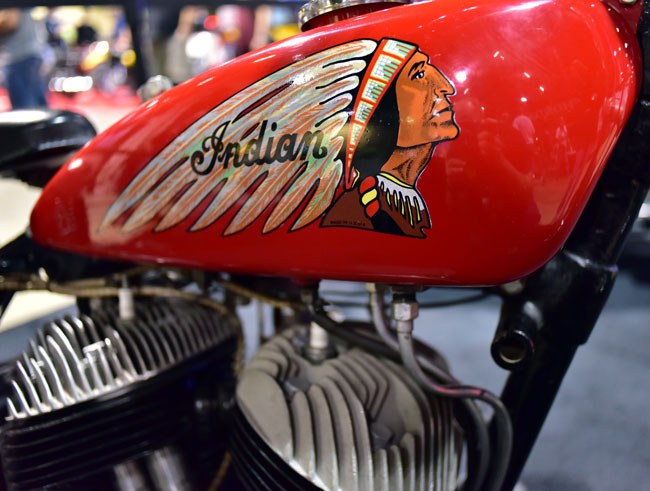
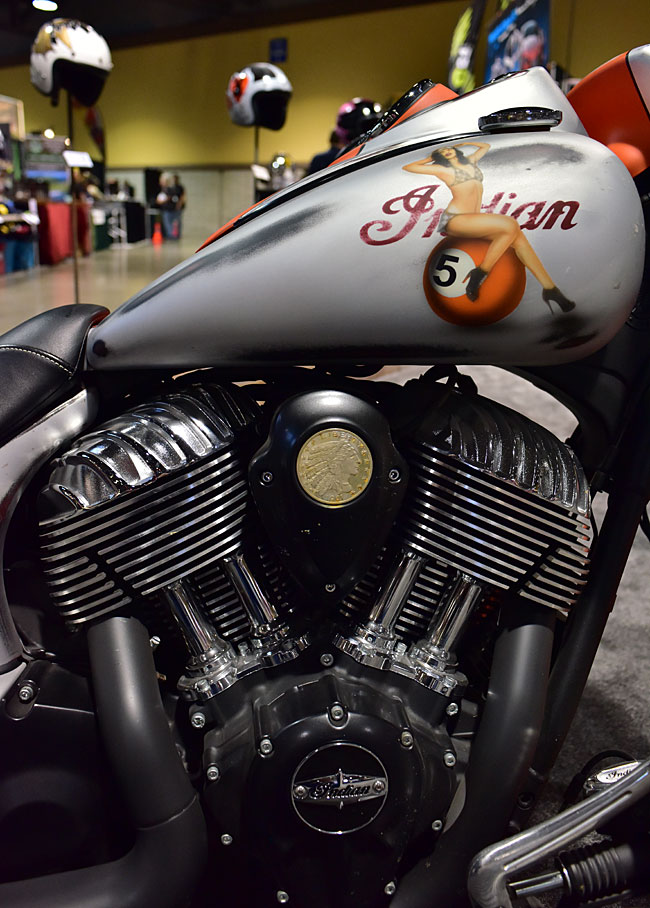
Here’s an original Indian logo…
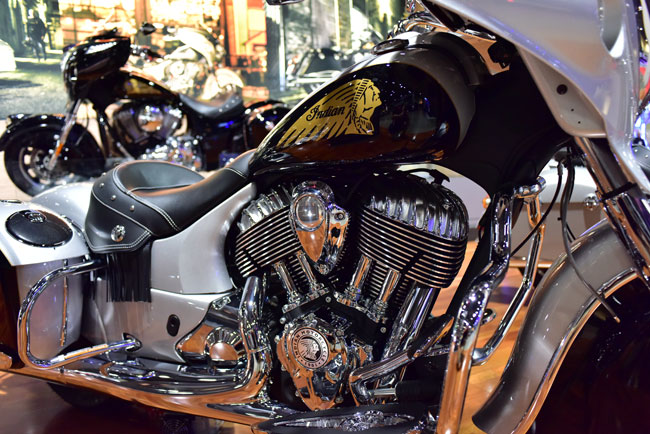
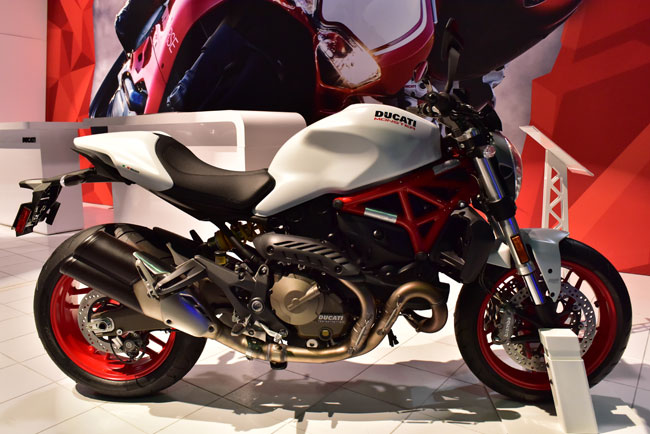
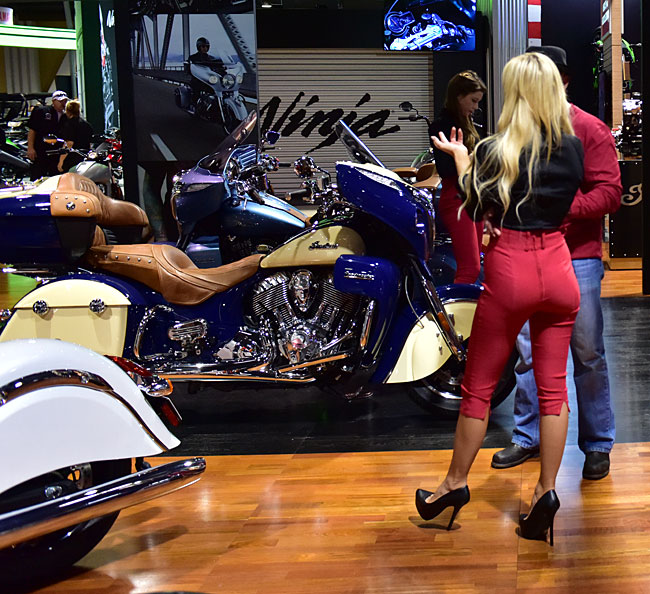
…and here are a couple of the modern Indians…

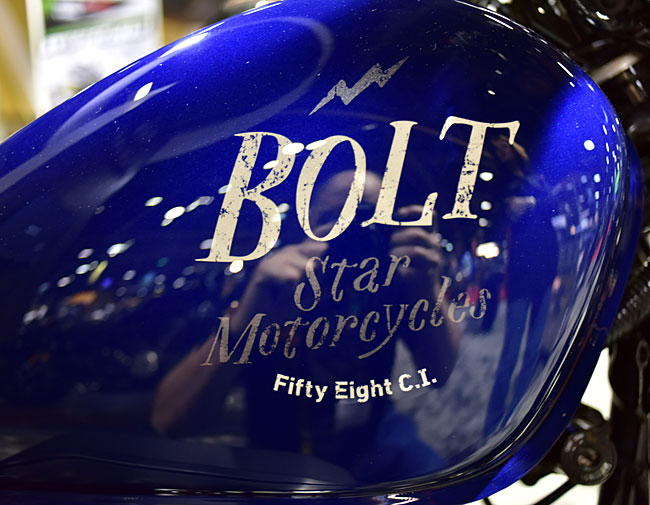
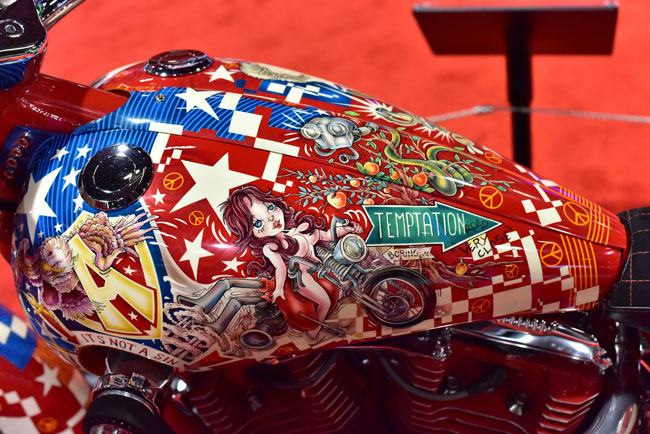
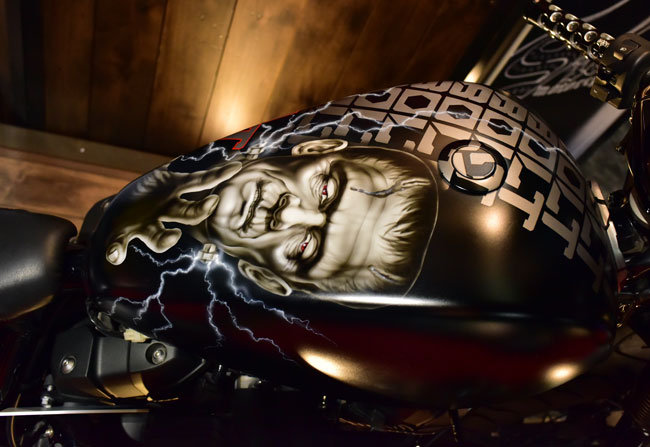
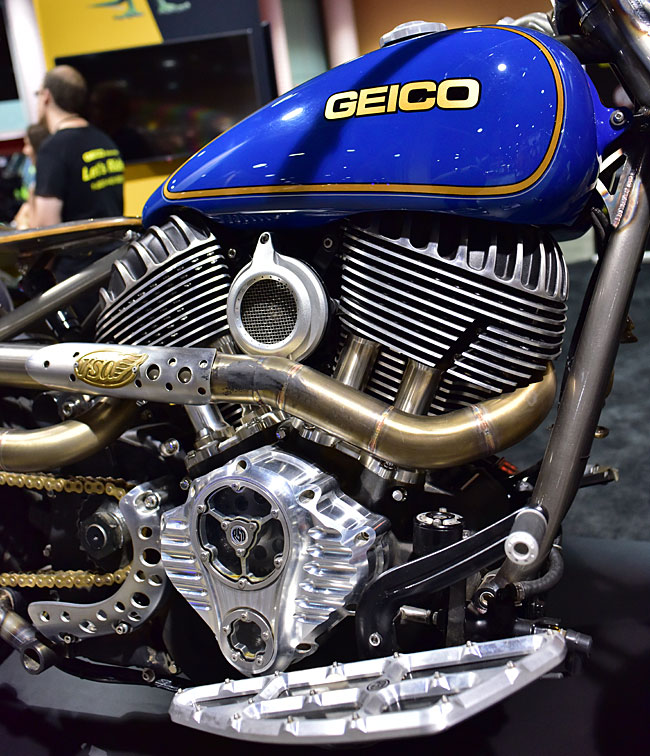
Check out this custom paint on a Yamaha Bolt fuel tank, with a selfie lurking in there somewhere…
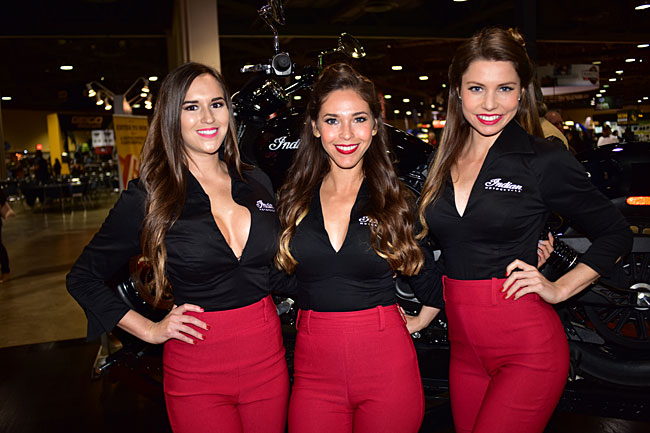
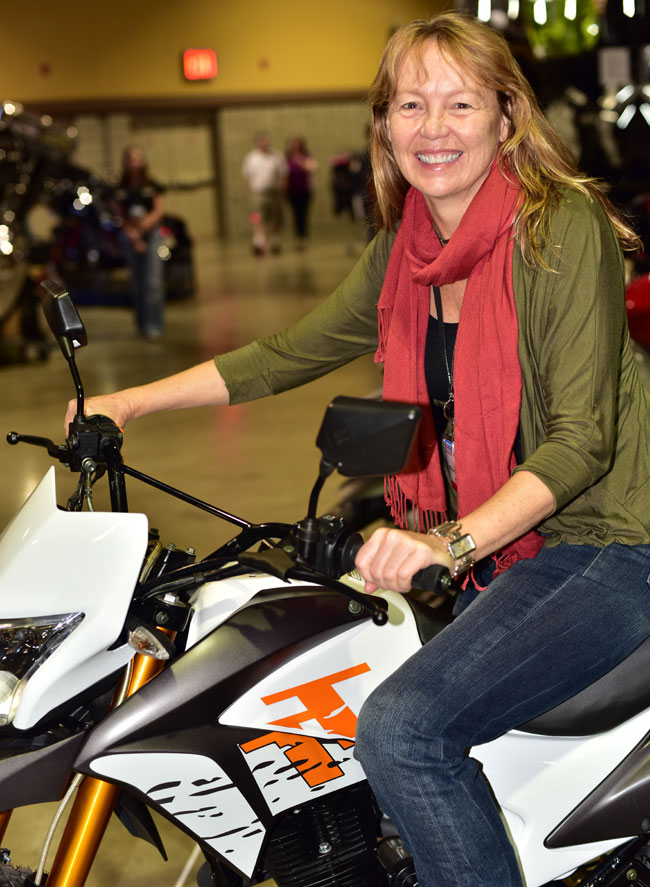
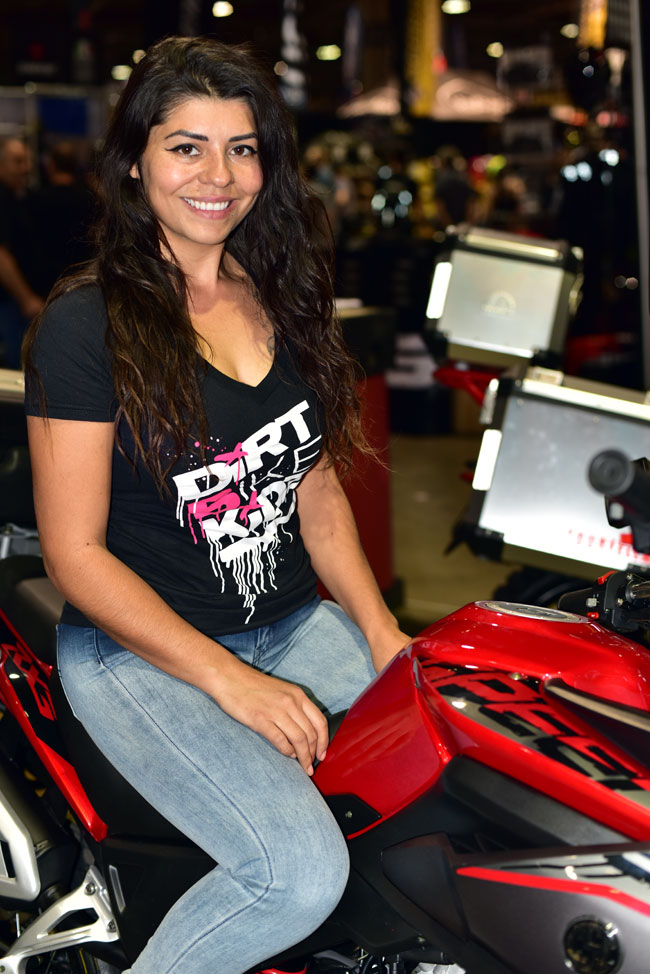
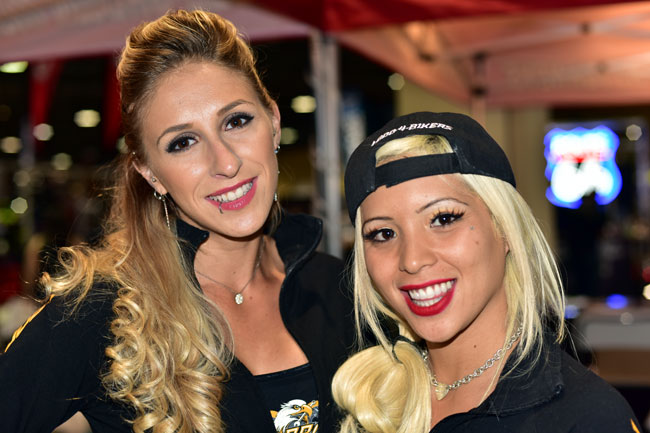
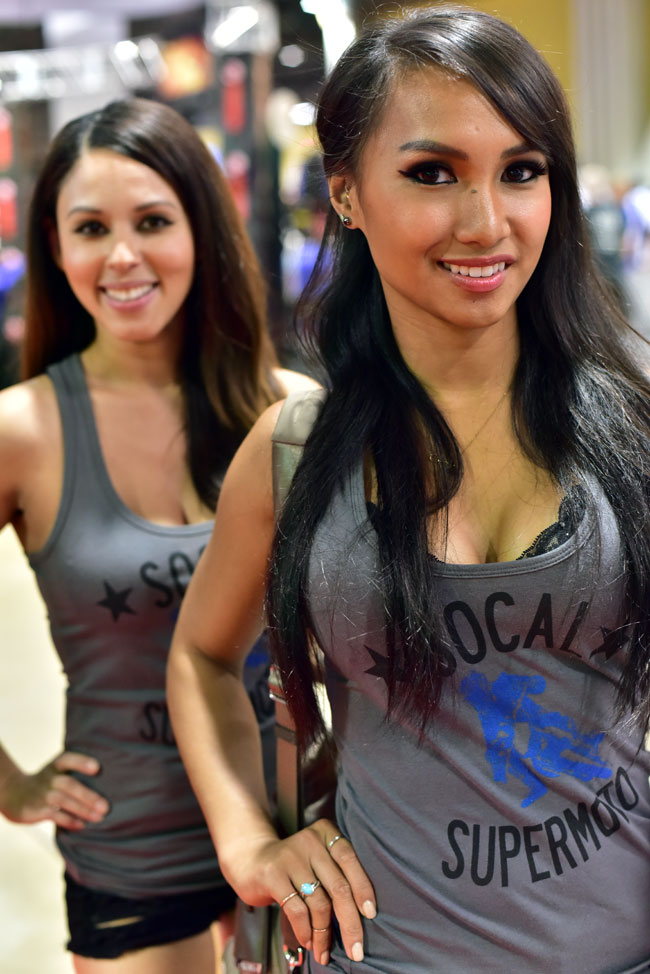
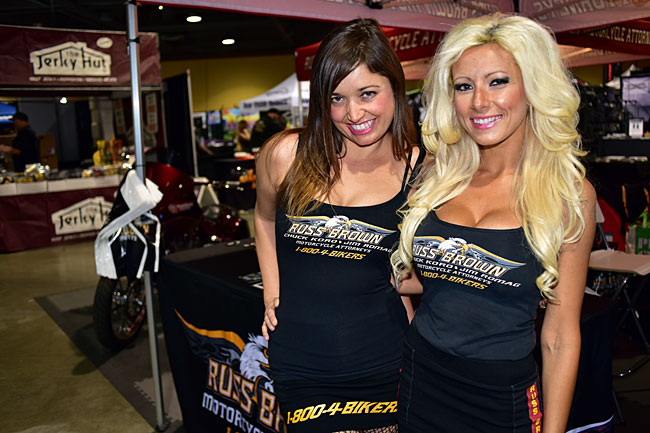
At the last few IMS shows, the real competition seems to be between Indian and Ducati. That’s not competition between the motorcycles (they sell into different segments of the motorcycle market). No, my friends, the real competition is the models…as in the ladies manning their booths. The question is which company has the most beautiful women. It’s a tough call.
These young ladies were in the Indian booth. I have some photos of the Ducati models, too. They’ll be in a later blog.
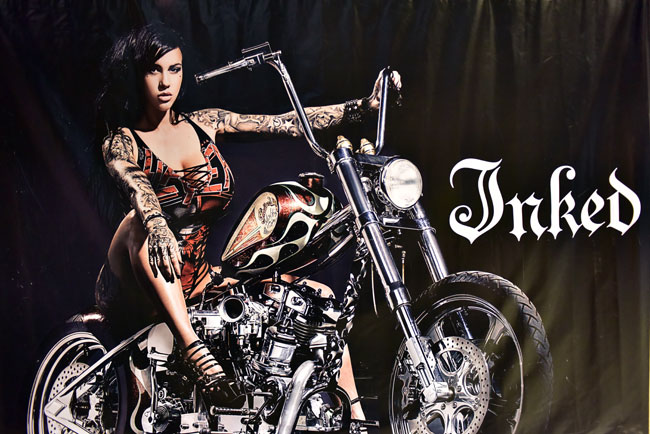
This is an Indian poster…these folks sure seem to have their marketing crisply defined.
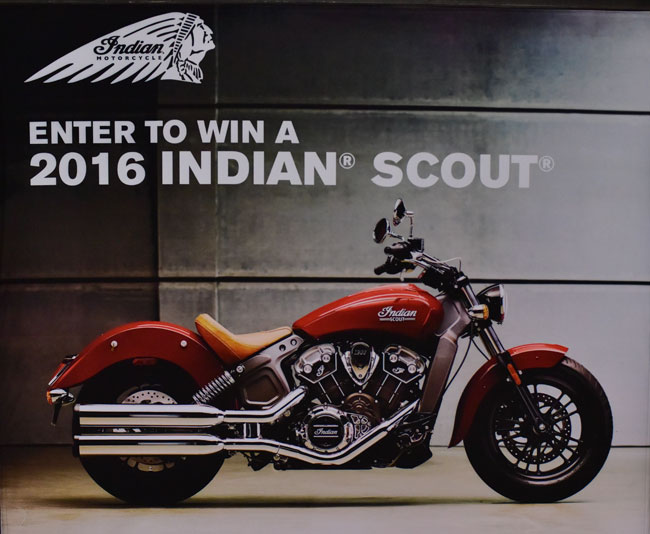
I had an interesting conversation with one of the journalists at the Long Beach show. He told me he felt Indian was way ahead of their competition in how they go to market. We’re not Indian’s competition, so his comments were not made to compare Indian with us. He was describing the US cruiser market.
This same journalist went on to tell me that no one is doing the kind of marketing we do. He told me that CSC is the most exciting thing to come down the pike in the motorcycle world in years (and unlike nearly all of the other journalists we work with, he wasn’t angling for a free bike). This thing about our marketing approach (and how refreshing and exciting it all is) was fun to listen to, but it wasn’t news to us. We’ve been hearing the same thing from you for the last year. There are folks who think we are marketing geniuses. We’re not. We just have a great bike and Steve’s direction is to treat the customer right. That’s it. Everything else falls into place centered on those two things: A good product, and being square with the customer. Oh, and we like to ride, too. That helps.
Here’s a photo of Steve explaining one of the Special Edition RX3 models. Everybody was taking pictures of the CSC motorcycles. Our booth was packed. Interest was very high and every one had nice things to say. We heard many folks tell us that they follow us on the Internet. We heard a lot of compliments.
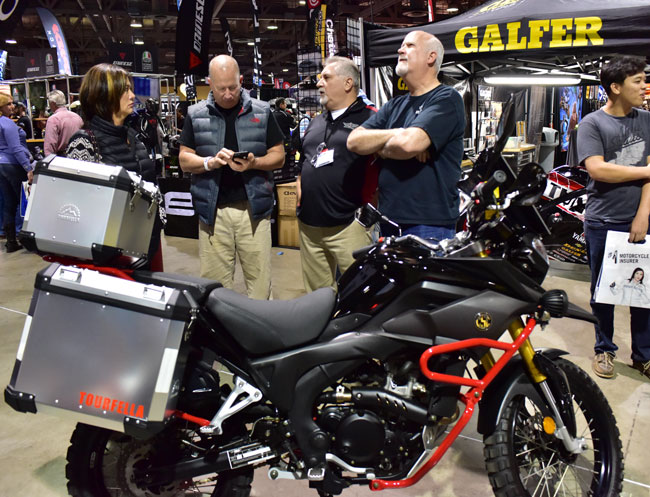
This fellow had socks that matched the RX3. You get a feeling talking to people about who’s going to follow up with an order. You’ll see more pictures of this gentleman on an RX3…mark my words.

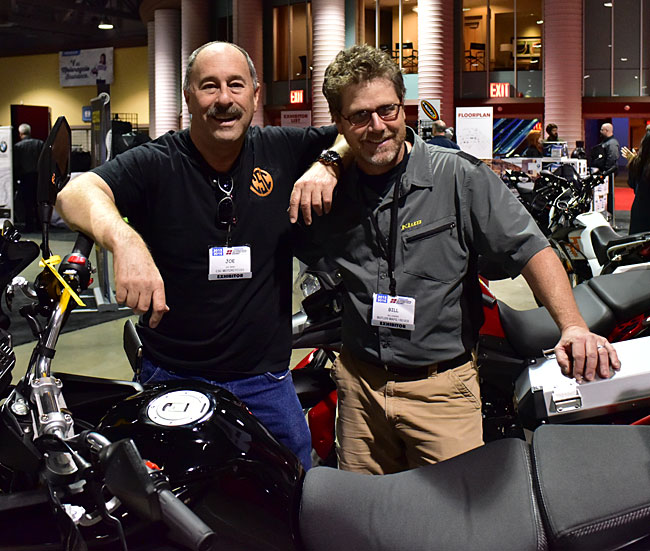
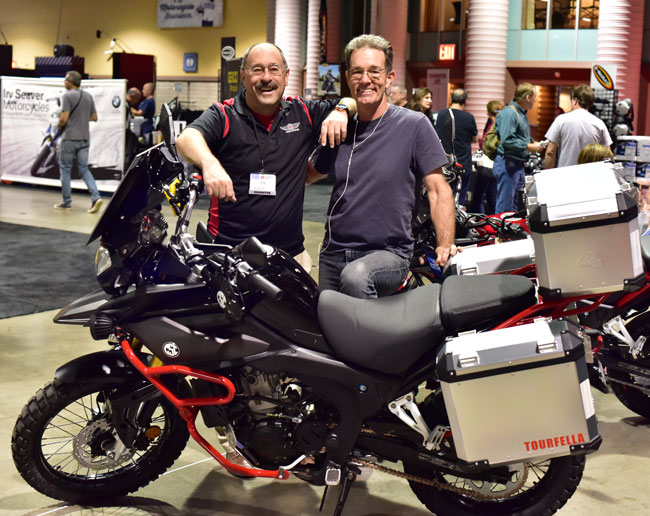
This is my good buddy Bill, who’s with Butler Maps. I’ll be posting more in the near future about Butler Maps. I never knew how good they are. Bill educated me. They really are the best, and I’m a hard sell. As I said, more to follow (there will be lots more on this). I spent an hour with Bill, and I’m a believer. Watch our blog for more on this, folks. My conversation with Bill is going to result in a CSC offroad ride lasting several days, and you’re going to be invited. It’s really cool stuff.
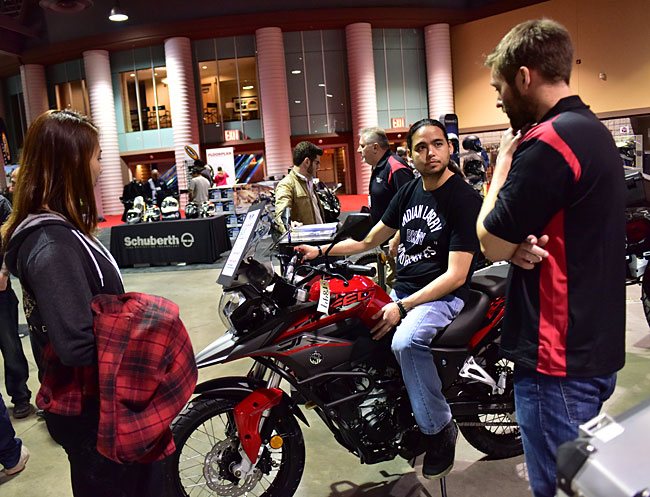
This is a shot of Ryan explaining the RX3’s features…the guy is a natural educator and a sales wizard. He’s really good at this.
I had a chance to see Triumph’s new 1200cc Thruxton. This is a stunning motorcycle.
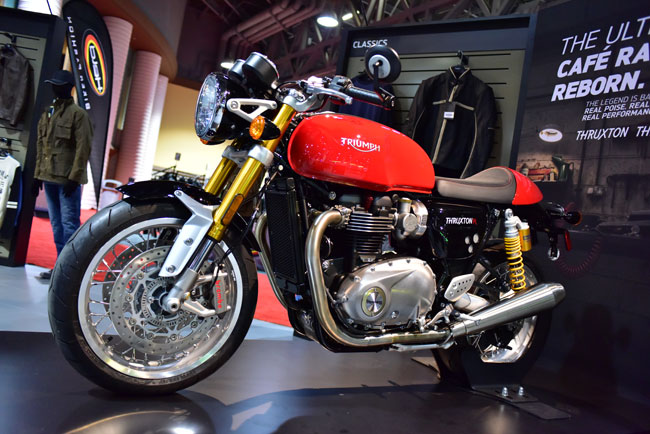
You folks who read the blog know that if there’s any motorcycle that even begins to approach my strong feelings for the CSC RX3, it’s the Triumph Bonneville. When I was a teenager, the ultimate ultimate was the 650 Triumph Bonneville, and yeah, I meant to say the ultimate ultimate (I did not type it twice accidentally).
Back in my teenage days, the Triumph Bonneville (at 650cc) was considered a huge motorcycle. Today it’s been bloated up to 1200cc. But they still are cool (hell, I’ve gained a few pounds over the last 40 years, too). And, as you might imagine, the price has gone up a bit over the last four decades. When I was a teenager, a new Bonneville was $1,295. The new Thruxtons will retail for $14,500 when they hit the market in March of next year (probably around the time we’ll be riding through Baja, and yes, I’ll be posting more about that soon, too).
Triumph did a cool thing (a cool thing in the vernacular sense, not in the engineering sense) with the new Bonneville’s catalytic converter. What appears to be a very cool set of downswept exhaust headers (just like they used to have back in the 1960s) are actually fake pipes for a portion of the exhaust pipes’ run. The real pipes turn inward under the engine to dump into a catalytic converter. You can see it in this photo, which I grabbed when nobody was looking…
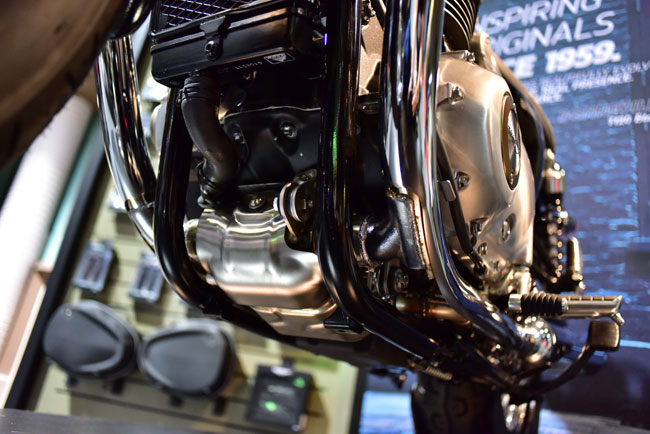
It’s an interesting approach. Catalytic converters run very hot (well over a thousand degrees), so I would think the approach could present problems if you were to stop the bike over weeds or leaves. I wonder how much of that heat is going into the engine. But the bike definitely looks cool, and knowing Triumph, I’m sure the engineering is sound. If I was in the market for a big bike that will probably bump up against $17K out the door, this one would be at the top of my list.
I better move on to more of our Long Beach photos. I don’t want to buy this new Triumph. I need to keep telling myself that.
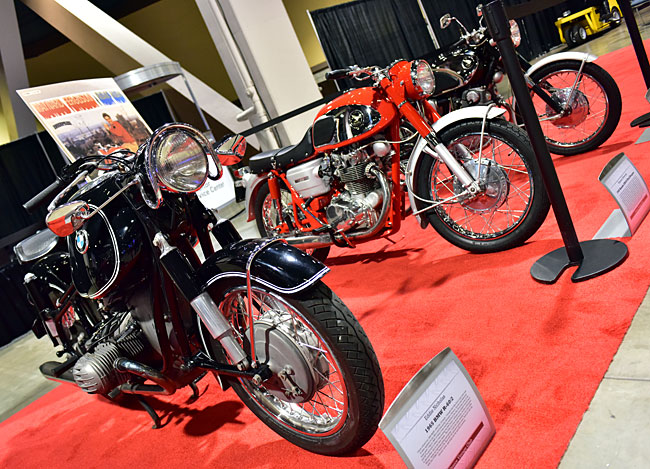
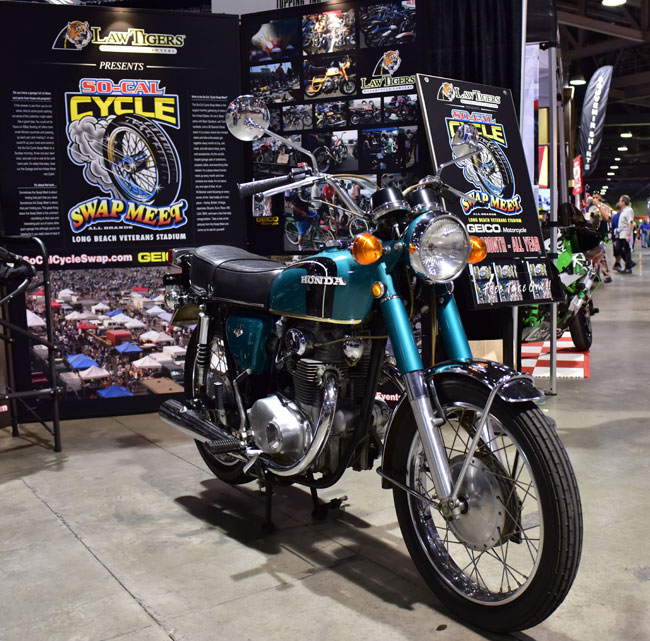
Here’s another bike originally made in England…the Royal Enfield. This marque morphed into a new company (with the same name) and Royal Enfields are now made in India. The Triumph Bonneville you see above is made in Thailand. Ah, the British motorcycle industry. It’s nearly gone, except for the three-cylinder Triumphs (they are still made in England, at least for the time being). Even the venerable Norton brand is going to be made in….well, that’s a story for another time. I can’t tell you where the new Nortons will be built just yet…but I can tell you it ain’t jolly olde England.
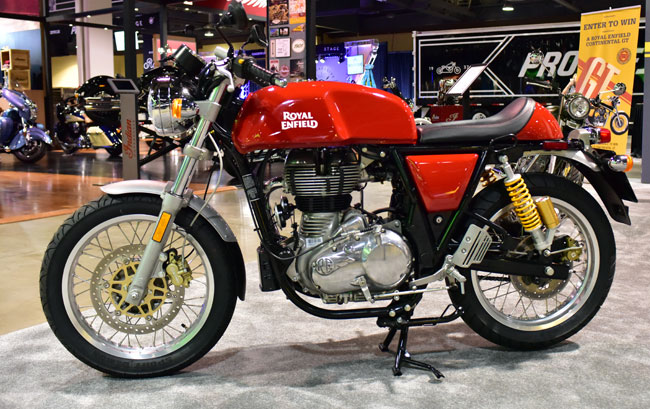
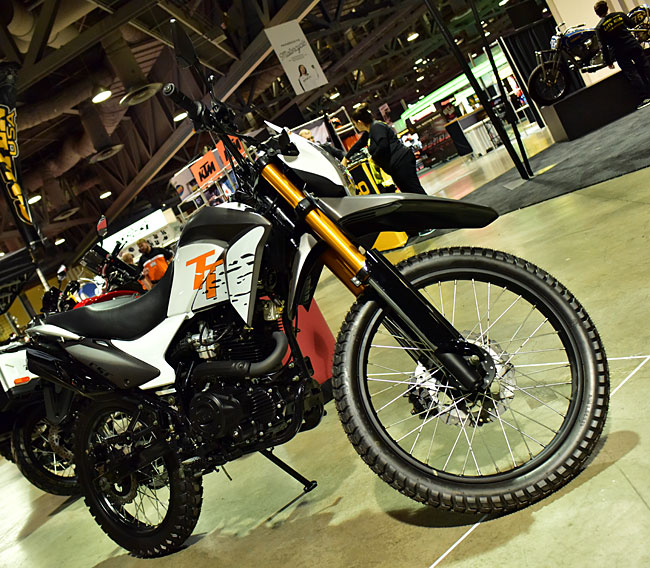
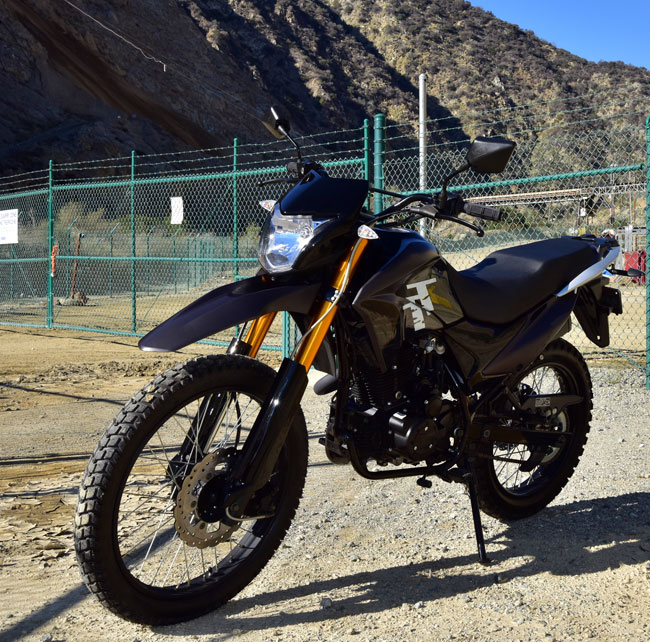
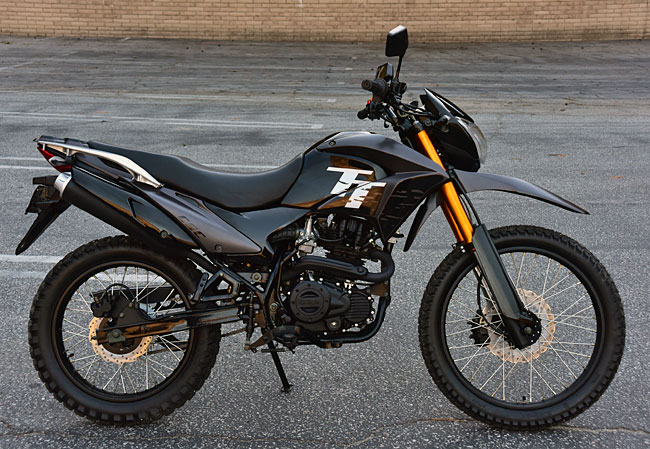
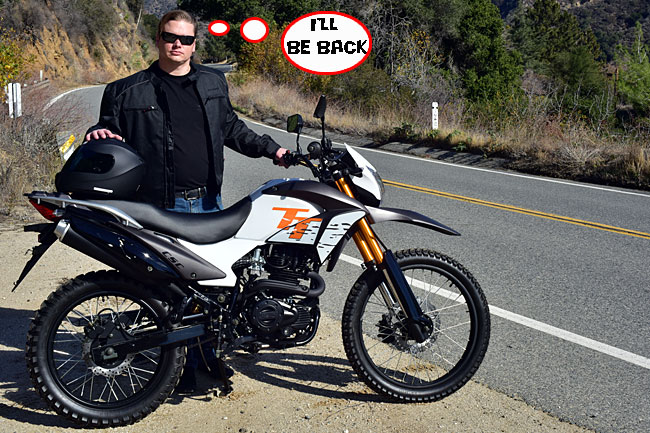
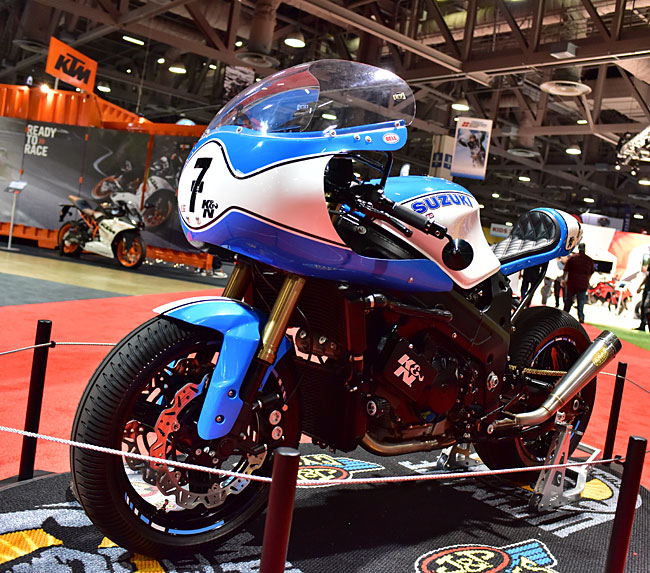
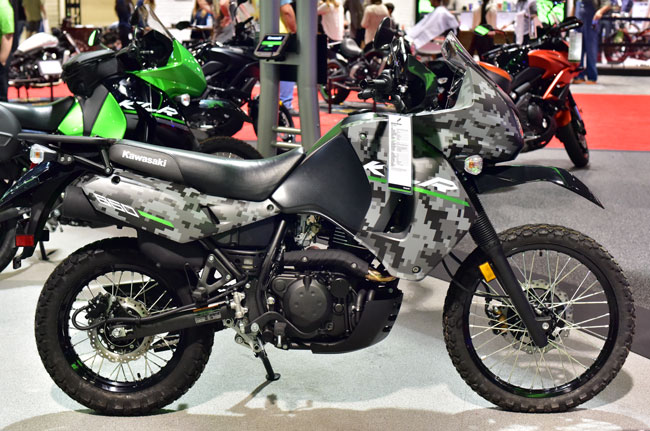
But back to the Royal Enfield…that red café racer above sure looks good. If I wanted a motorcycle collection, one of these would be in my garage, too. Just to look at. But there are already two motorcycles out there, and my wife tells me that’s as big as the collection is going to get. I guess that means the KLR will go on the block once the TT Special is approved by CARB, because I am definitely going to get one of those. Black, with white letters.
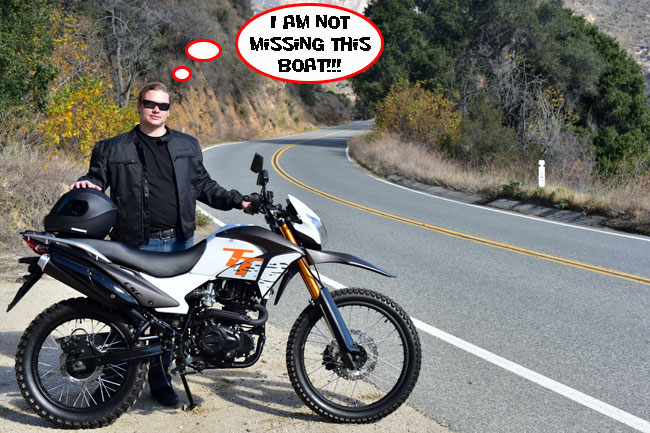
You know, we took one TT Special with us to the Long Beach show, and it got a lot of attention. A whole lot. It surprised us. Our TT Specials are going to sell well. Real well. And I guess I can share with you that we are talking about an introductory “Don’t Miss The Boat” offer on those when we start taking orders, just like we did on the RX3. Don’t call us about this yet, because we haven’t firmed up the price and we’re not taking orders for a few more weeks. But when we do, you can bet the TT Specials are going to go fast (in more ways than one).
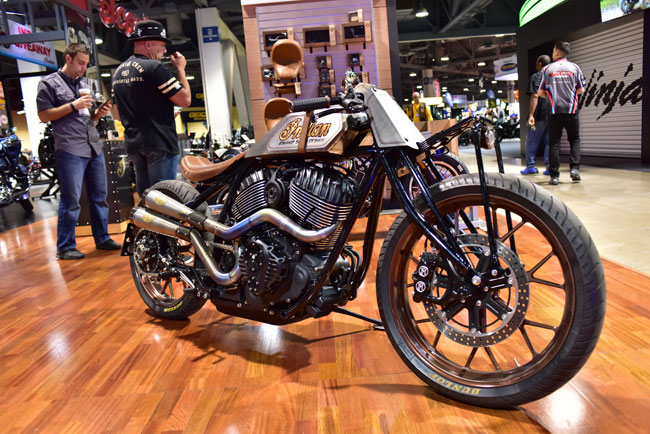
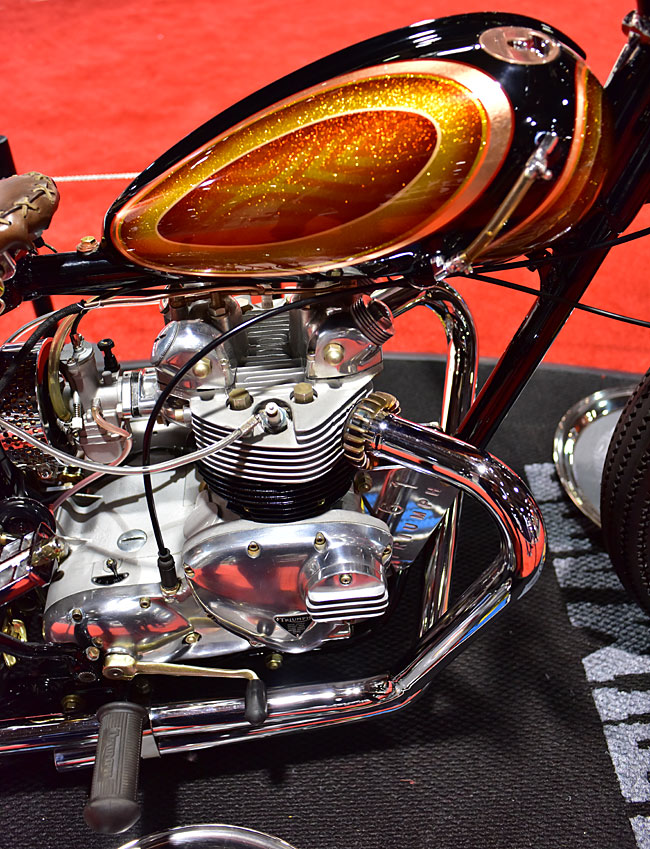
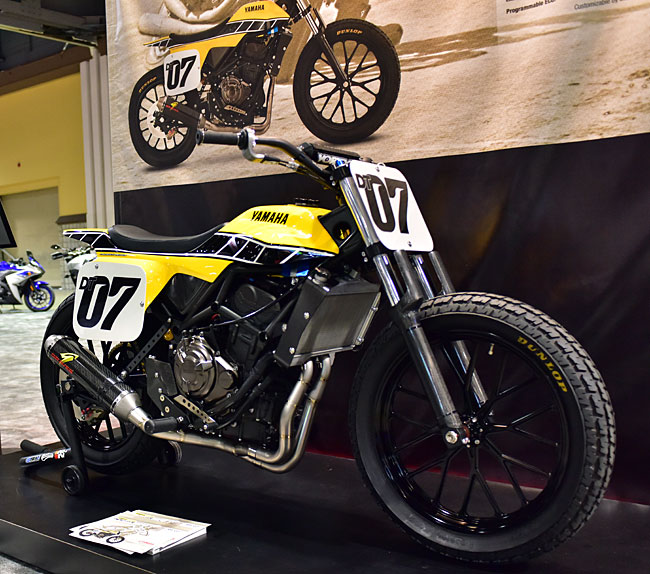
One more photo, folks, and it’s of a custom Indian show bike styled like a flat tracker from the 1930s. It’s only a show bike (you couldn’t run this on the street), but it sure looks good.
That’s it for now. More photos will follow…maybe tonight, maybe tomorrow.
Stay tuned.


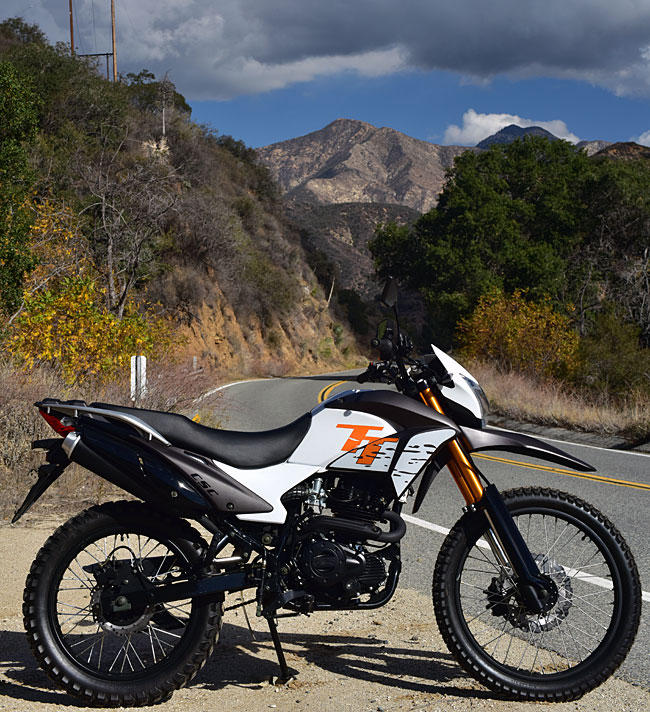

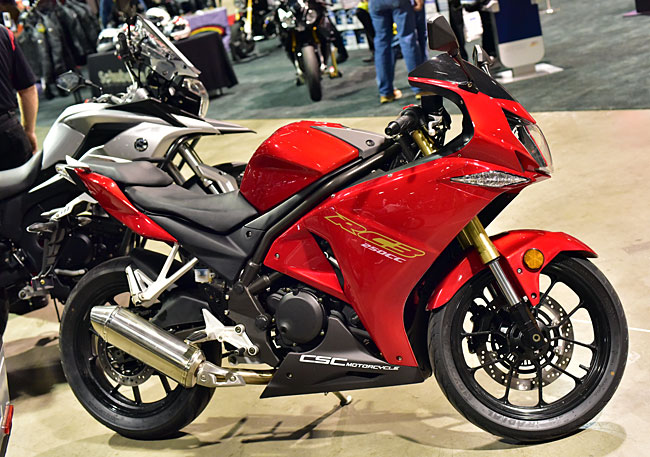


 TT250 Enduro
 SG250 San Gabriel Cafe Racer